Approving Register Entries
Overview
Fisher Portal includes a structured approval workflow for register entries. When staff submit compliance records — such as incident reports, inspection logs, or risk assessments — those entries pass through a defined lifecycle before being formally approved. As a client admin, you are responsible for reviewing submitted entries and either approving or rejecting them.
This workflow ensures that compliance data is accurate, complete, and verified before it becomes part of your organisation’s official records.
Understanding Approval States
Every register entry moves through the following states:
| State | Colour | Description |
|---|---|---|
| Draft | Grey | The entry has been created but not yet submitted for review. Only the author can edit draft entries. |
| Submitted | Blue | The entry has been submitted for review and is awaiting approval. It cannot be edited while in this state. |
| Approved | Green | The entry has been reviewed and accepted. It becomes part of your official compliance records. |
| Rejected | Red | The entry has been reviewed and sent back. The author can revise the entry and resubmit it. |
State Transitions
The workflow follows these rules:
- Draft can be submitted by the author.
- Submitted entries can be approved or rejected by an admin (but not by the original author).
- Rejected entries return to draft status, allowing the author to make corrections and resubmit.
- Approved entries are final and cannot be edited further.
Step-by-Step Guide
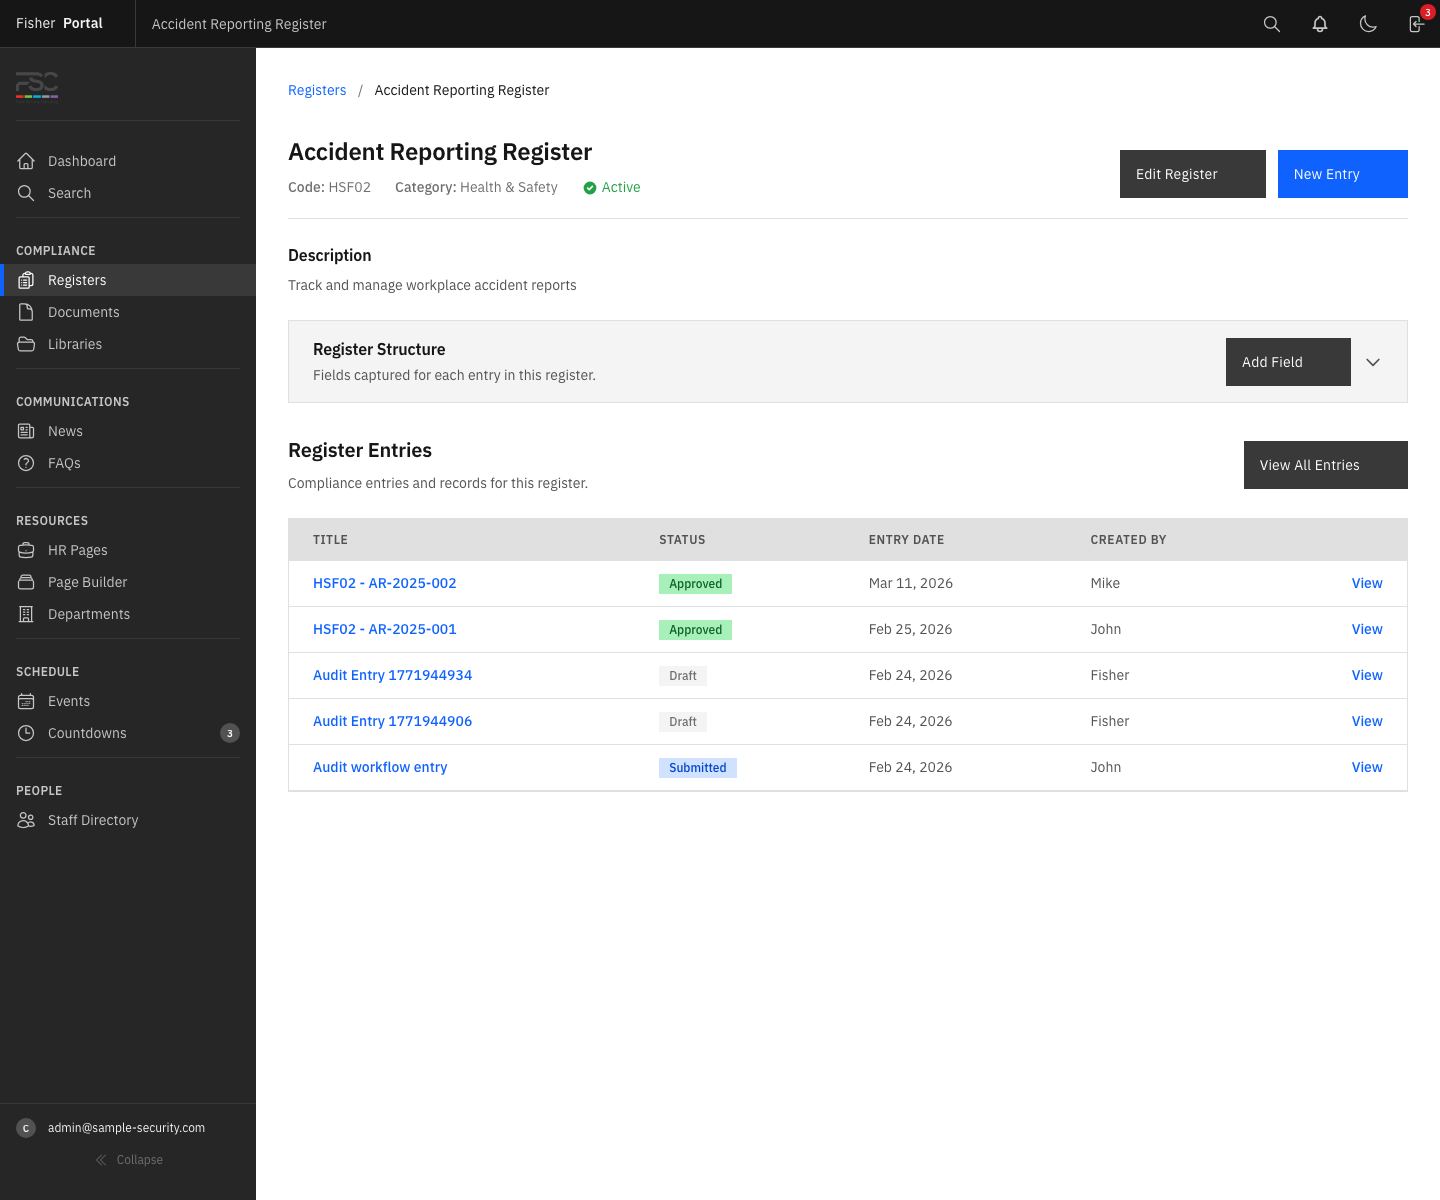
Step 1: Find Entries Awaiting Approval
- Navigate to Registers from the sidebar menu.
- Click on the register you want to review.
- On the register entries list, use the Status filter to show only Submitted entries. These are the entries waiting for your review.
- Alternatively, you can search for specific entries using the search bar, which searches across titles, descriptions, and entry data.
Step 2: Review an Entry
- Click on an entry to open its detail view.
- Review all the information provided:
- The entry title and description.
- The entry date.
- All dynamic field values as configured for this register.
- The name of the person who submitted the entry and when it was submitted.
- Any comments or discussion on the entry.
- Check that the data is accurate, complete, and meets your organisation’s compliance standards.
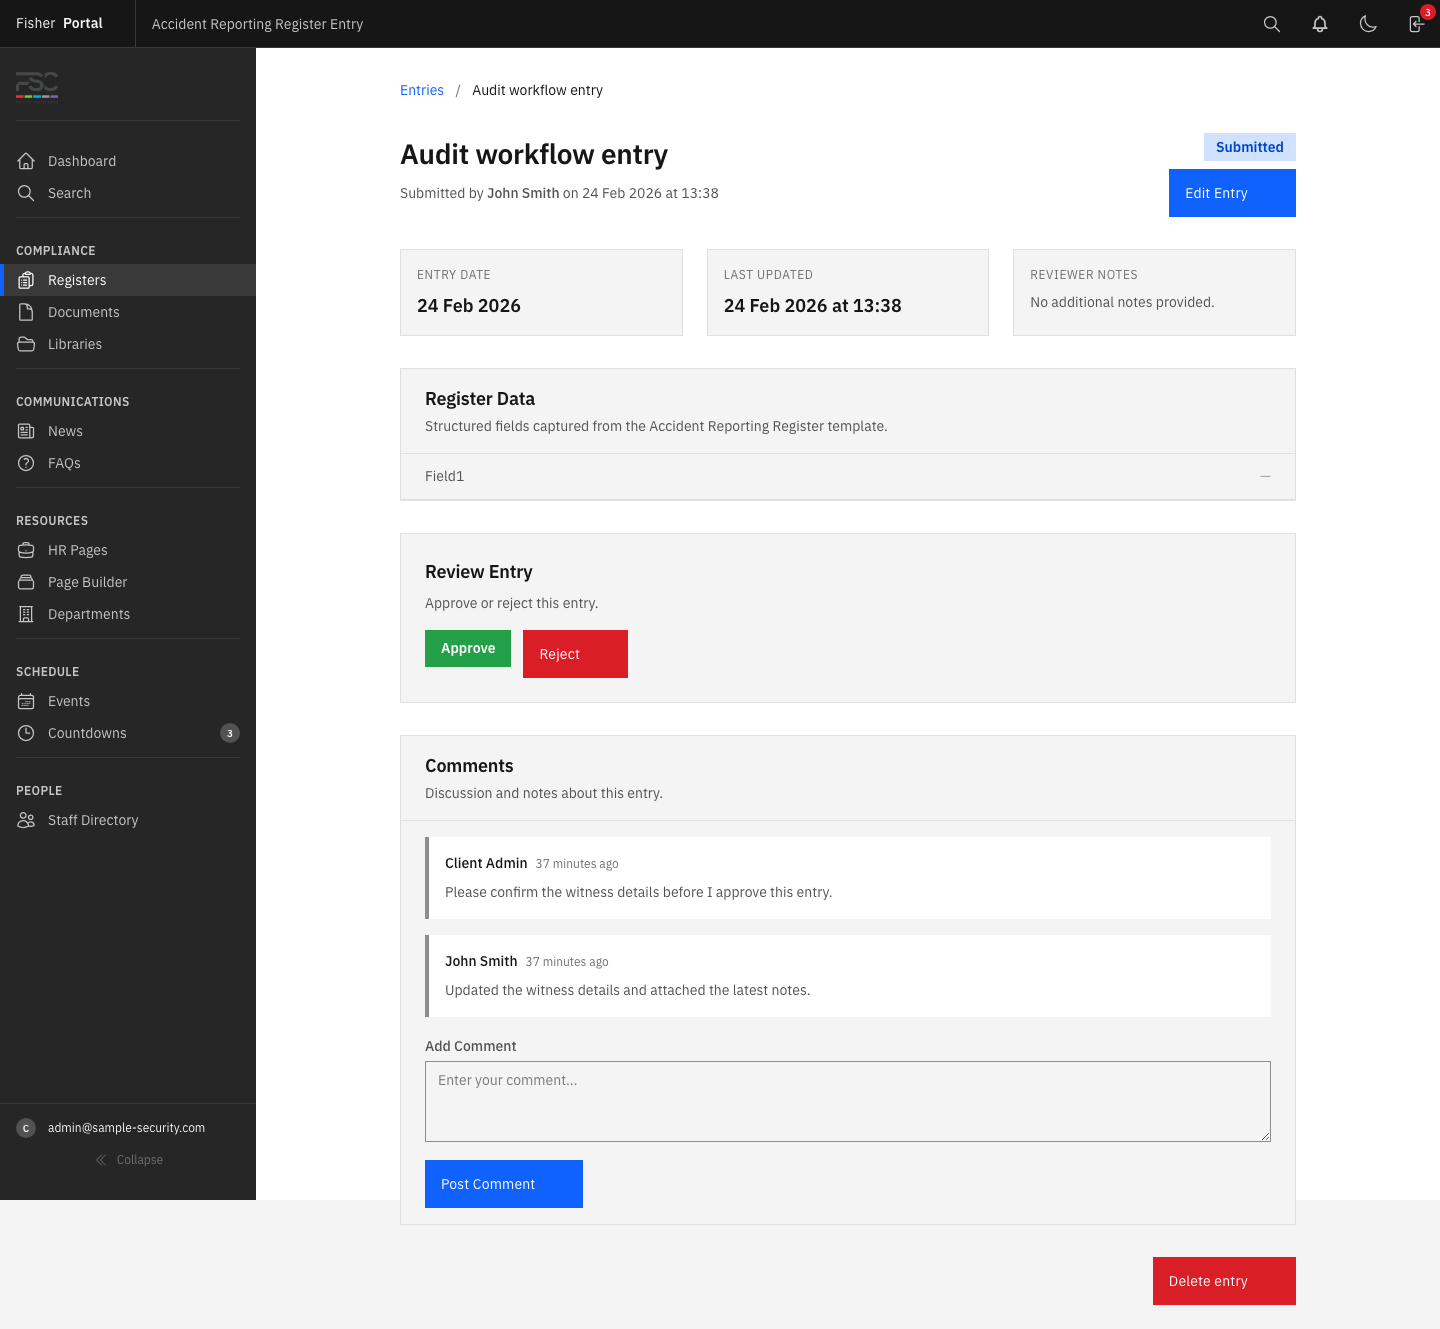

Step 3: Approve an Entry
If the entry is satisfactory:
- Click the Approve button on the entry detail page.
- The entry status will change to Approved (shown in green).
- The system automatically records who approved the entry and when.
- An email notification is sent to the original author confirming the approval.
If you are reviewing several submissions in one sitting, return to the entries list after each decision so you can keep working down the queue without losing your place.
Step 4: Reject an Entry
If the entry needs corrections or additional information:
- Before rejecting, consider adding a comment explaining what needs to be changed. Click Add Comment and describe the issues.
- Click the Reject button on the entry detail page.
- The entry status will change to Rejected (shown in red).
- The system records who rejected the entry and when.
- An email notification is sent to the original author, alerting them that the entry was rejected.
- The entry returns to Draft status, allowing the author to make changes and resubmit.
Step 5: Add Comments to an Entry
You can leave comments on any entry regardless of its status. Comments are useful for:
- Providing feedback before approving or rejecting.
- Asking the author for clarification.
- Recording notes about the review decision.
- Maintaining a discussion trail for audit purposes.
To add a comment:
- Open the entry detail page.
- Type your comment in the comment box.
- Click Add Comment.
- An email notification is sent to the entry author when a comment is added.
The entry detail screen is also the best place to leave review notes before you approve or reject the submission, because the full audit trail remains visible on the same page.
Step 6: Bulk Approve Entries
When you have multiple entries awaiting approval, you can process them in bulk:
- From the register entries list, tick the checkbox next to each entry you want to approve. You can also use the Select All checkbox in the header to select all visible entries.
- A bulk actions toolbar will appear at the top of the list showing how many entries are selected.
- Click the Approve button in the bulk actions toolbar.
- Confirm the action when prompted. All selected entries will be approved.
Step 7: Bulk Reject Entries
Similarly, you can reject multiple entries at once:
- Select the entries using the checkboxes.
- Click the Reject button in the bulk actions toolbar.
- Confirm the action when prompted.
Note: When bulk rejecting, consider adding individual comments to each entry first so authors know what needs correcting.
Step 8: Bulk Delete Entries
If entries were created in error or are duplicates:
- Select the entries using the checkboxes.
- Click the Delete button in the bulk actions toolbar.
- Confirm the deletion when prompted.
- Deleted entries are soft-deleted and can be recovered if needed.
Step 9: Export Entries
You can export register entries for reporting or external review:
- CSV Export — Click the CSV export option to download a spreadsheet of all entries, including all dynamic field values, submission details, and timestamps.
- PDF Export — Click the PDF export option to generate a formatted compliance report. The PDF includes the register name, generation date, total entry count, and a table of entries with the first five fields displayed.
Tips
- Review entries promptly. Compliance records are most useful when reviewed and approved soon after submission. Delays in approval can create gaps in your audit trail.
- Use comments before rejecting. Always explain why an entry is being rejected. Clear feedback helps staff correct issues quickly and reduces back-and-forth.
- You cannot approve your own entries. The system enforces separation of duties — the person who submits an entry cannot be the same person who approves it. This is an important compliance control.
- Check the dashboard. Your dashboard may include a widget showing entries pending approval, giving you a quick view of outstanding work.
- Use saved views. If you frequently review entries with specific filters, consider creating a saved view for quick access.
- Bulk operations require confirmation. Every bulk action asks you to confirm before proceeding. This prevents accidental mass approvals or deletions.
Troubleshooting
- “Unable to approve entry” error — This typically occurs when trying to approve an entry you submitted yourself. Ask another admin to approve it instead.
- “Unable to submit entry” error — Only draft entries can be submitted. If an entry is already submitted, approved, or rejected, it cannot be submitted again without returning to draft first.
- Rejected entry not returning to draft — Rejection automatically returns the entry to draft status. If this is not happening, the entry may already be in draft. Check the current status.
- Bulk actions toolbar not appearing — The toolbar only appears when one or more entries are selected using the checkboxes. Ensure you are ticking the checkboxes in the leftmost column.
- Email notifications not arriving — Check your spam or junk folder. If notifications are consistently missing, contact your Fisher Portal administrator to verify email settings.