Managing Content
Overview
Fisher Portal includes a full content management system (CMS) that allows you to publish and manage internal communications for your organisation. As a client admin, you can create and manage five types of content:
- News Posts — Company announcements, updates, and articles.
- FAQs — Frequently asked questions, grouped by category.
- Events — Upcoming events, meetings, and deadlines.
- Countdowns — Visual timers for important dates (e.g. certification renewals, audit deadlines).
- HR Pages — Human resources content with rich media support.
All content is scoped to your organisation — only your staff will see what you publish.
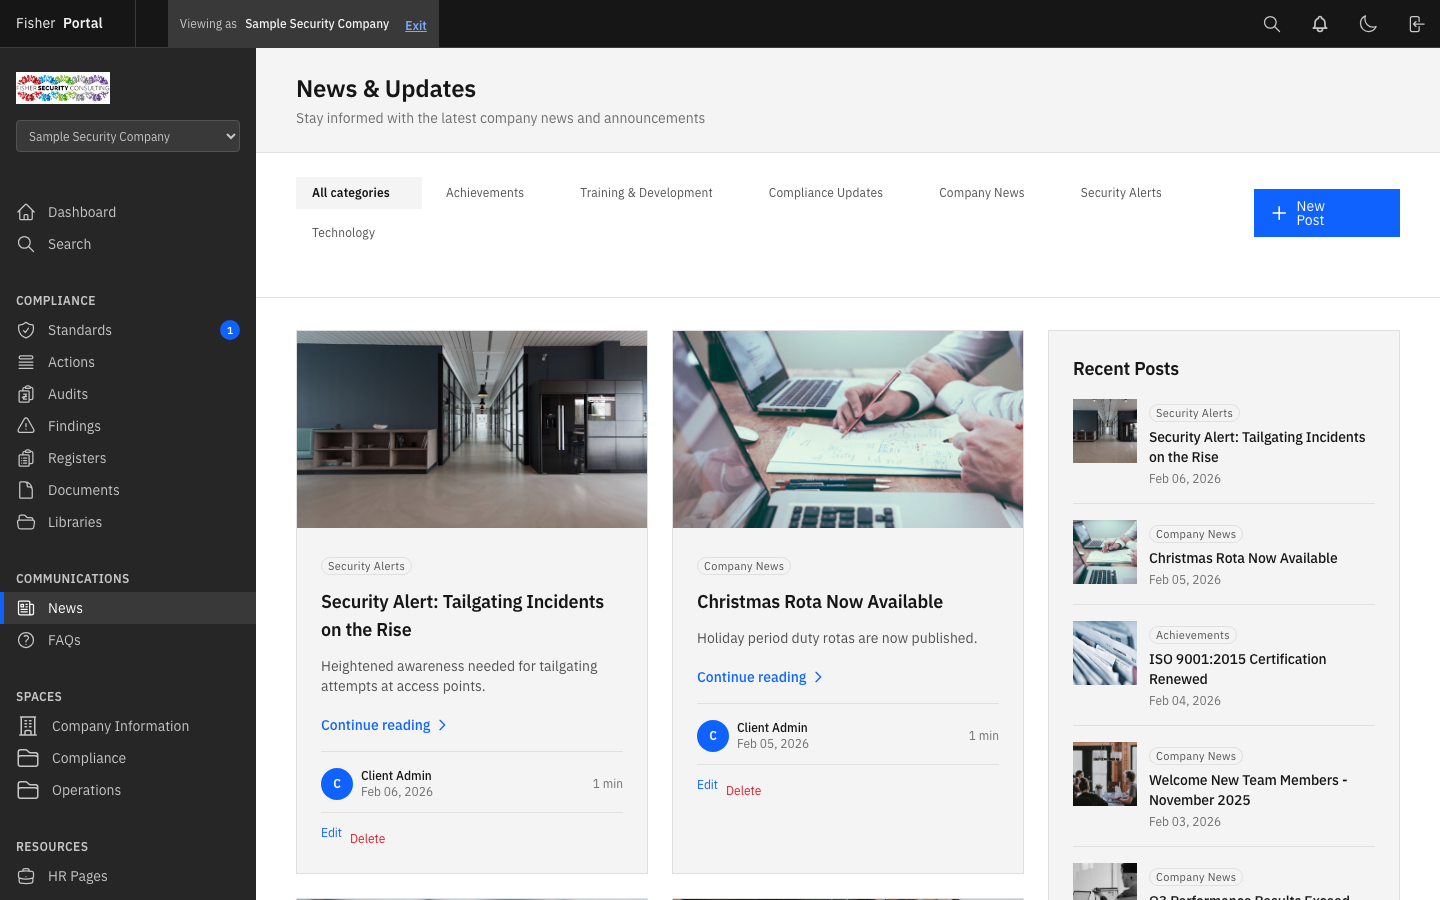
News Posts
News posts are your primary tool for communicating updates, announcements, and articles to your team.
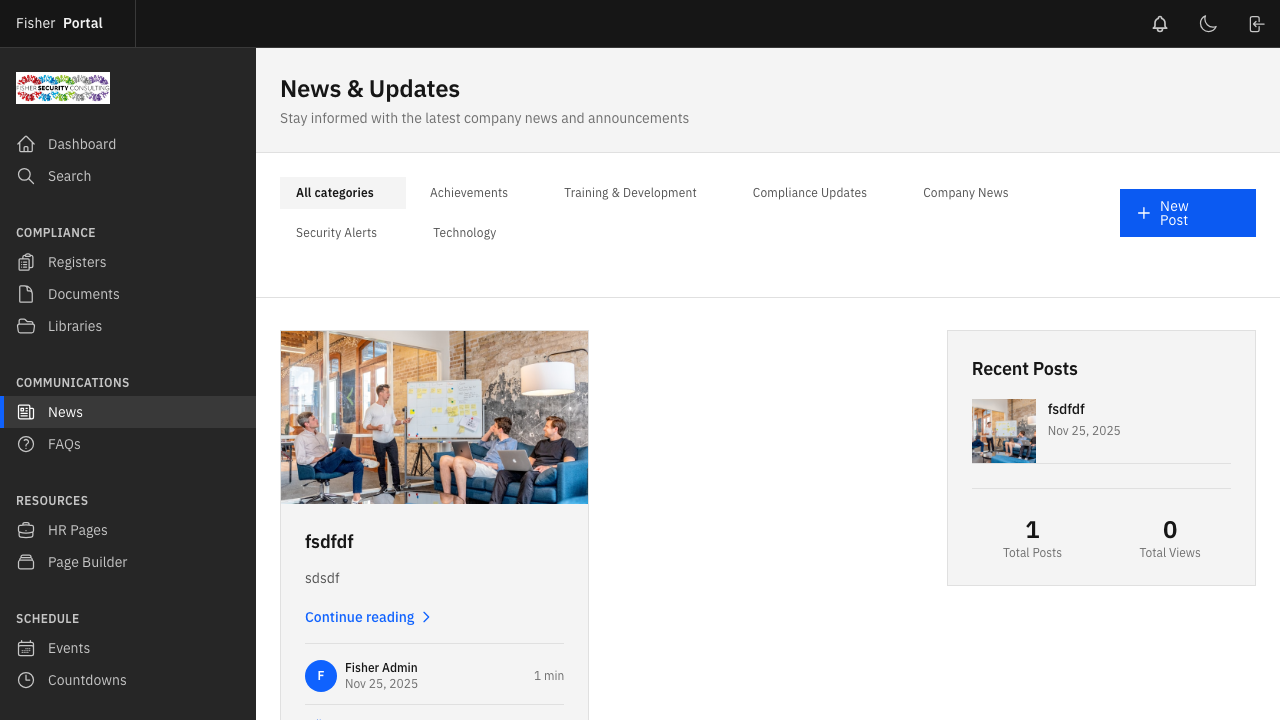
Viewing News Posts
Navigate to News from the sidebar menu. You will see a list of all news posts for your organisation, with the most recent posts displayed first. Each post shows the title, excerpt, published status, and publication date.
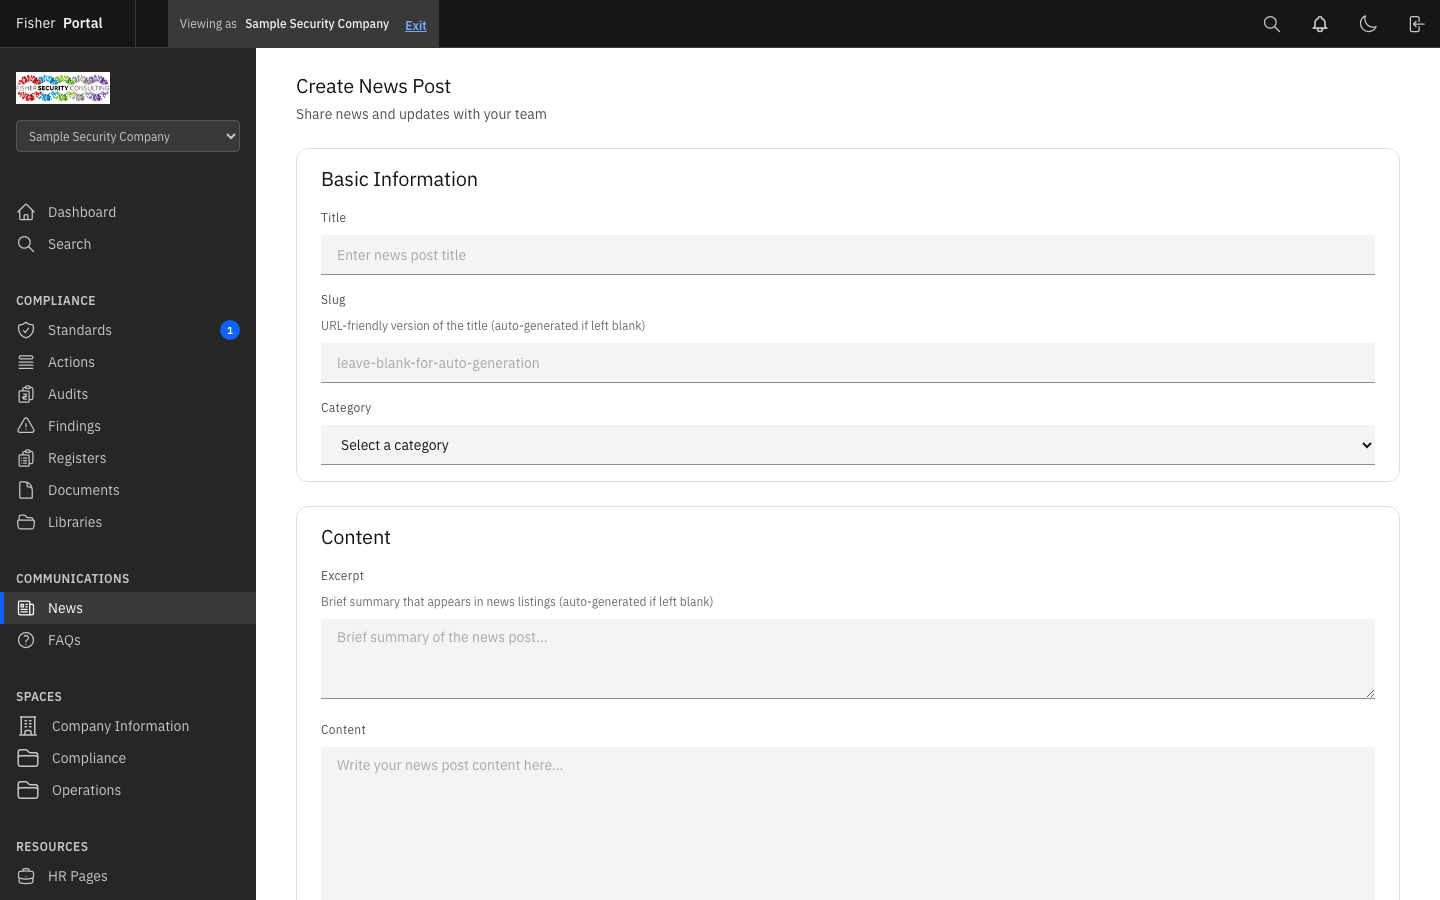
Creating a News Post
- Click the New Post button.
- Fill in the post details:
- Title — A clear, descriptive headline for the post.
- Slug — The URL-friendly version of the title. This is auto-generated from the title but can be customised.
- Content — The main body of the post. Use the rich text editor to format your content with headings, lists, links, and emphasis.
- Excerpt — A short summary displayed in the news list and previews.
- Featured Image — Upload an image to display alongside the post.
- Published — Toggle whether the post is visible to all staff or saved as a draft.
- Featured — Toggle whether the post is highlighted as a featured item.
- Click Save to create the post.
- If you set the post to published, it will be immediately visible. The publication date is recorded automatically.
Viewing a News Post
Click on any post title to see the full article view, including the formatted content, featured image, author name, and publication date.
Editing and Deleting News Posts
- To edit, click the edit button on the post detail or list page. Make your changes and click Save.
- To delete, click the delete button and confirm the action.
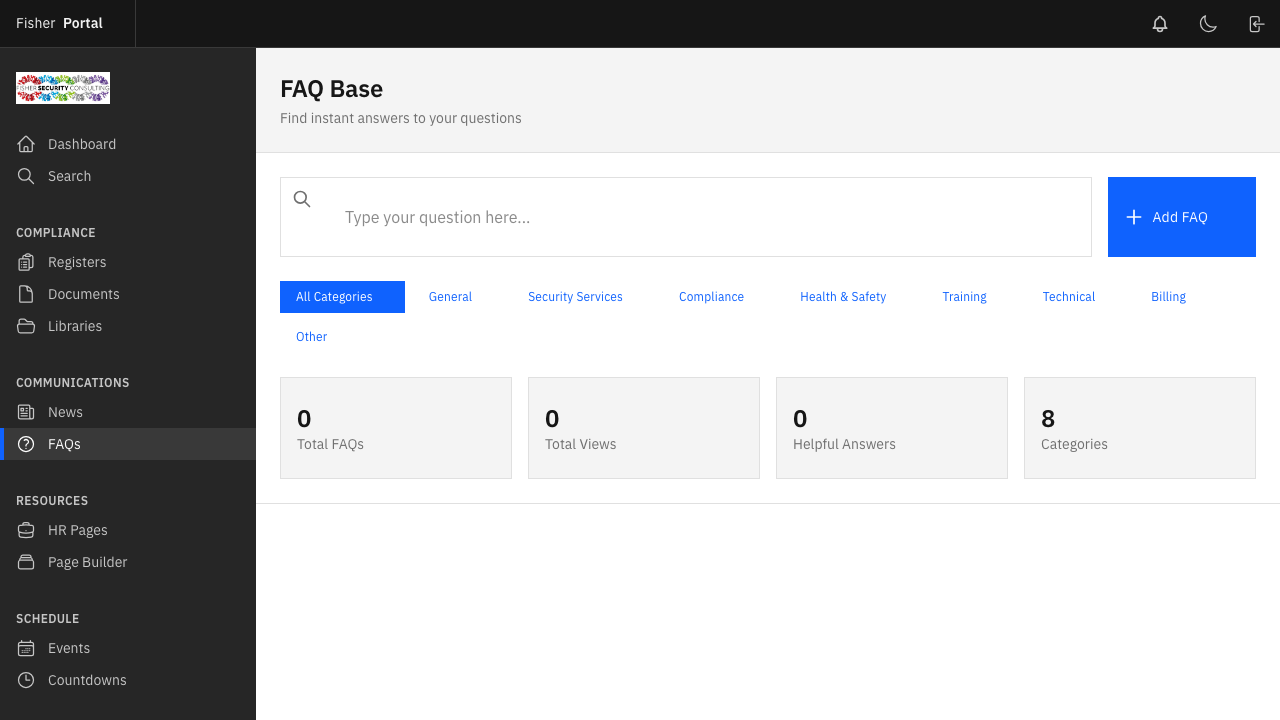
FAQs
FAQs help your staff find quick answers to common compliance and operational questions.
Viewing FAQs
Navigate to FAQs from the sidebar menu. FAQs are displayed grouped by category, making it easy for staff to find relevant answers.

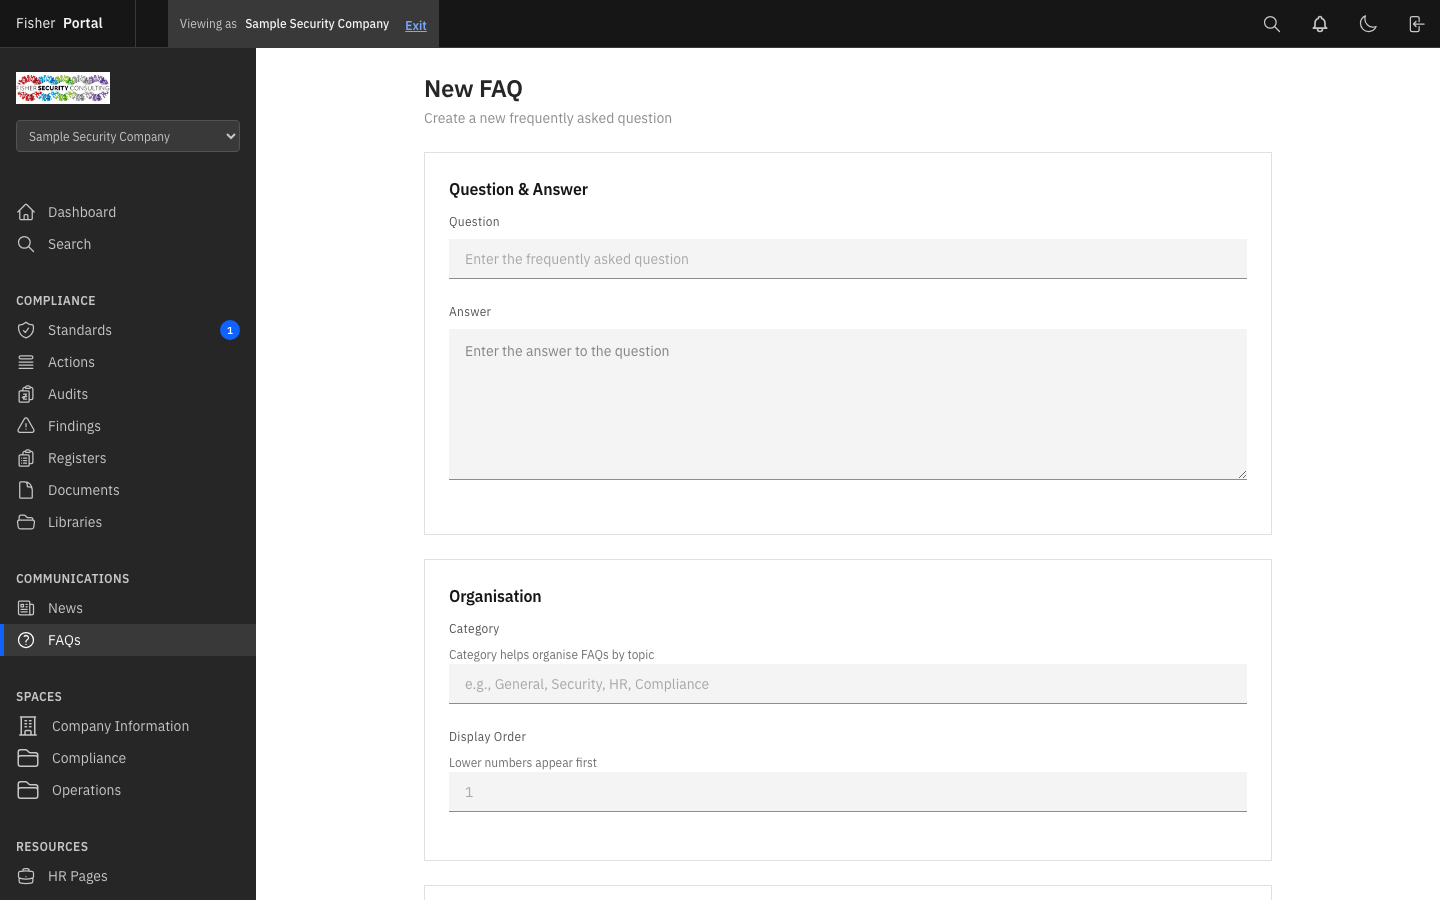
Creating an FAQ
- Click the New FAQ button.
- Fill in the FAQ details:
- Question — The question as staff would ask it (e.g. “How do I report a near-miss incident?”).
- Answer — A clear, concise answer. You can use formatting for clarity.
- Category — The topic area this FAQ belongs to (e.g. “Health & Safety”, “IT”, “HR”). FAQs with the same category are grouped together on the list page.
- Position — The display order within its category. Lower numbers appear first.
- Published — Toggle whether the FAQ is visible to staff.
- Click Save to create the FAQ.
Viewing an FAQ
Click on any FAQ to see the full question and answer.
Editing and Deleting FAQs
- To edit, click the edit button. Update the question, answer, category, or position and click Save.
- To delete, click the delete button and confirm the action.
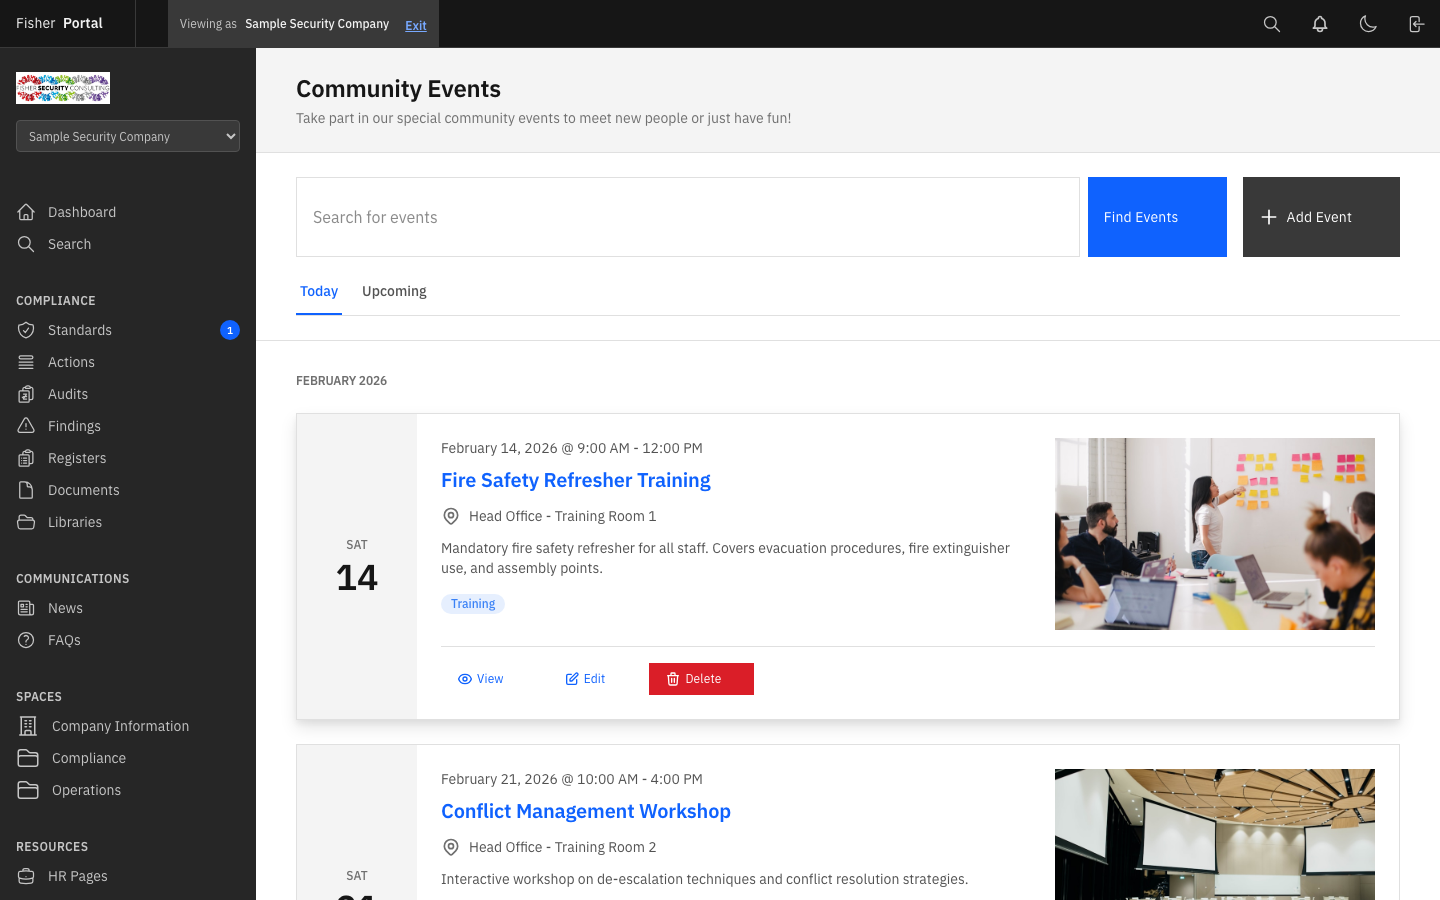
Events
Events help you communicate upcoming meetings, training sessions, audits, deadlines, and company activities.
Viewing Events
Navigate to Events from the sidebar menu. Events are split into two sections:
- Upcoming Events — All future events, sorted by start date.
- Past Events — The ten most recent past events, for reference.
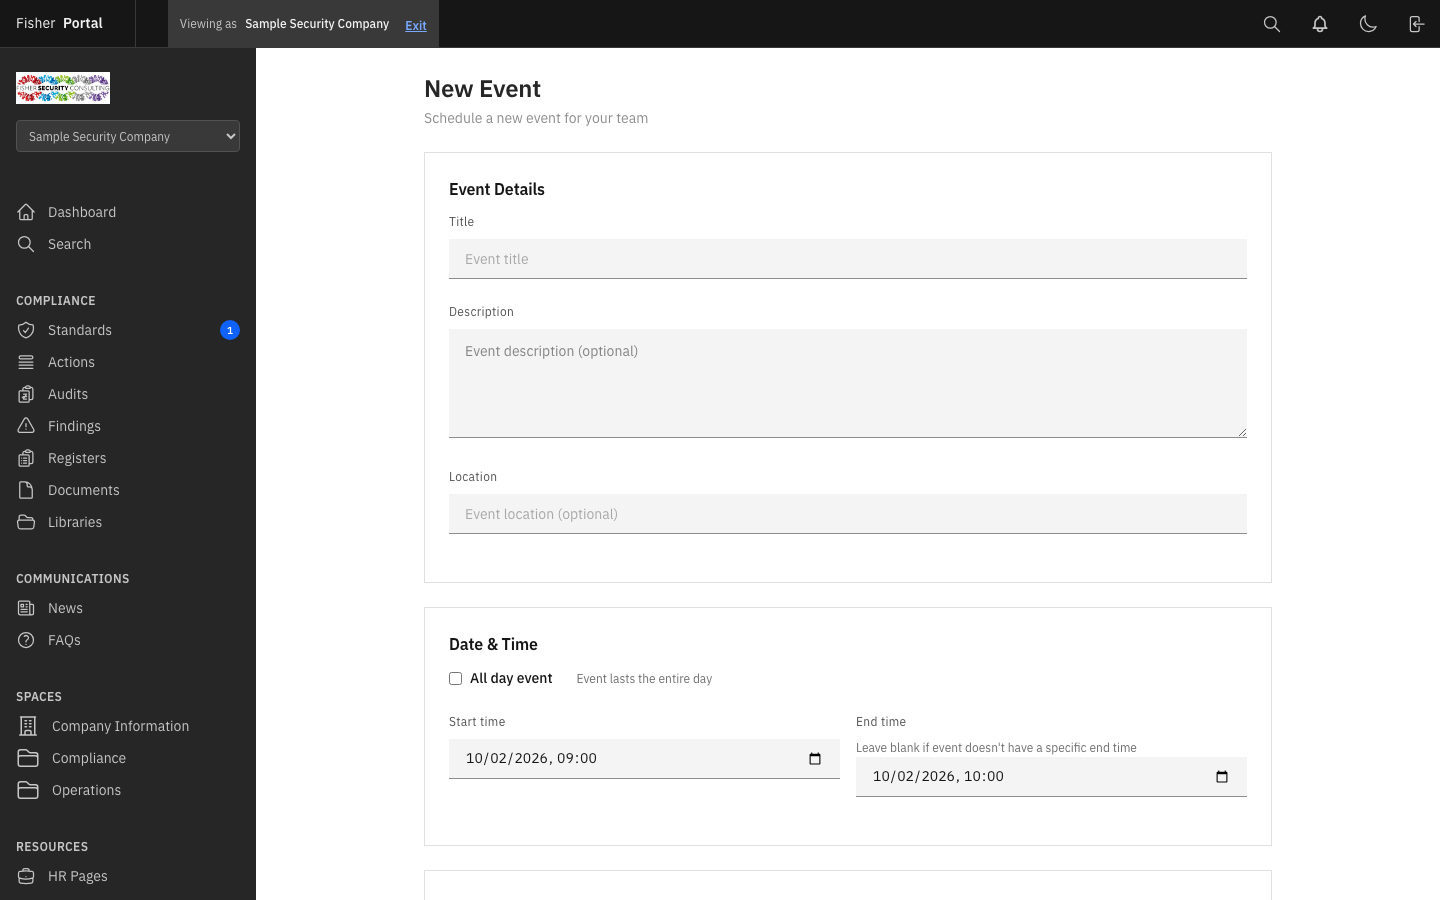
Creating an Event
- Click the New Event button.
- Fill in the event details:
- Title — The name of the event (e.g. “Q2 Compliance Review Meeting”, “Fire Safety Training”).
- Description — Details about the event, including agenda, preparation requirements, or instructions.
- Location — Where the event takes place (physical address, room name, or virtual meeting link).
- Start Time — The date and time the event begins. Defaults to tomorrow at 9:00 AM.
- End Time — The date and time the event ends. Defaults to one hour after the start time.
- All Day — Toggle for events that span the entire day (e.g. company away day, conference).
- Featured Image — Upload an image or banner for the event.
- Click Save to create the event.
Viewing an Event
Click on any event to see the full details, including description, location, date and time information, and any featured image.
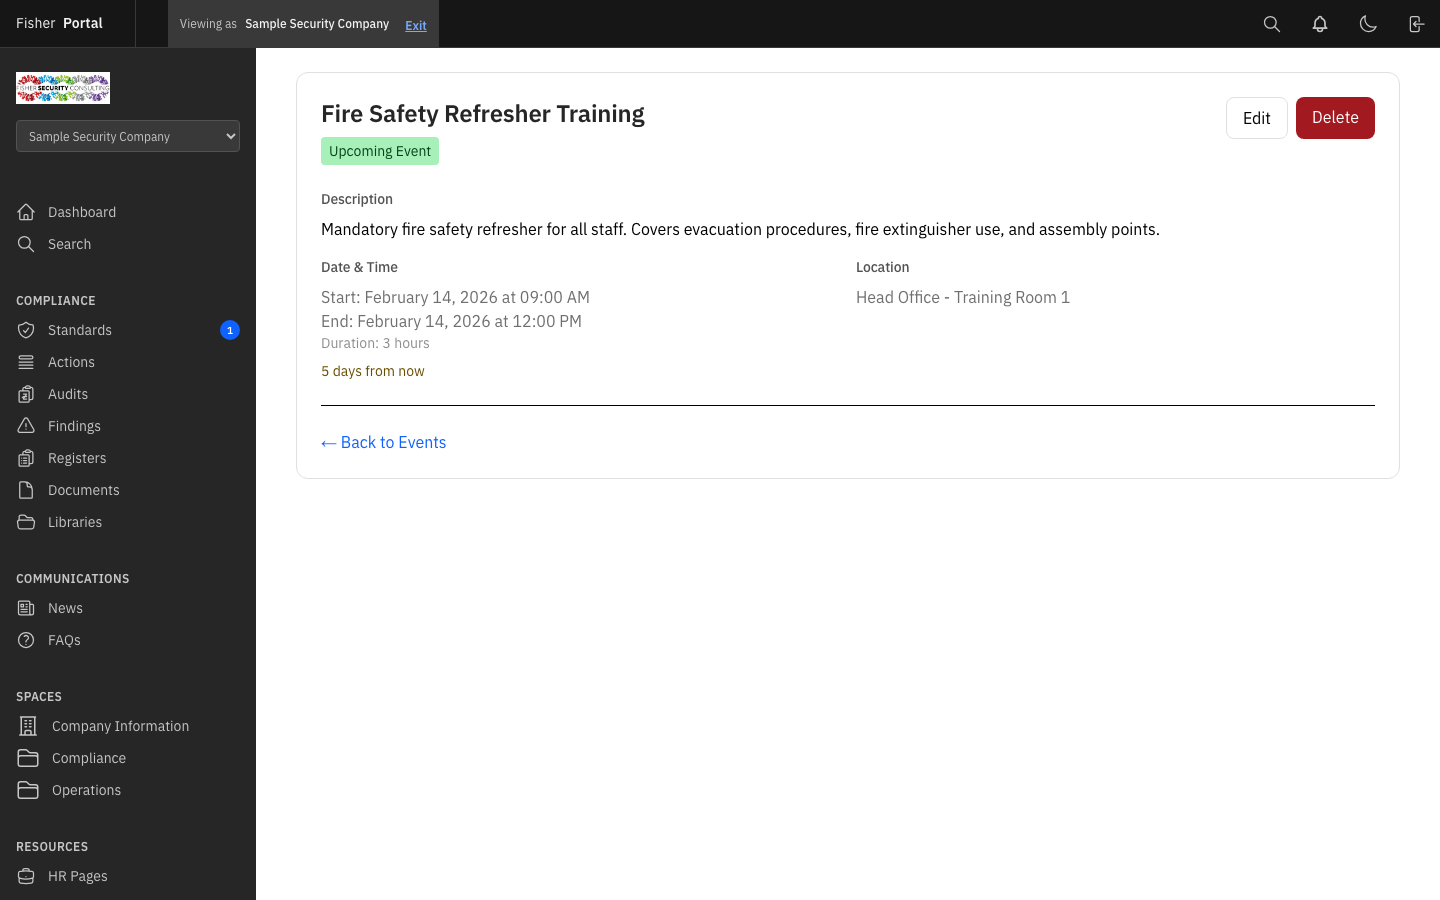
Editing and Deleting Events
- To edit, click the edit button. Update any details and click Save.
- To delete, click the delete button and confirm the action.
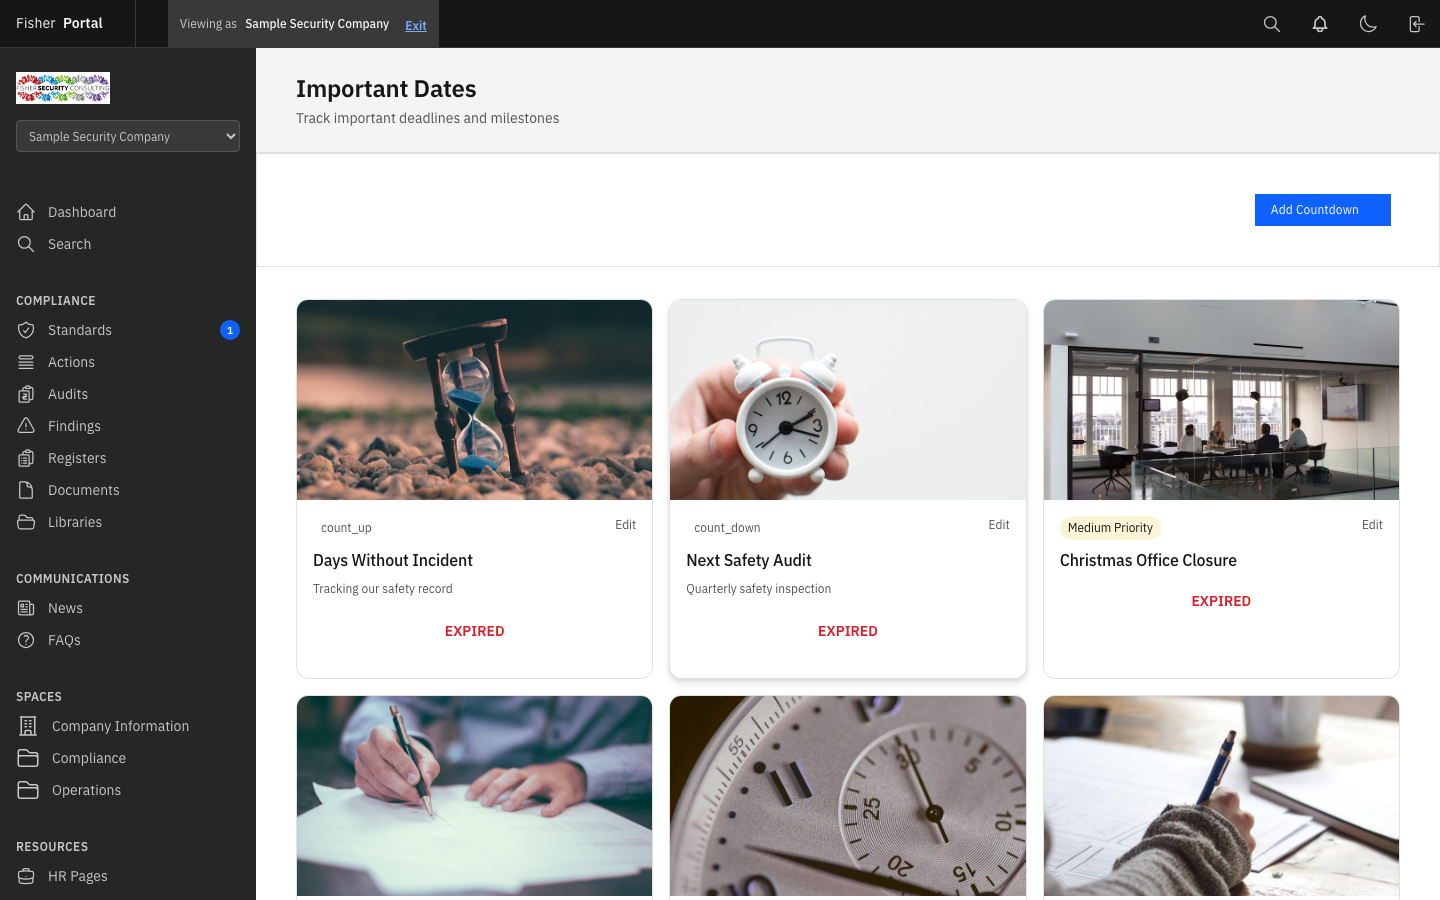
Countdowns
Countdowns create visual timers for important deadlines. They are particularly useful for certification renewal dates, audit deadlines, licence expiry dates, and compliance milestones.
Viewing Countdowns
Navigate to Countdowns from the sidebar menu. Countdowns are split into two sections:
- Active Countdowns — Deadlines that have not yet passed.
- Expired Countdowns — The ten most recent past deadlines, for reference.
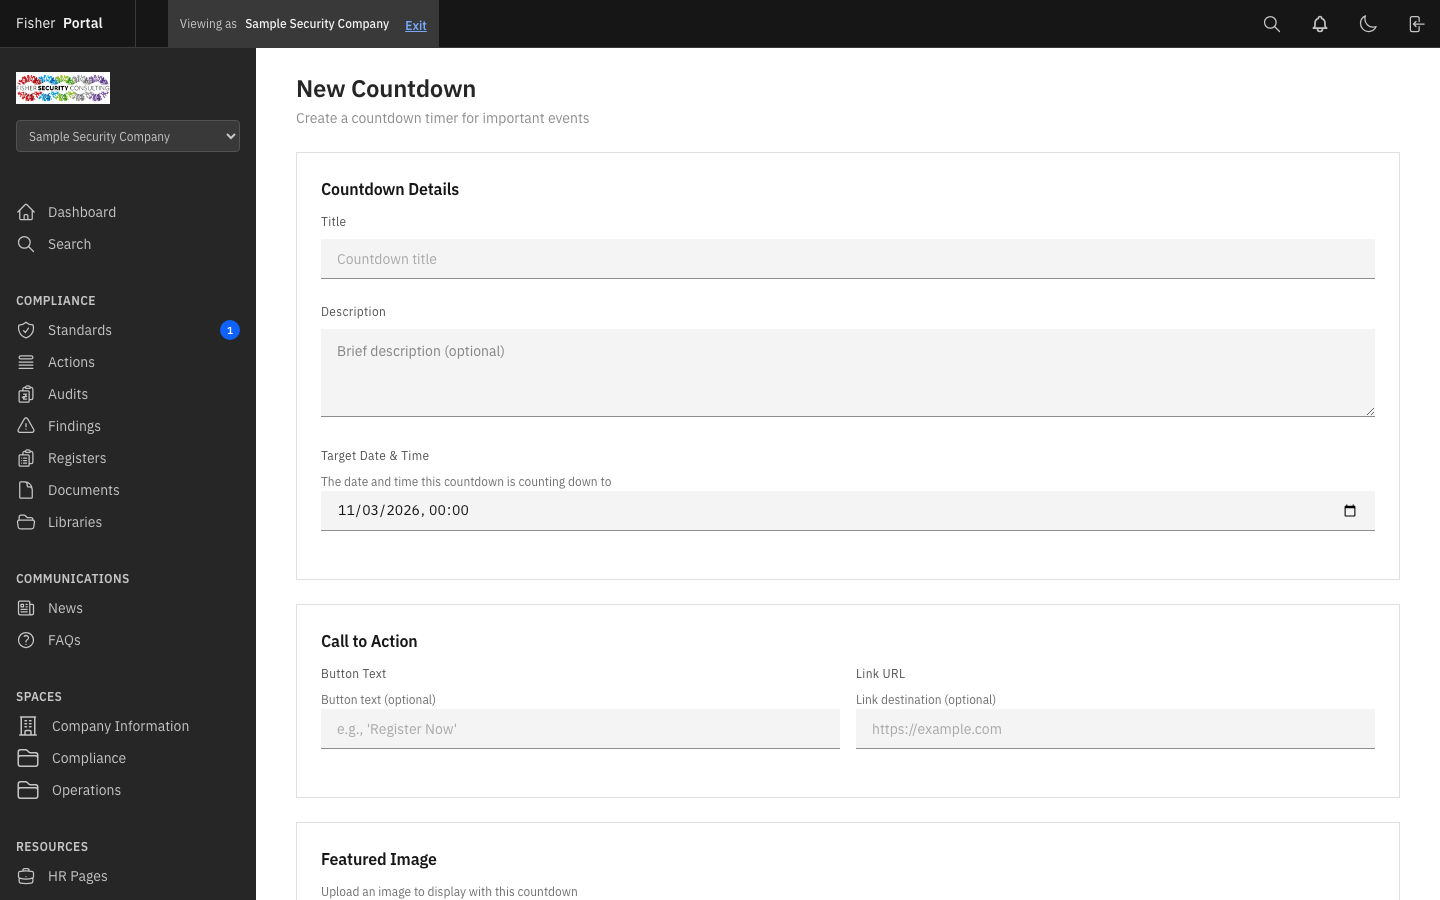
Creating a Countdown
- Click the New Countdown button.
- Fill in the countdown details:
- Title — What the countdown is for (e.g. “ISO 9001 Recertification Audit”, “SIA Licence Renewal”).
- Description — Additional context about the deadline and any preparation needed.
- Target Date — The date the countdown is counting down to. Defaults to 30 days from today.
- Action Text — The label for the call-to-action button (e.g. “View Details”, “Start Preparation”).
- Action URL — A link that the action button points to (e.g. a page with preparation materials or a booking form).
- Featured Image — An optional image displayed with the countdown.
- Click Save to create the countdown.
Viewing a Countdown
Click on any countdown to see the full details, including a live timer showing the time remaining until the target date.
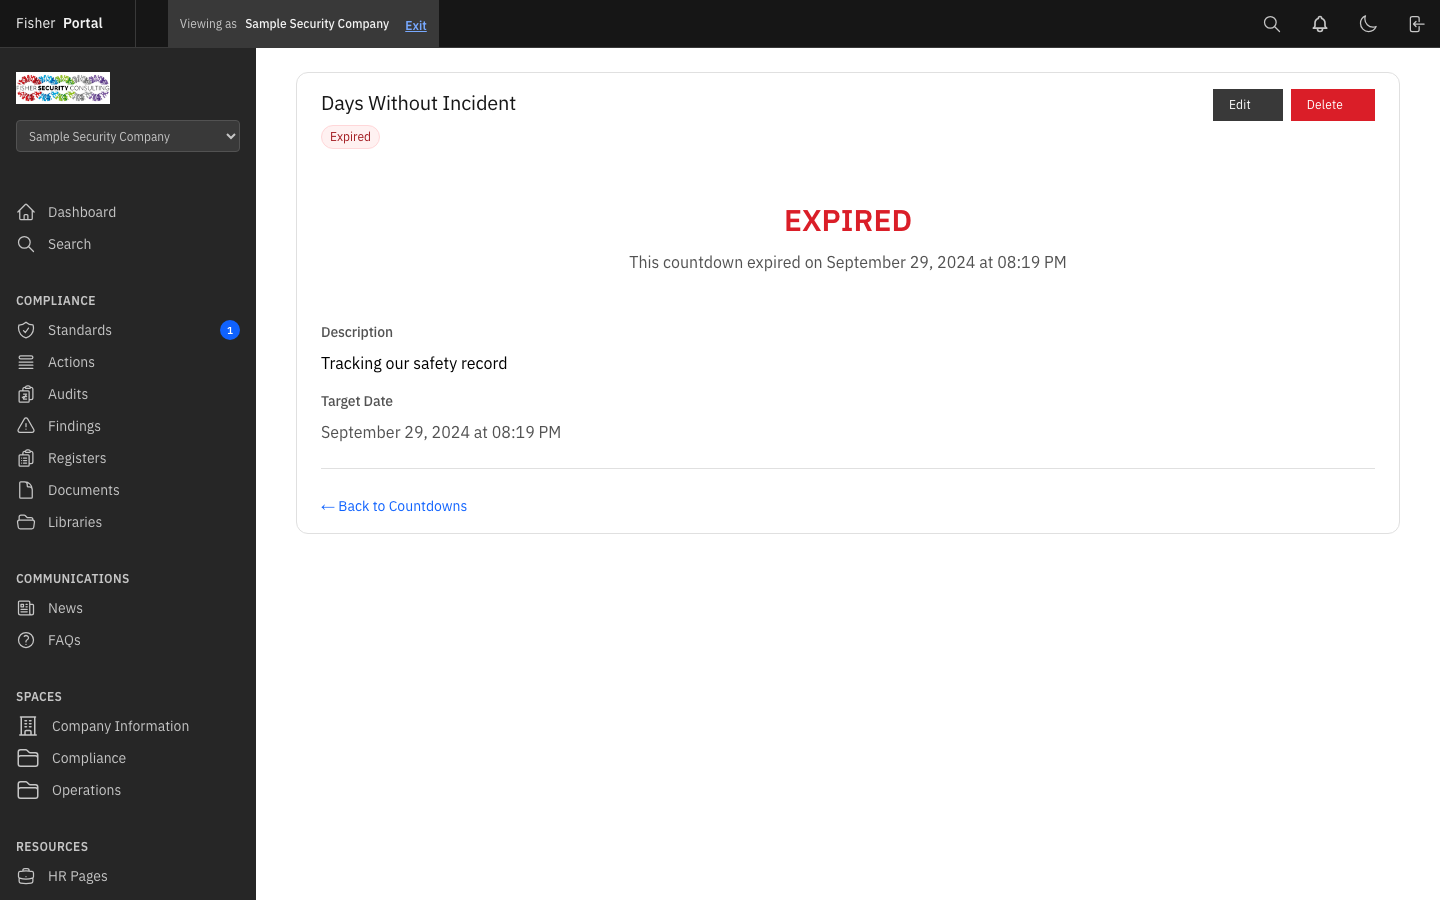
Editing and Deleting Countdowns
- To edit, click the edit button. Update any details and click Save.
- To delete, click the delete button and confirm the action.
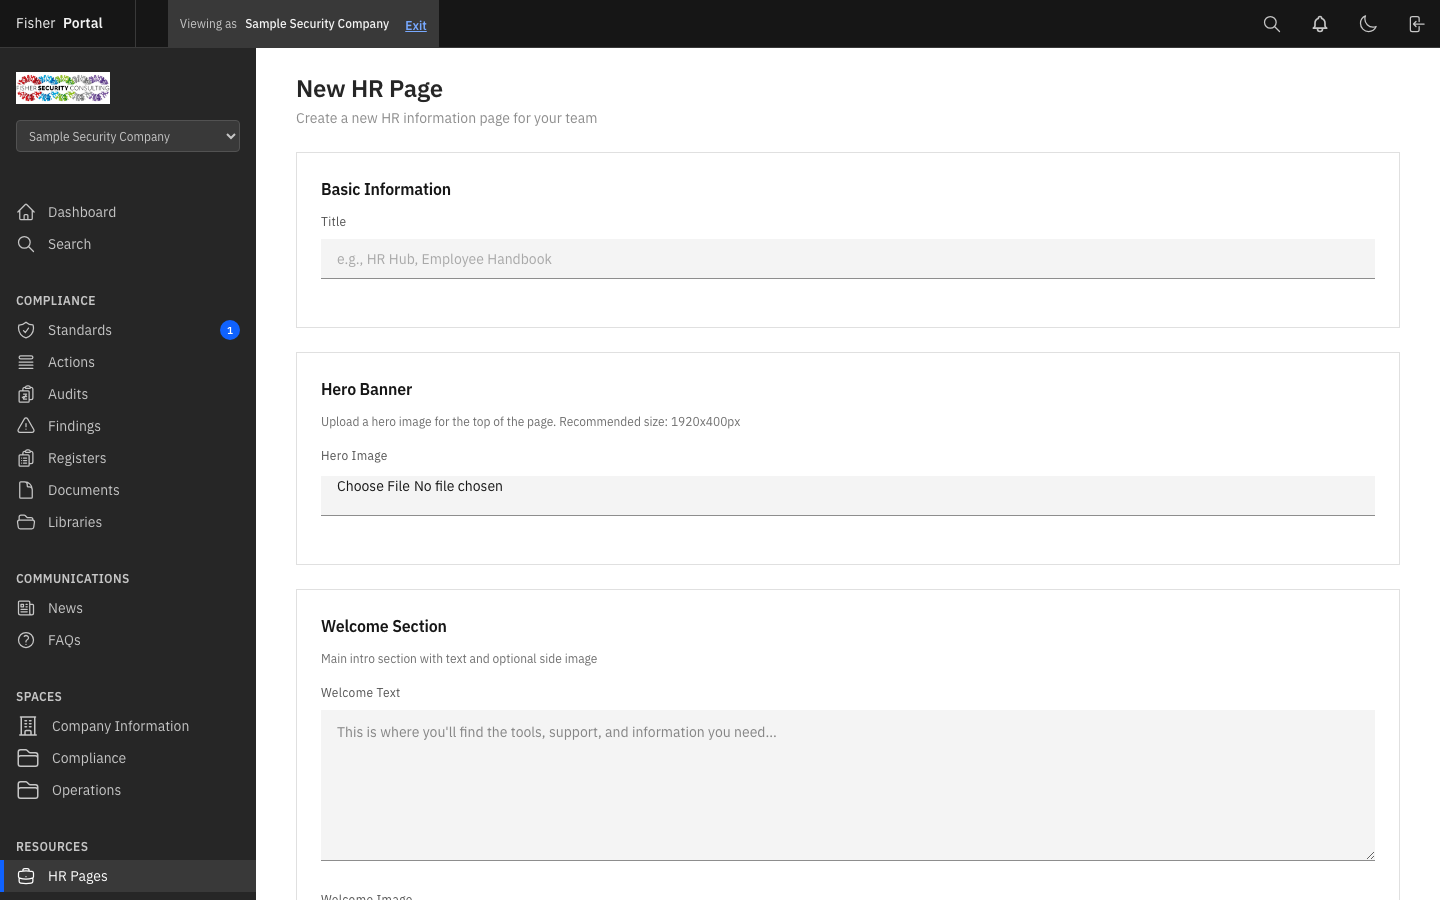
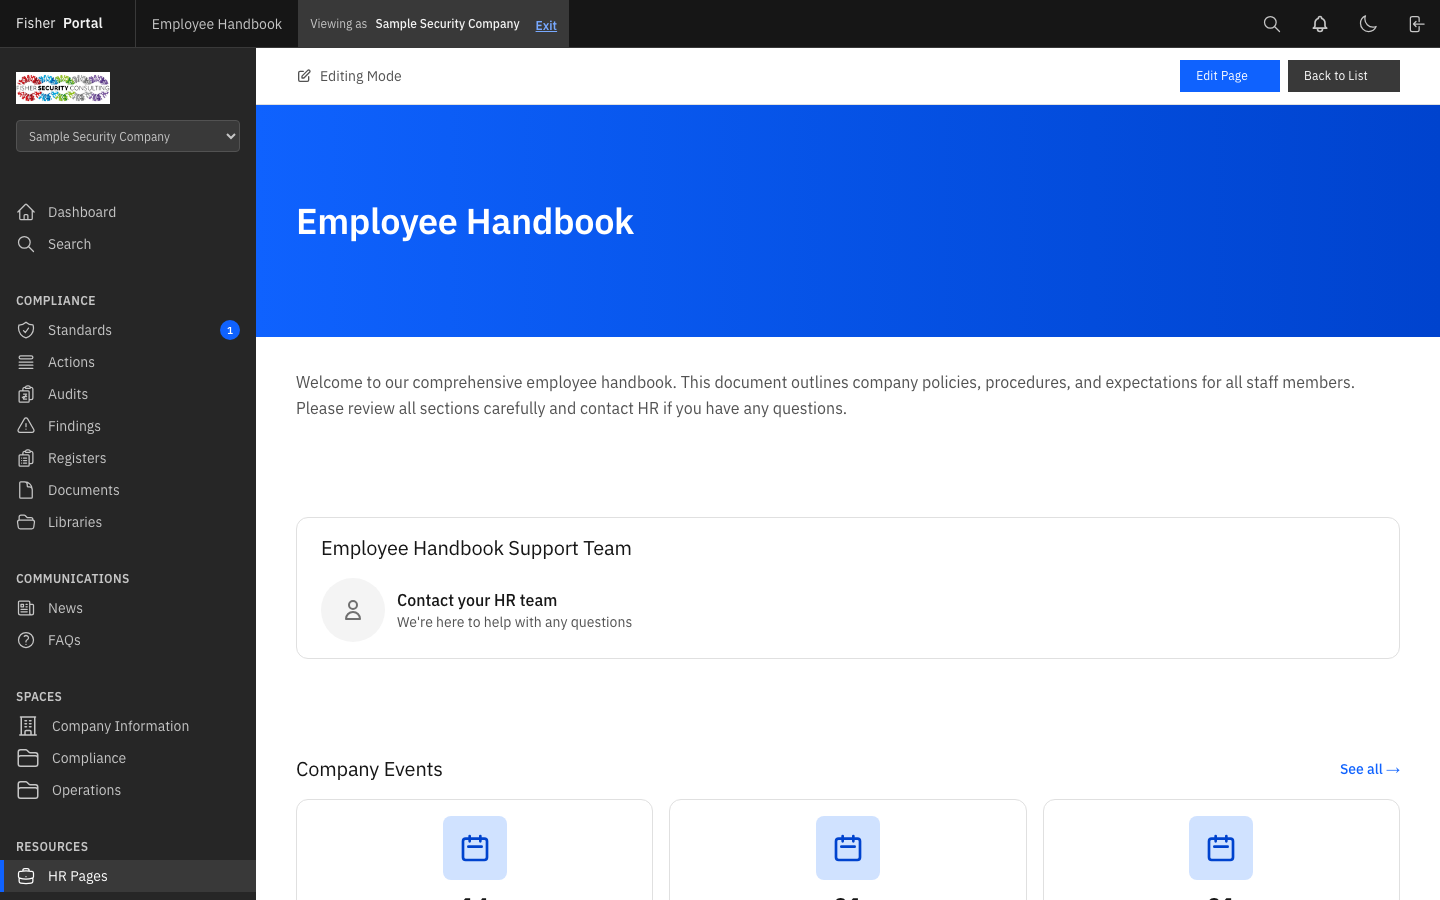
HR Pages
HR Pages allow you to create rich, branded content pages for human resources information. These pages support hero images, welcome sections, quote blocks, team descriptions, and image cards — making them ideal for onboarding materials, team introductions, and company culture content.
Viewing HR Pages
Navigate to HR Pages from the sidebar menu. You will see a list of all HR pages, ordered by their display position.

Creating an HR Page
- Click the New HR Page button.
- Fill in the page details:
- Title — The page heading (e.g. “Welcome to Guardian Security”, “Meet the Team”).
- Content — The main body content for the page.
- Welcome Text — An introductory paragraph or welcome message.
- Quote Text — A highlighted quote or mission statement.
- Team Description — A description of the team or department.
- Hero Image — A large banner image displayed at the top of the page.
- Welcome Image — An image displayed alongside the welcome text.
- Card Images — Upload multiple images for a card gallery layout.
- Position — The display order among other HR pages. Lower numbers appear first.
- Published — Toggle whether the page is visible to staff.
- Click Save to create the page.
Viewing an HR Page
Click on any HR page to see the fully rendered page with all media content.
Editing and Deleting HR Pages
- To edit, click the edit button. Update any content or images and click Save.
- To remove images, use the remove checkboxes next to the hero image, welcome image, or card images when editing. This detaches the images without deleting them from storage.
- To delete the entire page, click the delete button and confirm the action.
Tips
- Draft before publishing. For news posts and FAQs, save content as unpublished (draft) first, then review before making it visible to staff.
- Use meaningful categories for FAQs. Group related questions together. Common categories include “Health & Safety”, “IT Support”, “HR & Policies”, and “Compliance”.
- Set up countdowns for key dates. Create countdowns for certification renewals, audit dates, and licence expiry dates. The visual timer keeps these deadlines front-of-mind for your team.
- Keep news posts concise. Use the excerpt field to provide a brief summary. Staff are more likely to read a clear, focused update than a lengthy article.
- Use events for recurring activities. Create events for regular compliance activities like monthly safety briefings, quarterly reviews, or annual audits.
- HR pages for onboarding. Use HR pages to create a professional onboarding experience for new starters, including welcome messages, team introductions, and key policy summaries.
Troubleshooting
- News post not visible to staff — Check that the “Published” toggle is turned on. Unpublished posts are only visible to admins.
- FAQs not grouped correctly — Ensure the category field is filled in and consistent. FAQs with the same category text (case-sensitive) are grouped together.
- Event times showing incorrectly — Verify that the start and end times are set correctly, including the date. Ensure the end time is after the start time.
- Countdown shows as expired immediately — Check that the target date is set to a future date. If the target date has already passed, the countdown will appear in the expired section.
- Featured image not displaying — Ensure the uploaded image is in a supported format (JPEG, PNG, GIF, WebP). Very large images may take a moment to process.
- Cannot create or edit content — Only client admins can manage content. Regular staff users can view published content but cannot create or edit it. Contact your organisation’s administrator if you need elevated permissions.