Managing Documents
Overview
The Document Library in Fisher Portal provides a centralised location for storing, organising, and managing all your compliance documentation. This includes policies, procedures, forms, certificates, and any other files your organisation needs to maintain for regulatory compliance.
Documents are organised in a hierarchical folder structure, allowing you to mirror your existing filing systems. You can upload individual files or bulk-import multiple documents at once, and every document maintains a full version history with an audit trail.
Step-by-Step Guide
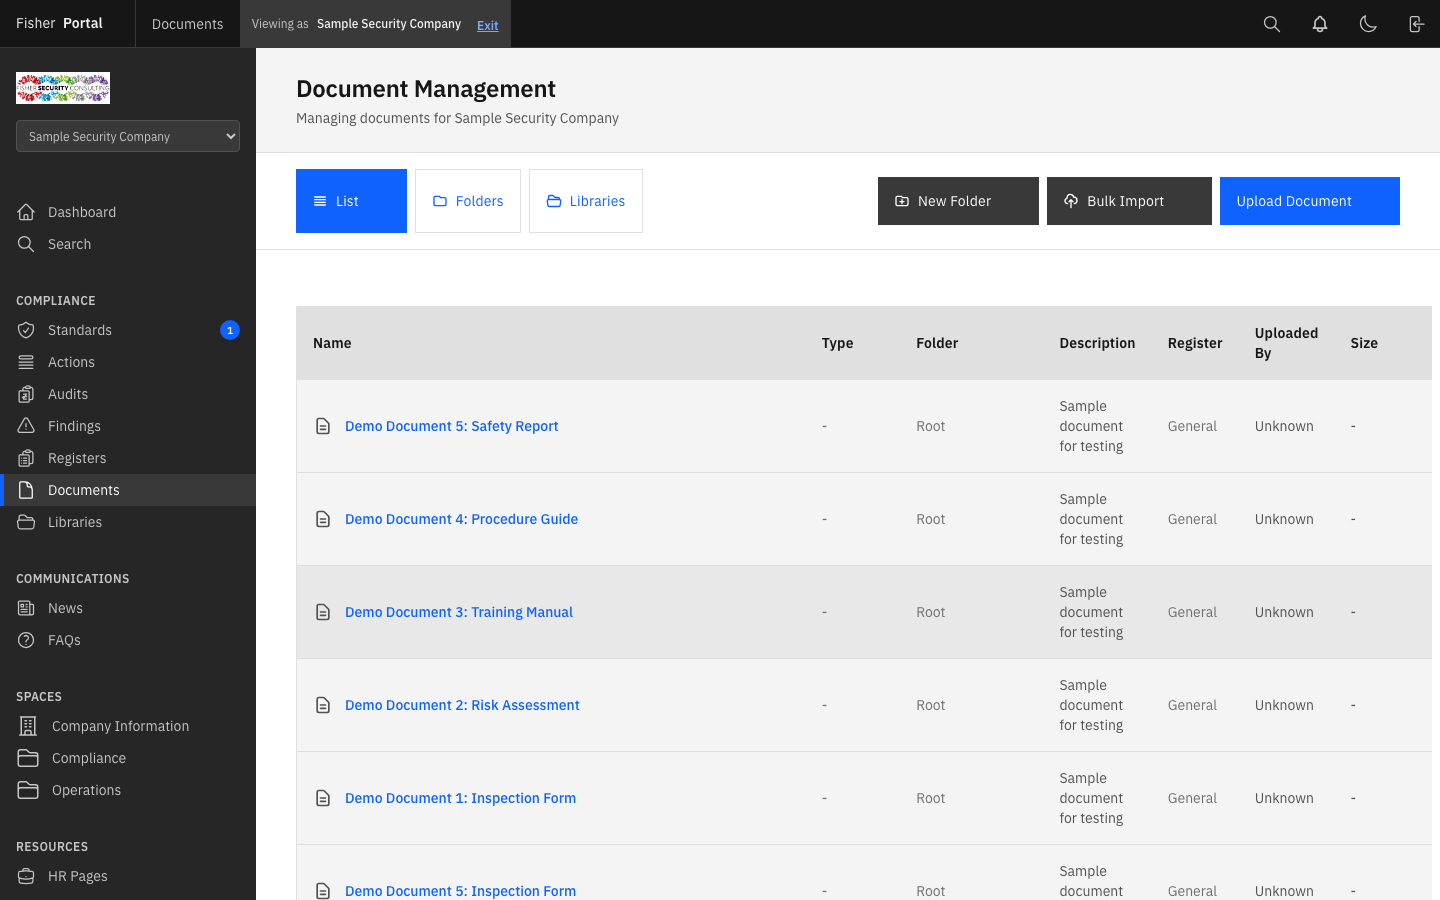
Step 1: View the Document Library
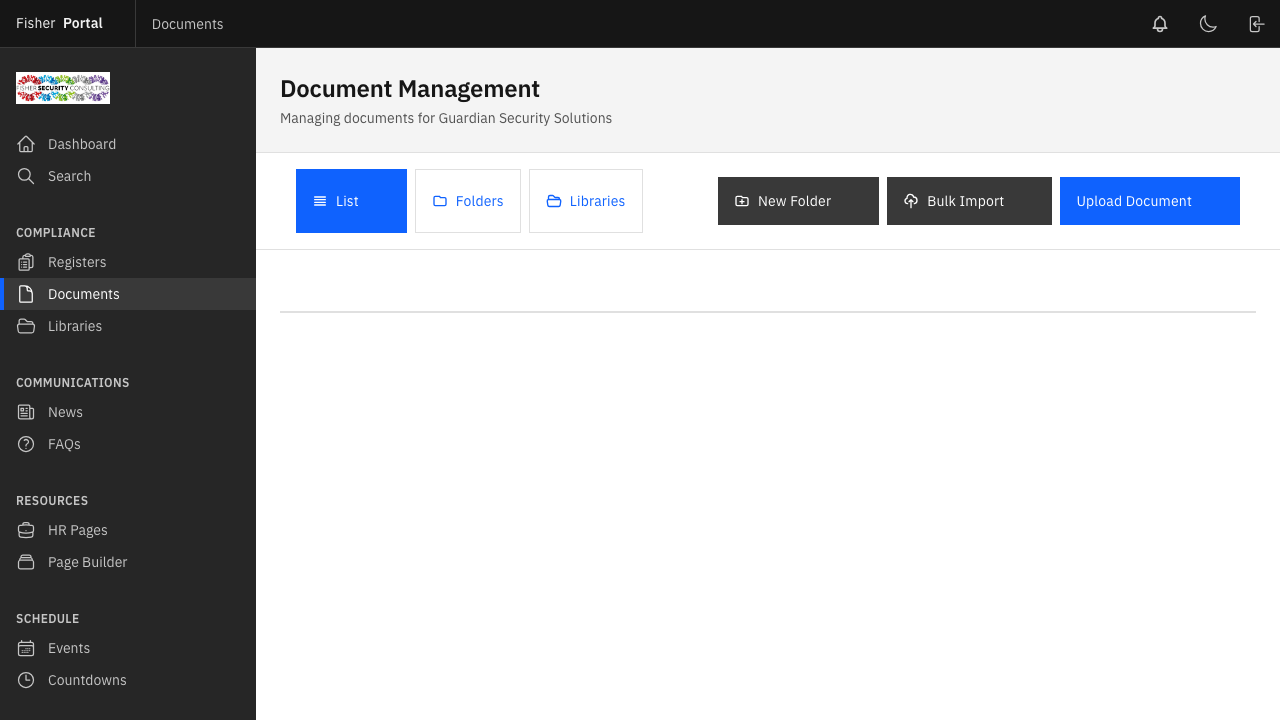
Navigate to Documents from the sidebar menu. You will see your document library, which can be displayed in two view modes:
- List View — A flat list of all documents, sorted by most recent. Each row shows the document name, file type, associated register (if any), uploader, and creation date.
- Folder View — A hierarchical view showing your folder structure. Click into folders to navigate through your document hierarchy.
You can switch between views using the view toggle controls at the top of the page.
Step 2: Create a Folder
Organising documents into folders helps keep your library structured and easy to navigate.
- Click the New Document button.
- Select the Create Folder option (set the “Is Folder” toggle to yes).
- Enter a Folder Name (e.g. “Health & Safety Policies”, “Quality Procedures”, “Certificates”).
- Optionally, provide a Description for the folder.
- If you want to nest this folder inside an existing folder, select a Parent Folder from the dropdown.
- Click Save to create the folder.
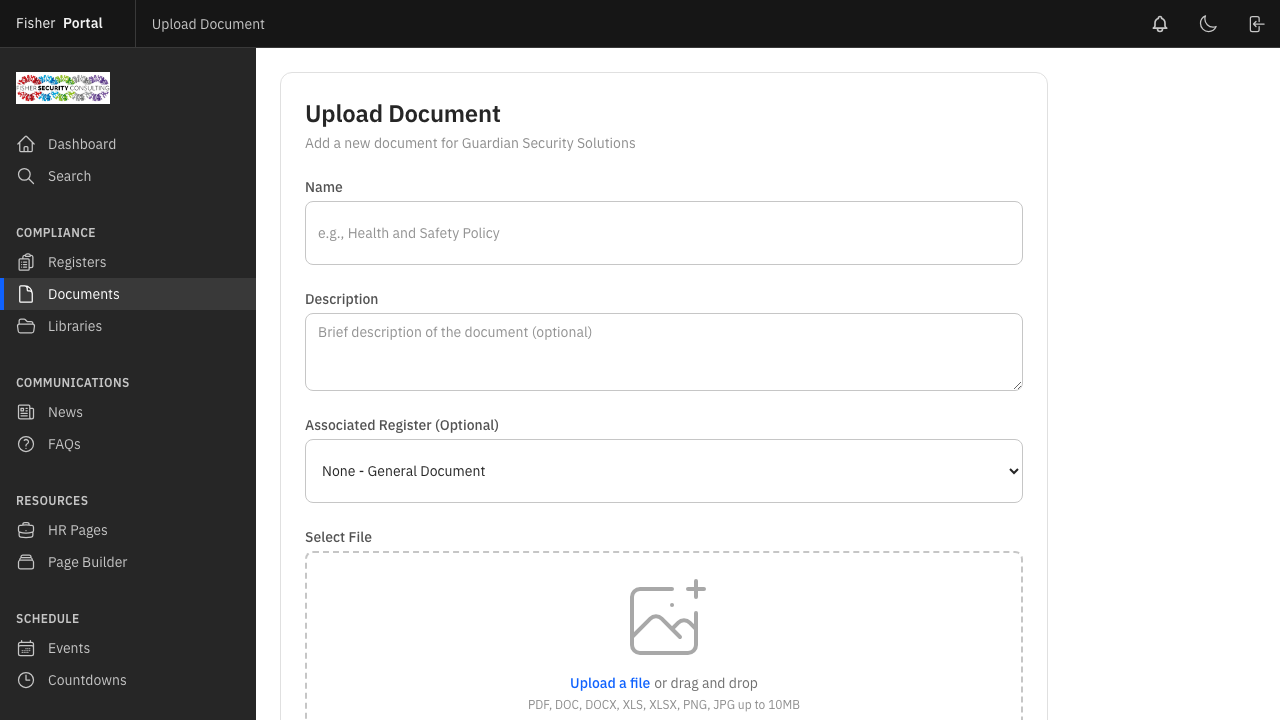
Step 3: Upload a Document
- Click the New Document button.
- Fill in the document details:
- Name — A descriptive name for the document. If left blank, the original filename will be used.
- Description — Optional notes about the document’s purpose, version, or applicability.
- File — Click to select or drag-and-drop the file you want to upload.
- Parent Folder — Select which folder this document should be placed in. Leave blank to place it at the root level.
- Register — Optionally associate this document with a specific compliance register.
- Click Save to upload the document.
Step 4: Bulk Import Documents
When you need to upload multiple files at once:
- Click the New Document button.
- In the file selection area, select multiple files at once (hold Ctrl or Cmd while clicking to select several files).
- Choose a Parent Folder if you want all uploaded files to go into the same folder.
- Click Save to begin the bulk import.
- The system will report how many documents were successfully imported and flag any errors.
Step 5: View Document Details
Click on any document to open its detail view. Here you will see:
- The document name, description, and file type.
- A preview of the document contents (for supported file types).
- The file size and upload date.
- Who uploaded the document.
- The associated register (if any).
- Version history and audit trail.
- Options to download the original file.
For Office documents (Word, Excel, PowerPoint), Fisher Portal can generate a PDF preview so you can view the contents without downloading.
Step 6: Move Documents Between Folders
You can reorganise your document library by moving documents between folders:
- Locate the document you want to move.
- Use the move function to select a new target folder (or move to the root level).
- The document’s location is updated immediately.
Step 7: Delete a Document
- Navigate to the document you want to remove.
- Click the Delete button.
- Confirm the deletion when prompted.
- The document is soft-deleted — it is removed from the active library but can be recovered if needed.
Step 8: Working with Document Libraries (SharePoint)
If your organisation has connected a SharePoint document source, you can browse synced documents alongside your locally uploaded files:
- Switch to the Libraries view using the view toggle.
- Select the connected library you want to browse.
- Navigate through the folder structure to find documents.
- Synced documents maintain their SharePoint folder hierarchy.
Tips
- Use a consistent folder structure. Align your folder structure with your compliance framework. For example, create top-level folders for each ISO standard area (Quality, Health & Safety, Information Security) and sub-folders for policies, procedures, and records.
- Name documents clearly. Use descriptive, standardised names such as “HSF-POL-001 Health and Safety Policy v2.1” rather than vague names like “Policy Final FINAL.docx”.
- Associate documents with registers. When a document relates to a specific register (e.g. a risk assessment form linked to the risk register), use the register association to maintain traceability.
- Bulk import for initial setup. When first setting up your organisation’s document library, use the bulk import feature to upload entire folder contents quickly.
- Check file types. Fisher Portal supports all common file types including PDF, Word, Excel, PowerPoint, images, and more. Office documents can be previewed as PDFs directly in the portal.
Troubleshooting
- “File not found” error when viewing a document — This can occur if the underlying file storage has an issue. Try re-uploading the document.
- Document not appearing after upload — Check that you selected the correct parent folder. The document may be inside a folder you are not currently viewing. Use the list view to see all documents regardless of folder location.
- Cannot delete a document — Only users with appropriate permissions can delete documents. If you lack permission, contact your organisation’s administrator.
- Bulk import errors — When bulk importing, the system processes each file individually. If some files fail, the successfully uploaded ones are kept. Review the error messages for each failed file and try uploading them individually.
- Office document preview not showing — PDF preview generation may take a moment for large Office documents. Refresh the page after a few seconds. If the preview still does not appear, download the file directly.