Managing Registers
Overview
Registers are the backbone of your compliance management in Fisher Portal. They allow you to create structured, database-backed record-keeping systems for any compliance requirement — from health and safety logs to quality assurance checklists, incident reports, and beyond.
Each register is fully customisable with dynamic fields that you define. This means you can tailor each register to capture exactly the data your organisation needs, with appropriate field types, validation, and ordering.
Step-by-Step Guide
Step 1: View Your Registers
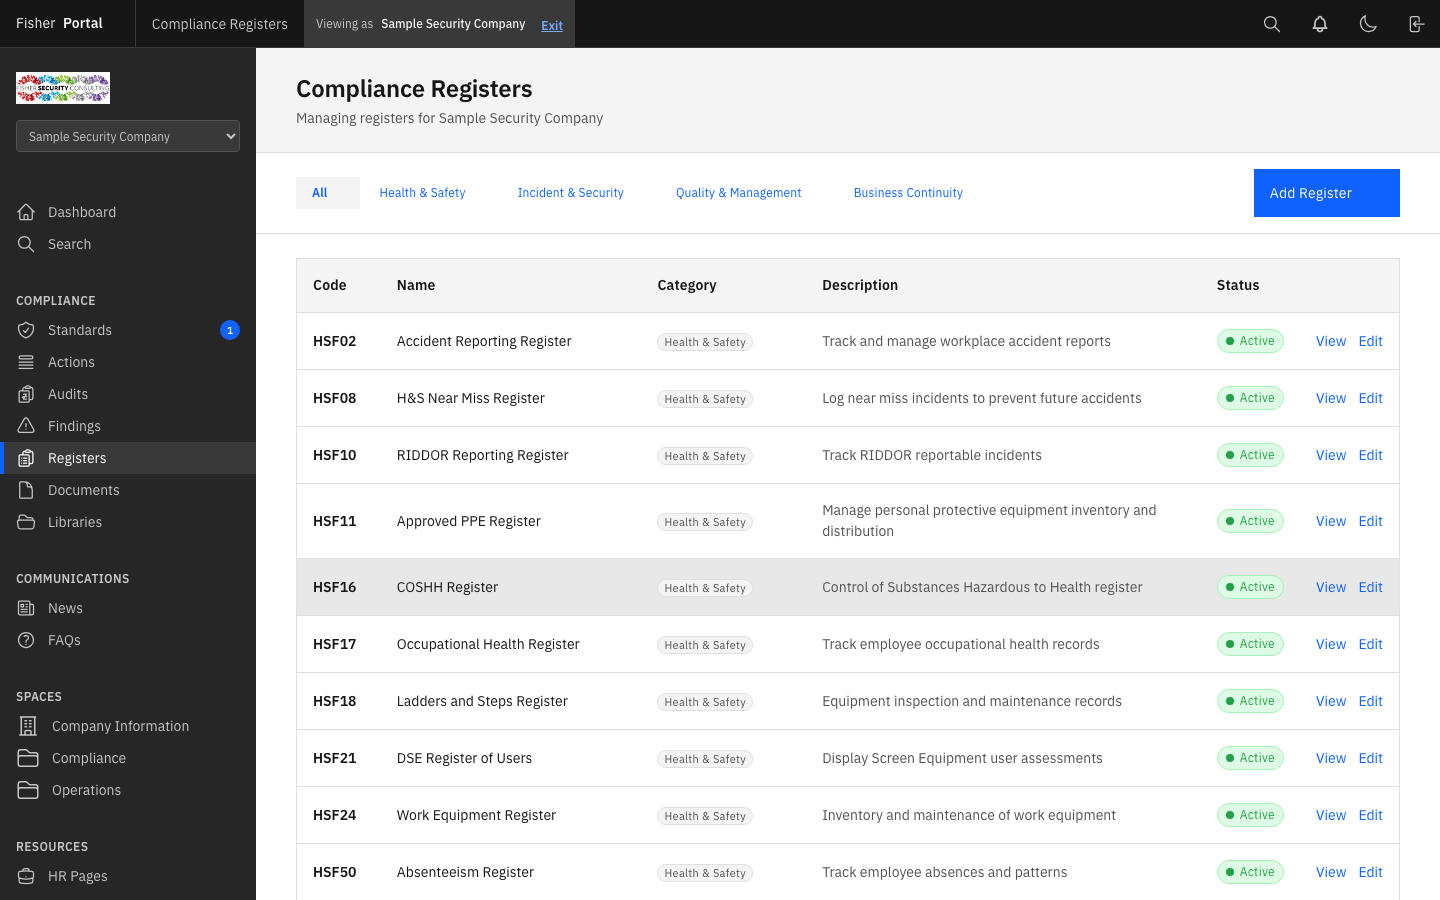
Navigate to Registers from the sidebar menu. You will see a list of all active registers for your organisation, showing the register name, code, and category.
You can filter registers by category using the category filter if your organisation has many registers across different compliance areas.
Step 2: Create a New Register
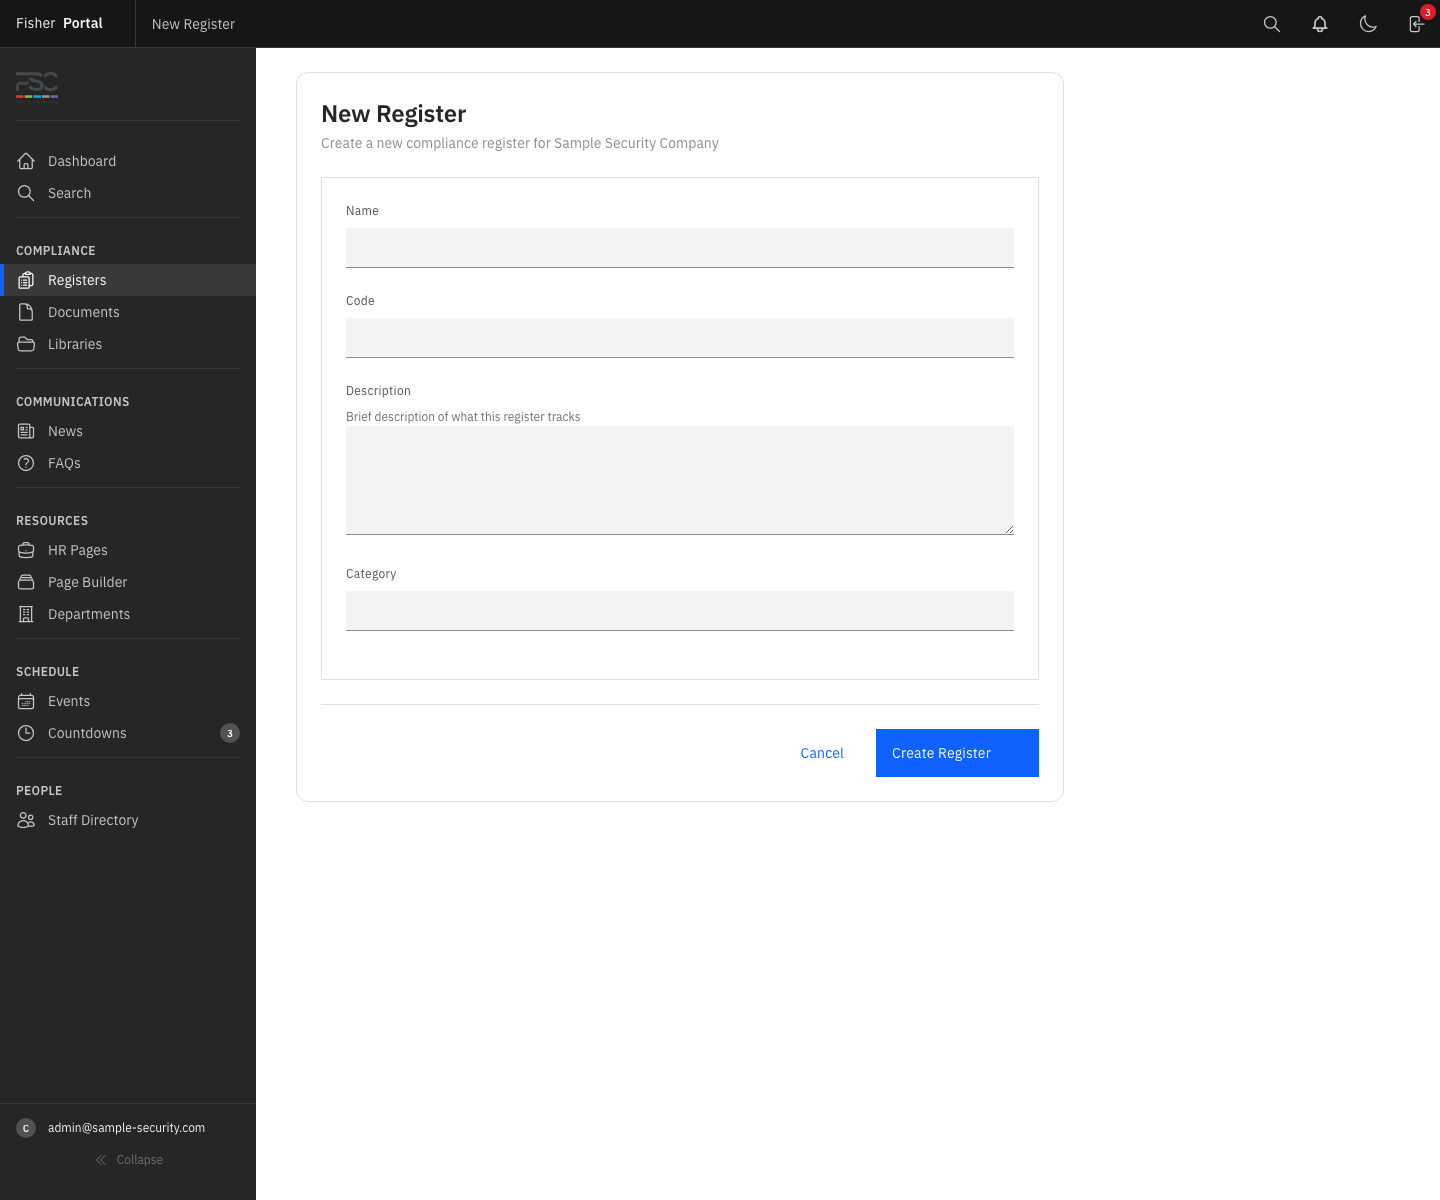
- Click the New Register button from the registers list page.
- Fill in the required fields:
- Name — A descriptive name for the register (e.g. “Health & Safety Incident Log”, “Equipment Maintenance Register”).
- Code — A short, unique identifier for the register (e.g. “HSF-001”, “QSF-003”). This code must be unique within your organisation.
- Description — A brief explanation of the register’s purpose and what data it captures.
- Category — The compliance area this register belongs to (e.g. Health & Safety, Quality, Information Security).
- Active — Toggle whether the register is currently in use.
- Click Save to create the register.
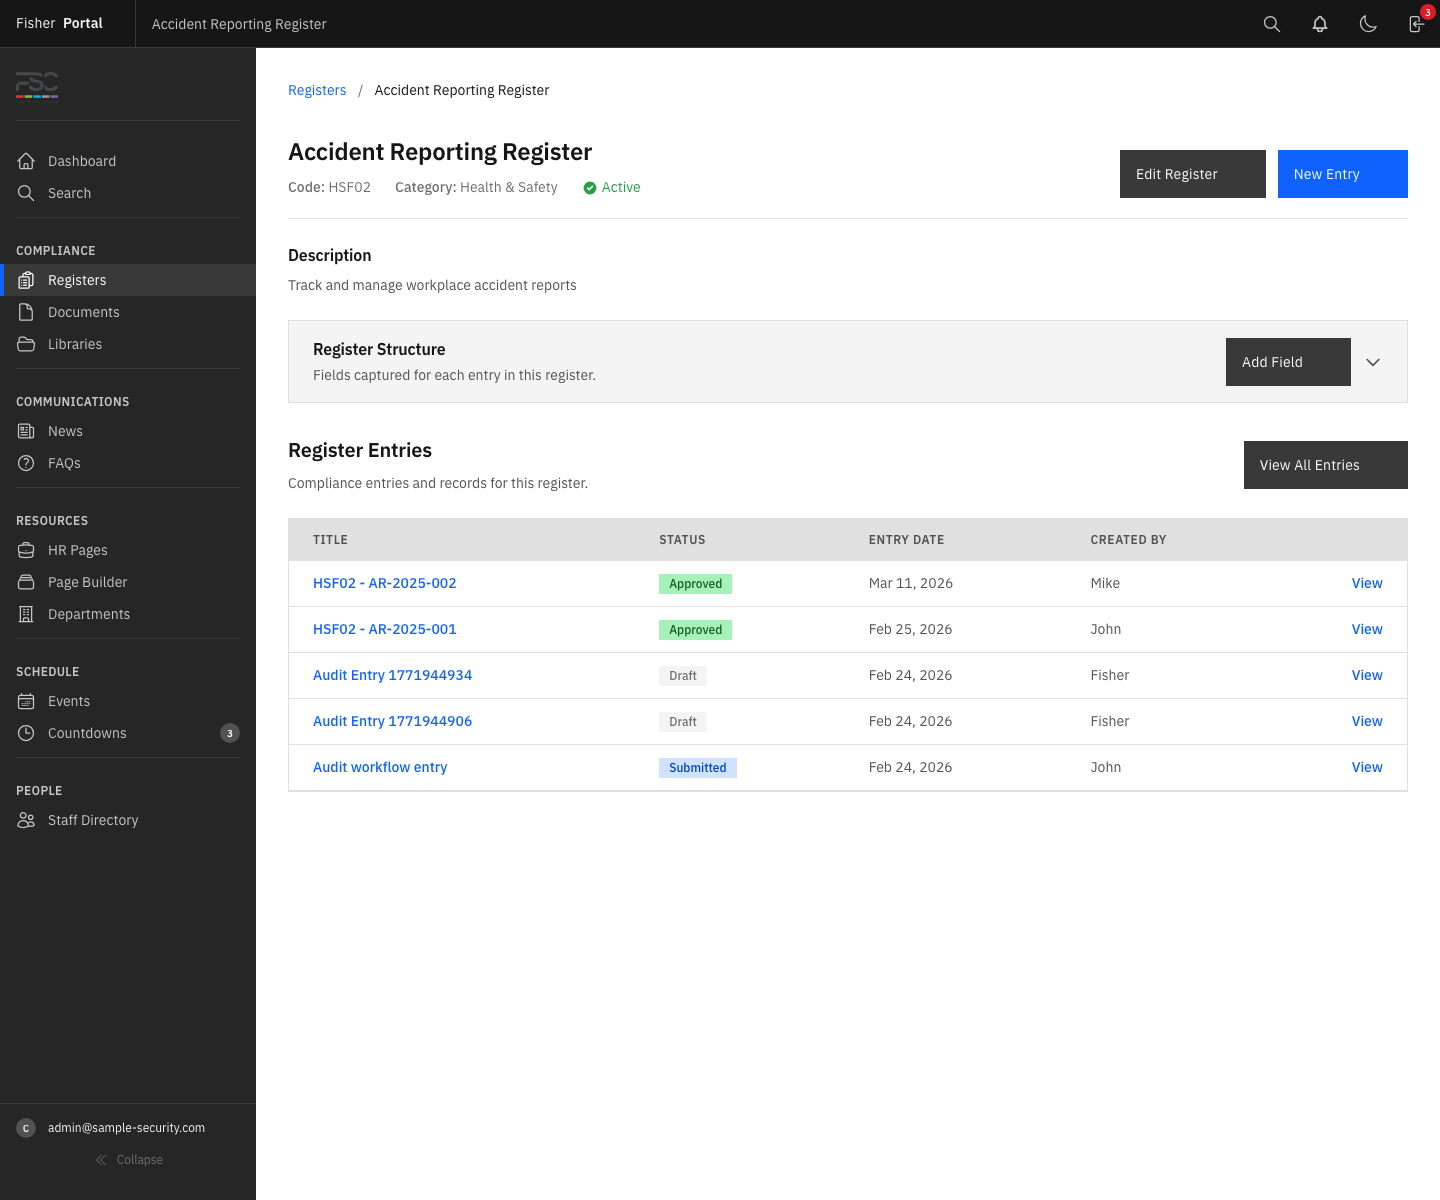
Step 3: View Register Details and Fields
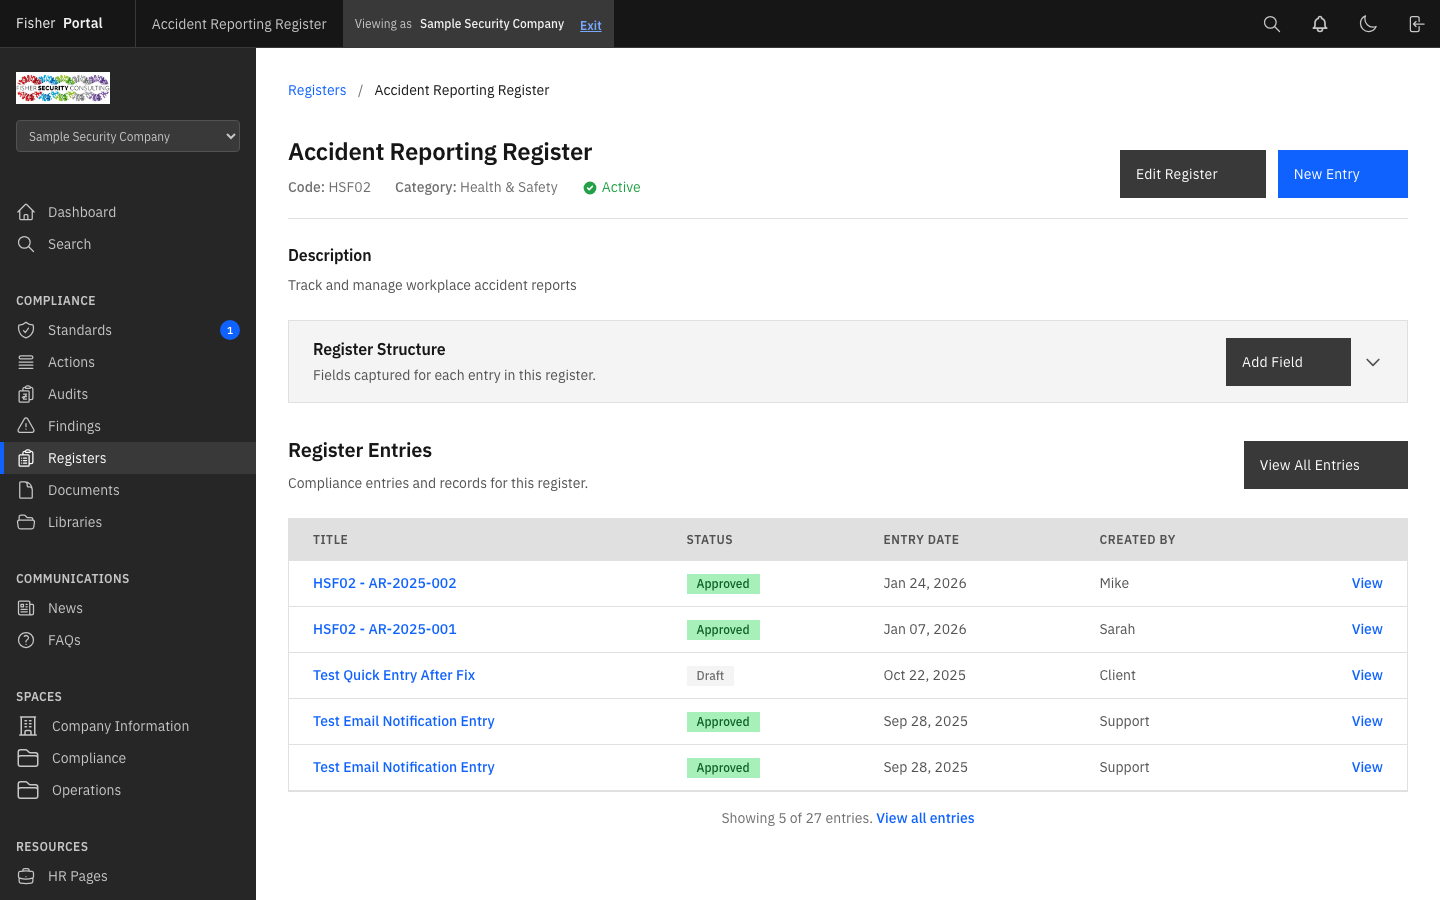
Click on any register name to open the register detail view. Here you will see:
- The register’s name, code, description, and category.
- A list of all configured fields and their types.
- The register entries (data records) that have been submitted.
- Options to edit the register or manage its fields.
Step 4: Add Fields to a Register
Fields define the columns of data your register captures. To add a new field:
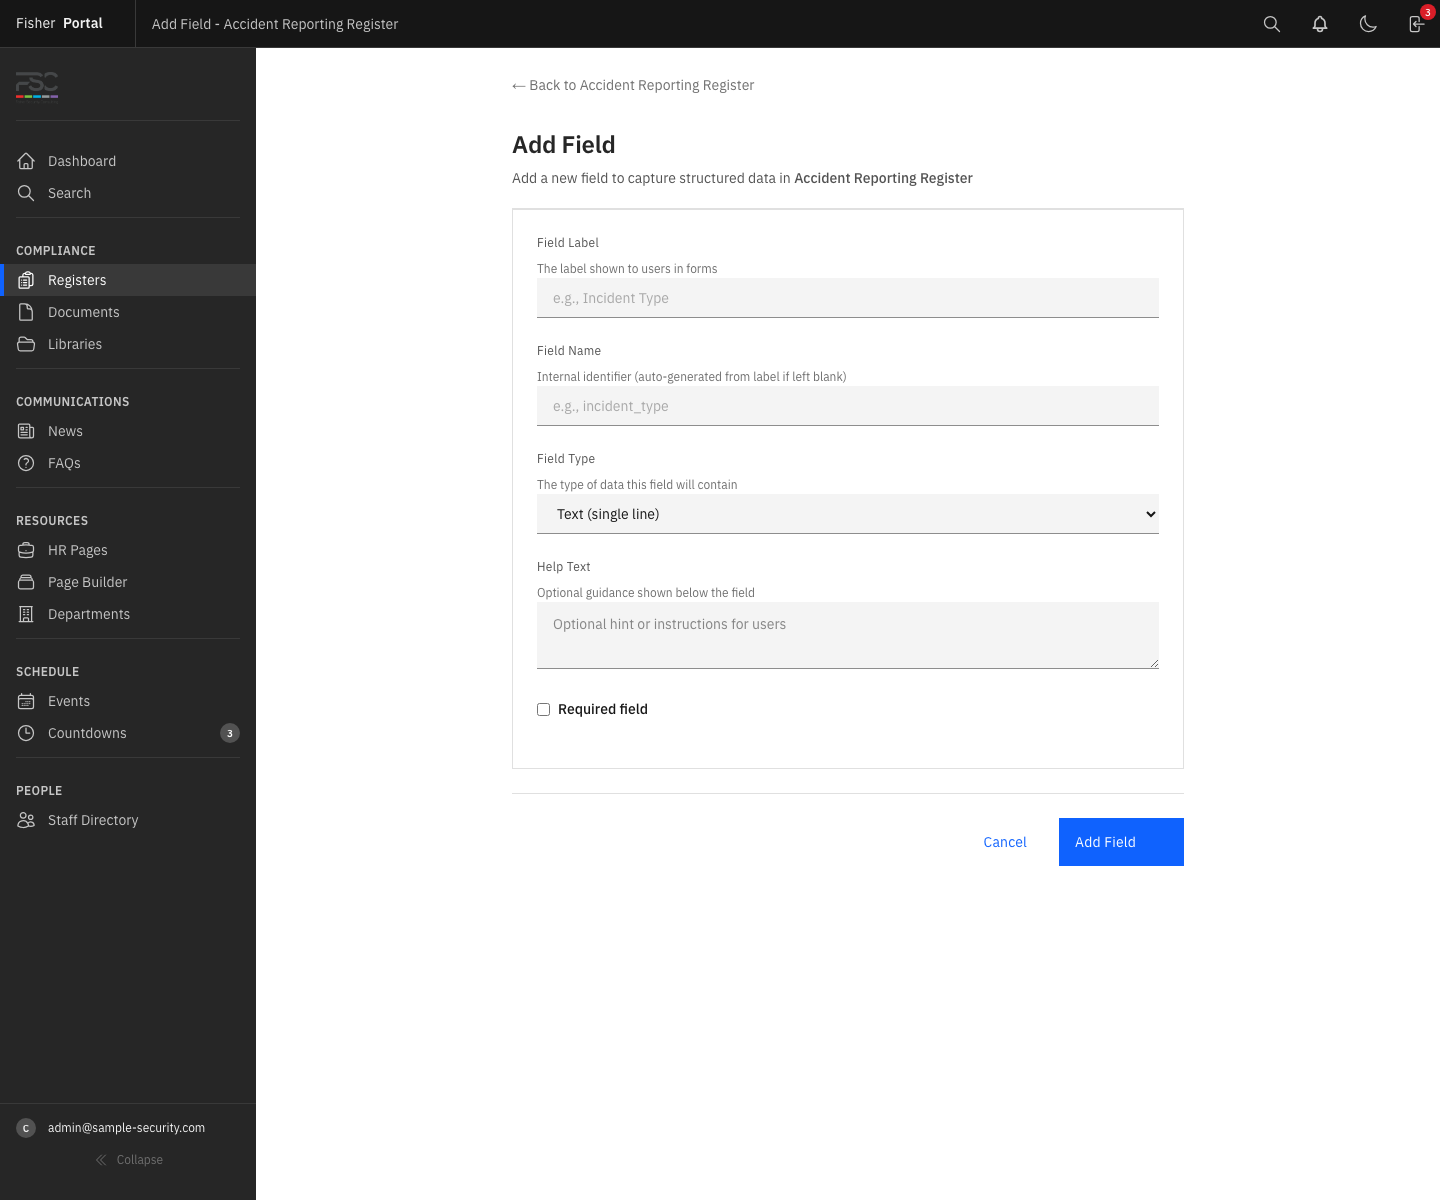
- From the register detail page, click Add Field.
- Configure the field:
- Label — The display name shown to users (e.g. “Date of Incident”, “Risk Rating”).
- Name — An internal identifier, automatically generated from the label. You can override this if needed.
- Field Type — Choose the appropriate data type:
- String — Short text (single line).
- Text — Long text (multi-line, for descriptions or notes).
- Integer — Whole numbers.
- Decimal — Numbers with decimal places.
- Date — A calendar date picker.
- Boolean — Yes/No toggle.
- Single Select — A dropdown with predefined options.
- Multi Select — Multiple choices from predefined options.
- Email — An email address (validated format).
- Phone — A telephone number.
- URL — A web address (validated format).
- Currency — A monetary value with configurable currency symbol.
- Percentage — A percentage value.
- User — A reference to a user in your organisation.
- File — A file attachment.
- Required — Whether this field must be filled in for every entry.
- Help Text — Optional guidance text shown below the field.
- Default Value — An optional pre-filled value for new entries.
- For Single Select and Multi Select fields, you must provide a list of choices. Enter each option on a new line.
- For Currency fields, you can configure the currency symbol (defaults to $).
- For Decimal, Currency, and Percentage fields, you can set the number of decimal places.
- Click Save to add the field.
Step 5: Reorder Fields
Fields appear on entry forms in the order you define. To change the order:
- From the register detail page, locate the field you want to move.
- Use the Move Up or Move Down controls to adjust the field’s position.
- The first field in the list is treated as the “primary field” — its value is used to auto-generate entry titles when no title is provided.

Step 6: Edit or Remove Fields
- To edit a field, click the edit icon next to the field. You can change the label, help text, required status, and default value. Changing the field type on an existing register with data should be done with care.
- To remove a field, click the delete icon. You will be asked to confirm. Note that removing a field does not delete historical data already stored in entries, but the field will no longer appear on forms.
Step 7: Edit or Delete a Register
- To edit a register’s name, code, description, category, or active status, click Edit from the register detail page.
- To delete a register, click Delete. This is a soft delete — the register and its entries are archived rather than permanently destroyed.
Tips
- Plan your fields before creating entries. It is much easier to set up all your fields first, then begin capturing data. Adding fields later is possible, but existing entries will have blank values for the new fields.
- Use meaningful codes. Register codes like “HSF-001” (Health & Safety Form 001) or “QSF-002” (Quality System Form 002) help staff quickly identify registers.
- Mark fields as required judiciously. Only mark fields as required if the data is truly essential. Too many required fields can slow down data entry.
- Use help text. Brief guidance under each field helps staff understand exactly what information to provide, reducing errors and inconsistencies.
- The primary field matters. The first field in your register is used to auto-generate entry titles. Choose a field that meaningfully identifies each record (e.g. “Incident Description” or “Equipment Name”).
Troubleshooting
- “Code has already been taken” error — Each register code must be unique within your organisation. Choose a different code or check if a deleted register is using the same code.
- Fields not appearing on the form — Ensure the register is marked as active. Inactive registers are hidden from regular users.
- Cannot delete a register — Only users with client admin permissions can delete registers. If you lack permission, speak to your organisation’s administrator.
- Select field won’t save — Single select and multi select fields require at least one choice option. Ensure you have entered at least one option, with each option on a separate line.