Managing Users
Overview
As a client admin, you are responsible for managing the users within your organisation on Fisher Portal. This includes adding new team members, assigning appropriate roles, updating user details, and removing users who no longer require access.
Fisher Portal uses a role-based access system to ensure that staff can only see and do what is appropriate for their position. All user management is scoped to your organisation — you can only view and manage users who belong to your company.
Understanding User Roles
Within your organisation, users are assigned one of the following membership roles:
| Role | Permissions |
|---|---|
| Staff | View published content, submit register entries, access documents. This is the default role for most team members. |
| Manager | All staff permissions, plus the ability to edit certain records and manage assigned areas. |
| Client Admin | Full management access within the organisation. Can create and manage users, content, registers, documents, branding, and all other features. |
Important: The “client admin” role applies within your organisation only. It does not grant access to other organisations or system-level settings. System-wide administration (super admin) is reserved for Fisher Security Consulting staff.
Step-by-Step Guide
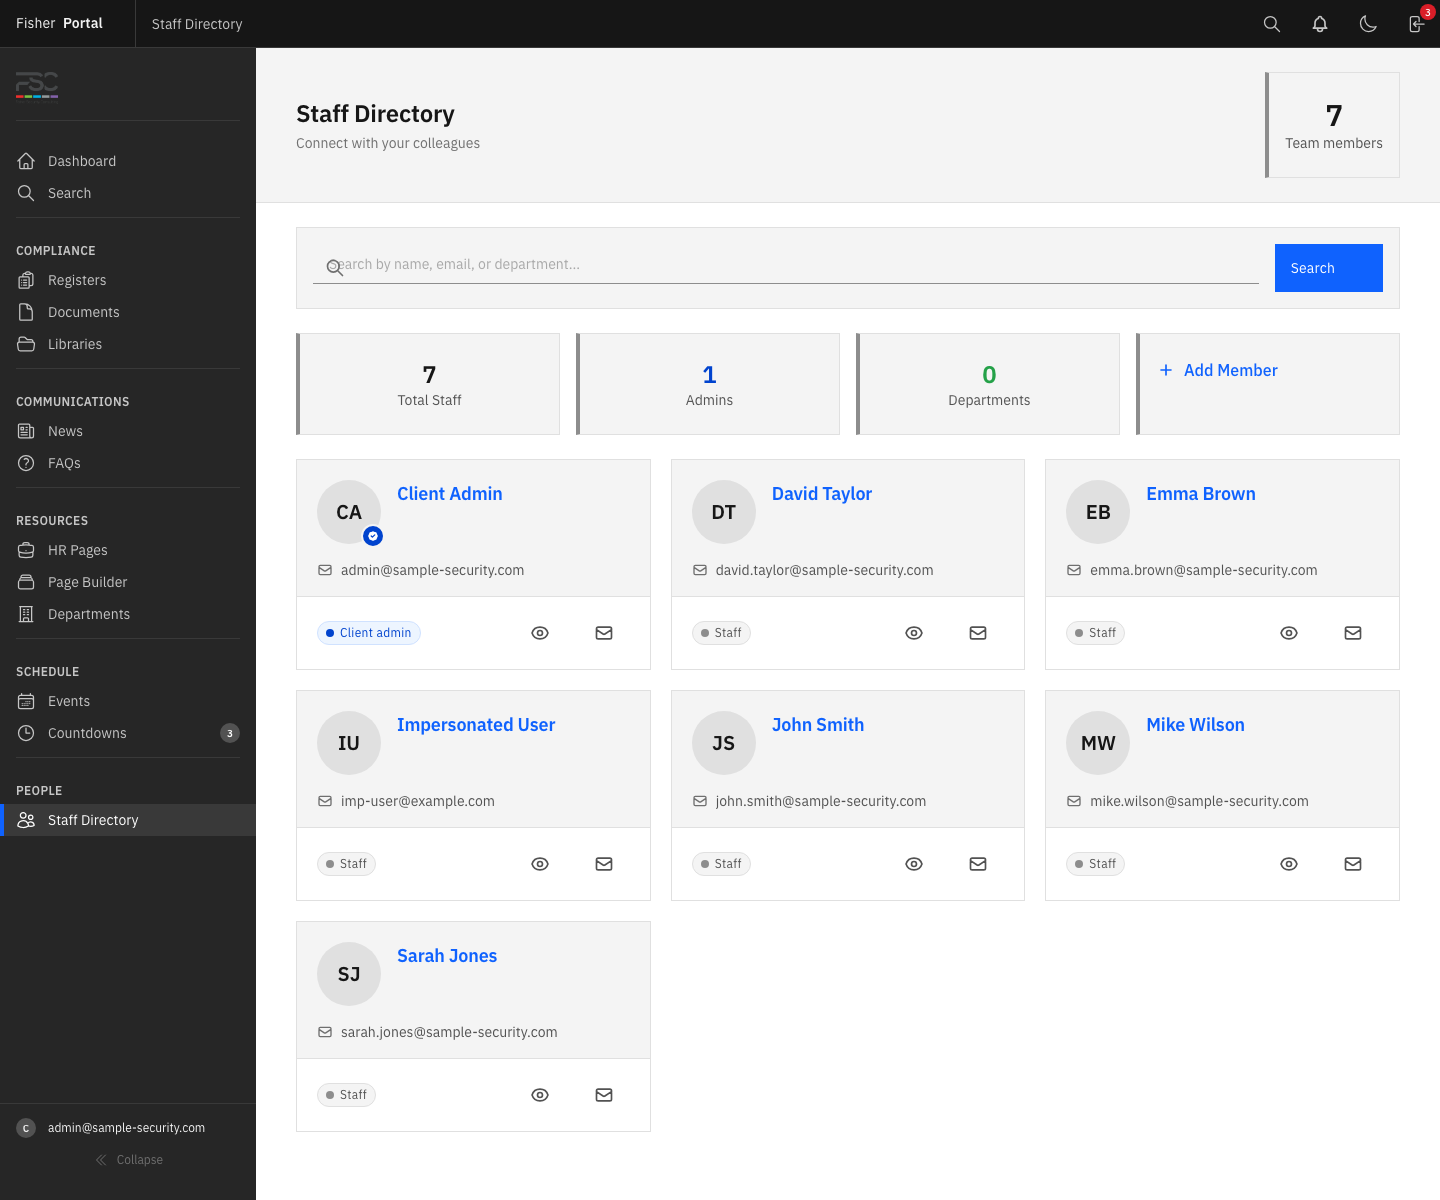
Step 1: View Your Organisation’s Users
Navigate to Users from the sidebar menu. You will see a list of all users in your organisation, showing:
- First name and last name.
- Email address.
- Role within your organisation.
- Department and job title (if set).
You can filter the list:
- By role — Use the role filter to show only staff, managers, or client admins.
- By search — Type a name or email in the search box to find a specific user.
Step 2: Add a New User
- Click the New User button.
- Fill in the user’s details:
- First Name — The user’s given name.
- Last Name — The user’s surname.
- Email — The user’s email address. This will be their login username. It must be unique across the entire platform.
- Phone — Optional contact number.
- Department — The department or team they belong to (e.g. “Operations”, “Health & Safety”, “Management”).
- Job Title — Their role title within the organisation (e.g. “Security Officer”, “Compliance Manager”).
- Password — Set an initial password for the user. If left blank, a secure temporary password will be generated automatically.
- Membership Role — Select the appropriate role: Staff, Manager, or Client Admin.
- Click Save to create the user.
- The new user will be added to your organisation with the selected role. Share their login credentials securely so they can access the portal.
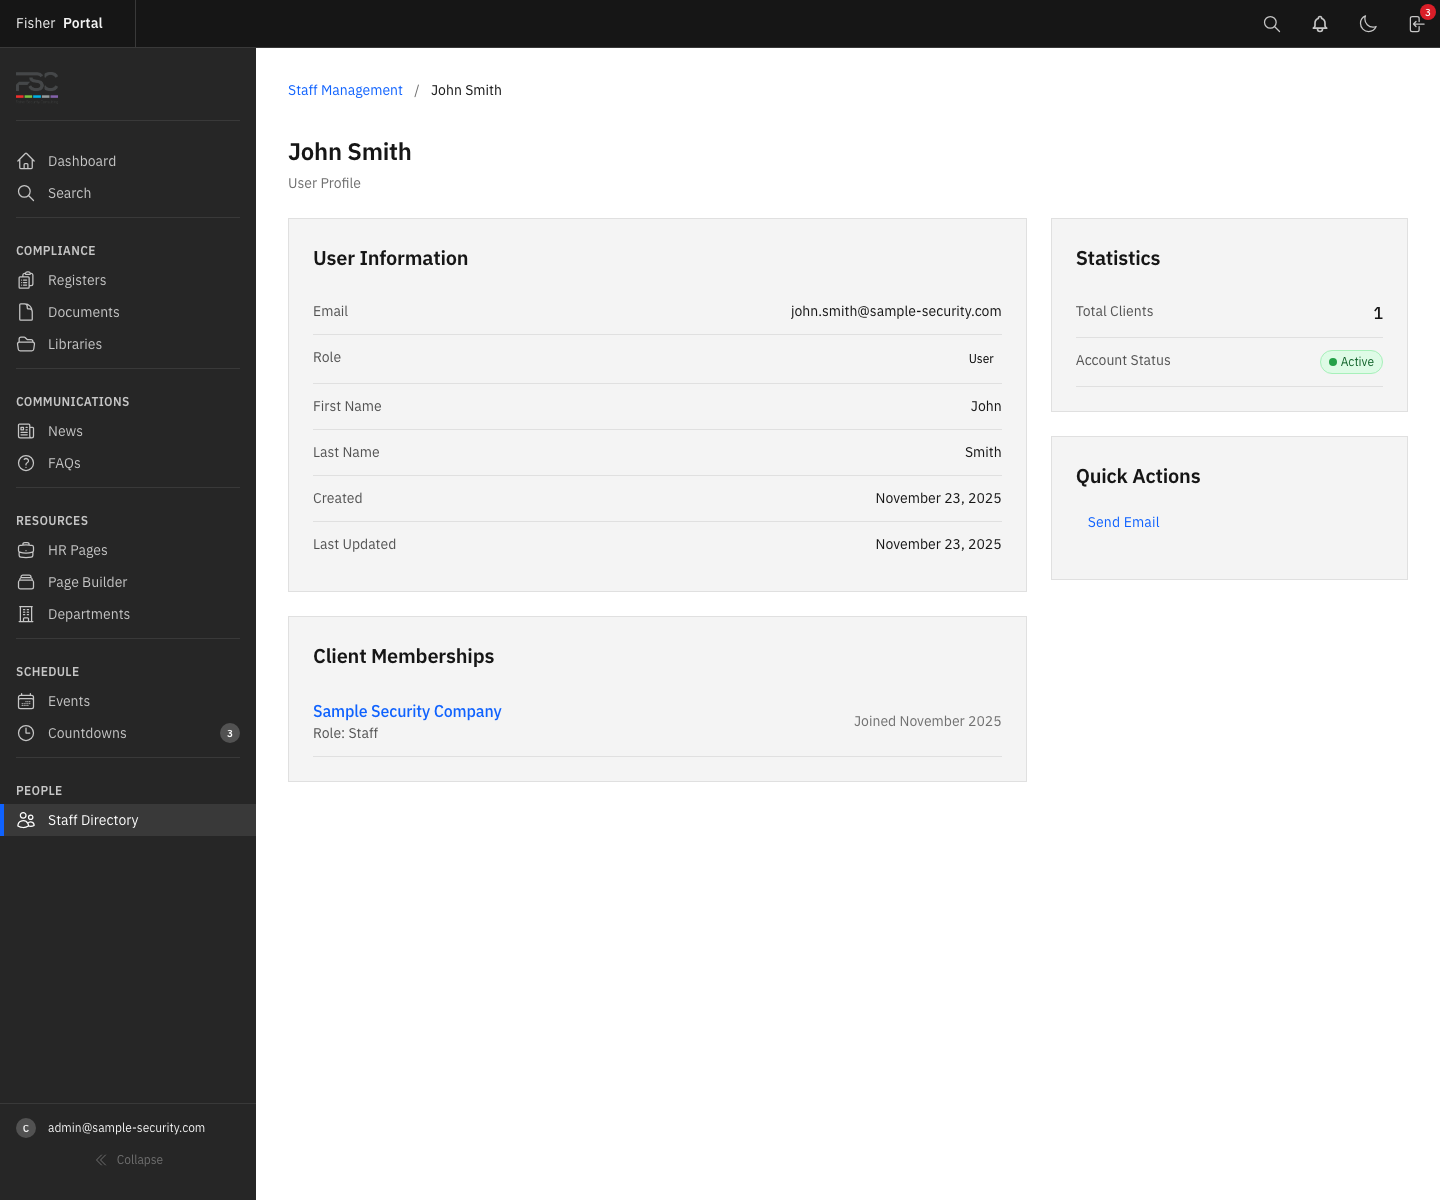
Step 3: View User Details
Click on any user’s name to open their profile. The user detail page shows:
- Full name, email, phone number, department, and job title.
- Their membership role within your organisation.
- Sign-in information (if available).
- A list of all their memberships (the organisations they belong to).
Step 4: Edit a User
- Navigate to the user’s profile and click the Edit button.
- Update any of the following fields:
- First name, last name, email, phone, department, job title.
- Membership role (staff, manager, or client admin).
- Password — only fill in the password fields if you need to reset the user’s password. Leave them blank to keep the existing password unchanged.
- Click Save to apply the changes.
Step 5: Reset a User’s Password
If a user has forgotten their password or you need to reset it:
- Navigate to the user’s profile and click Edit.
- Enter a new password in the Password field.
- Enter the same password in the Password Confirmation field.
- Click Save.
- Share the new password with the user securely. Advise them to change it after their next login.
Step 6: Remove a User
When a team member leaves or no longer needs access:
- Navigate to the user’s profile.
- Click the Delete button.
- Confirm the removal when prompted.
- The user is soft-deleted — their account is deactivated and they can no longer log in, but their historical data (register entries, document uploads, comments) is preserved for audit purposes.
Tips
- Use meaningful job titles and departments. These fields help you filter and organise your team. They also appear in register entries and document uploads, providing context about who submitted what.
- Keep the client admin role limited. Only give the client admin role to people who genuinely need to manage the portal. Most team members should be staff or managers.
- Generate passwords automatically. If you leave the password field blank when creating a user, the system generates a secure random password. This is more secure than choosing a simple password manually.
- Review your user list regularly. Periodically check your user list to ensure that only current team members have active accounts. Remove any users who have left the organisation.
- Use the search and role filters. When your organisation has many users, the search and filter tools help you find specific people quickly.
Troubleshooting
- “Email has already been taken” error — The email address is already registered on Fisher Portal, either in your organisation or another. Each email can only be used once. Contact the user to confirm their correct email, or reach out to Fisher Portal support if you believe this is an error.
- Cannot see the Users menu — Only client admins can access user management. If you do not see the Users option in the sidebar, you may not have the client admin role. Contact your organisation’s existing administrator.
- User cannot log in after creation — Double-check that you provided the correct email address and password. Ensure the user is typing their email exactly as registered (it is case-sensitive for the password). If a temporary password was generated, ensure it was communicated correctly.
- “User not found” error — This occurs when trying to access a user who does not belong to your organisation, or who has been deleted. You can only manage users within your own organisation.
- Cannot change a user’s email — Ensure the new email address is not already in use by another account. Email addresses must be unique across the entire platform.
- Removed user’s data is missing — Removing a user does not delete their historical data. Register entries, documents, and comments they created remain in the system. The user’s name will still appear on these records.