Page Builder
Overview
The Page Builder in Fisher Portal gives you the tools to create fully custom internal pages for your organisation. Pages are organised within Spaces — think of spaces as workspaces or sections of your internal site (e.g. “Company Handbook”, “Health & Safety Hub”, “Team Pages”).
Within each space, you can create pages using templates, add rich content, publish and schedule pages, manage versions, and organise them for easy navigation. The page builder also integrates with Departments and Page Templates to help you maintain consistency across your content.
Spaces
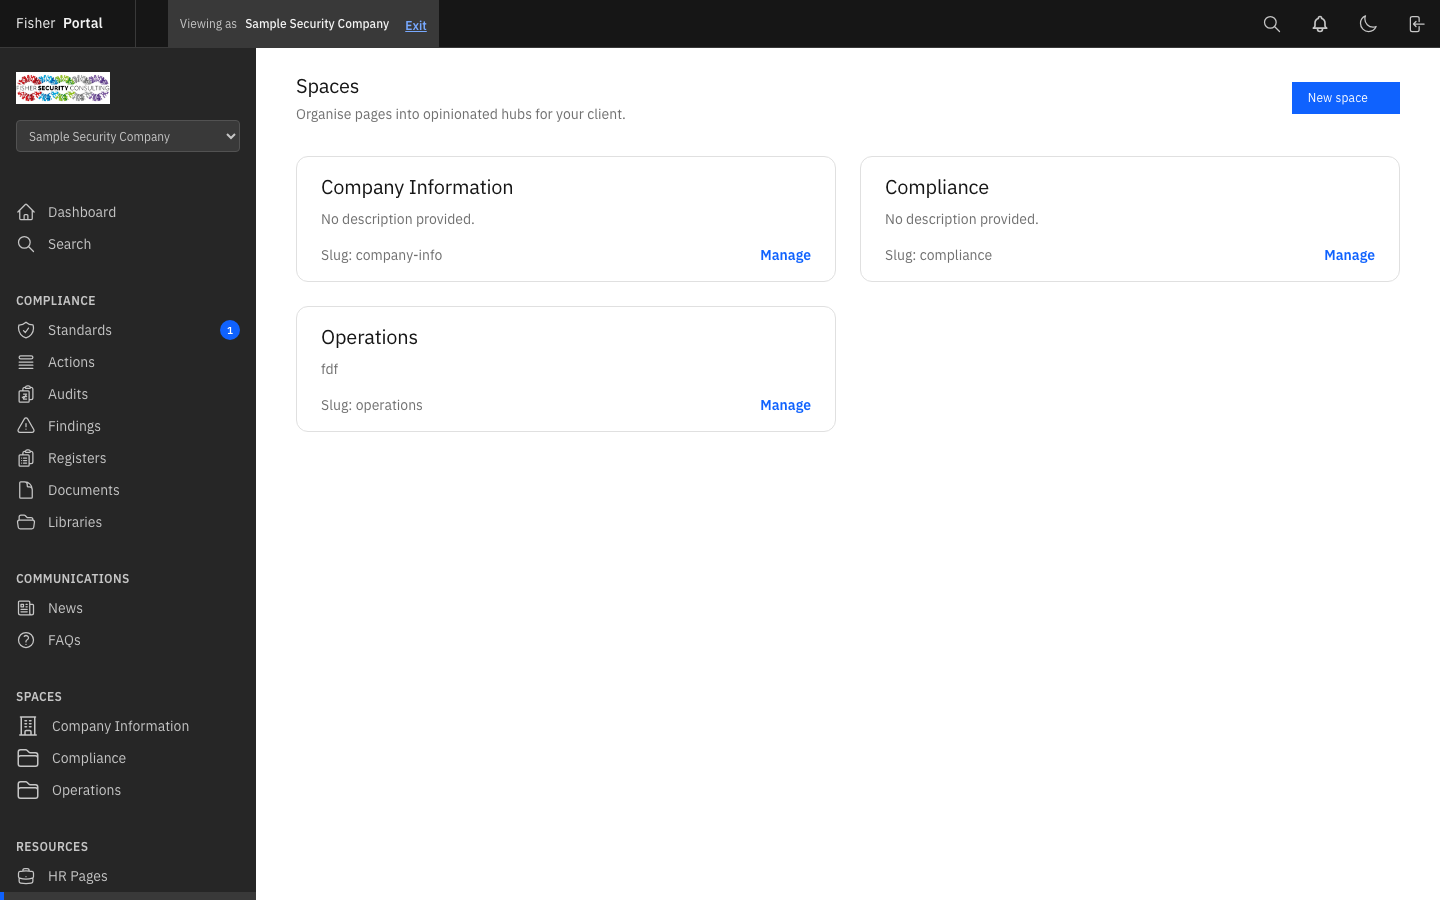
Spaces are containers that group related pages together. They appear as sections in your portal’s navigation.
Viewing Spaces
Navigate to Spaces from the sidebar menu. You will see a list of all spaces for your organisation, showing the space name, description, and the number of pages within each.
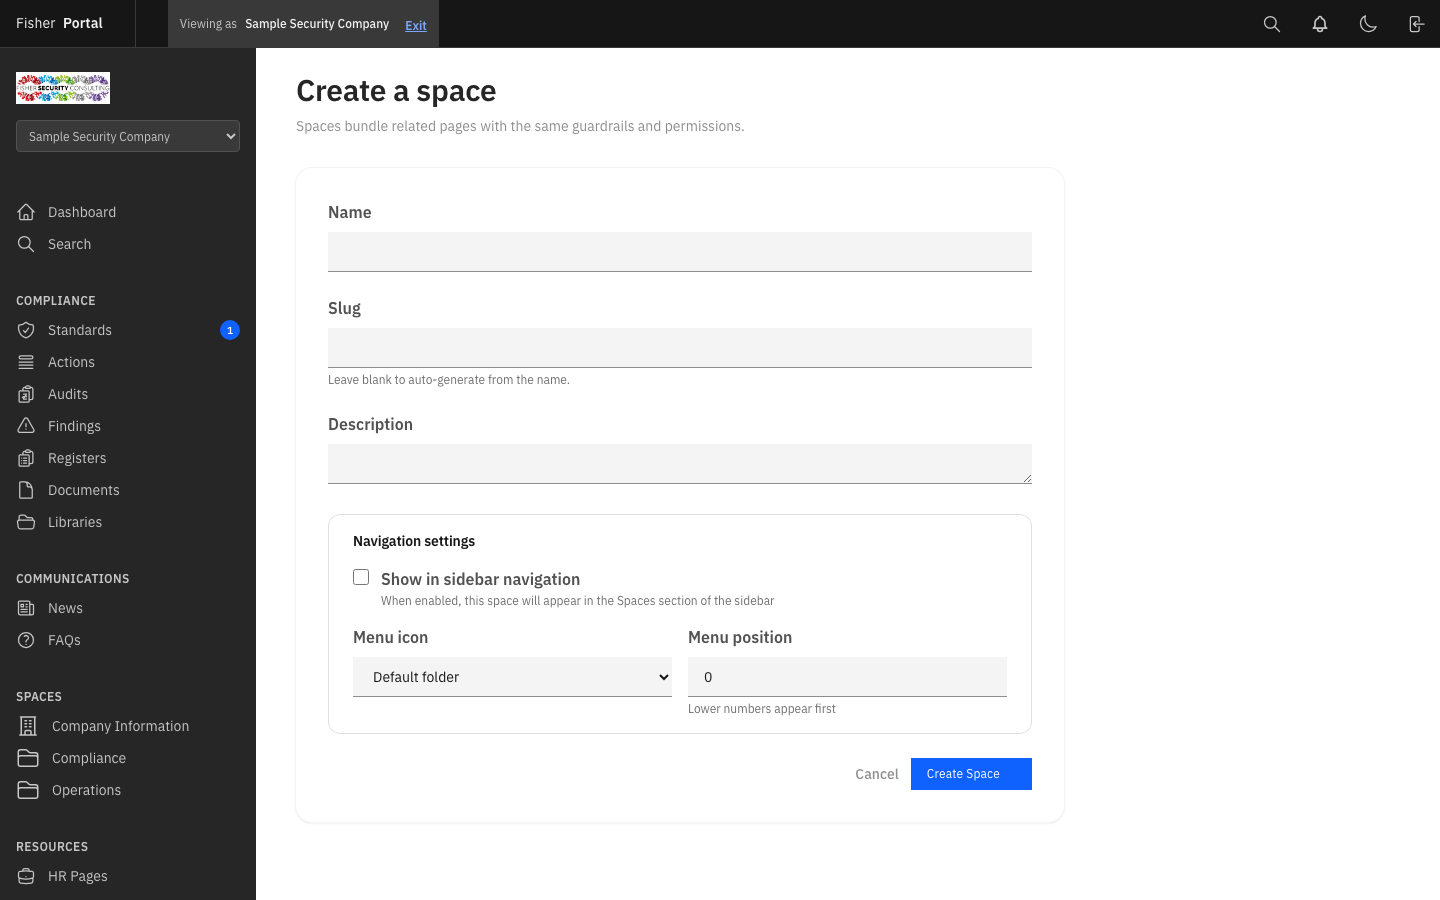
Creating a Space
- Click the New Space button.
- Fill in the space details:
- Name — The display name for the space (e.g. “Company Handbook”, “Compliance Hub”, “Team Resources”).
- Slug — A URL-friendly identifier, auto-generated from the name. You can customise this if needed.
- Description — A brief explanation of what this space contains and its purpose.
- Show in Menu — Toggle whether this space appears in the main sidebar navigation.
- Menu Icon — Choose an icon to represent this space in the navigation menu.
- Menu Position — Set the display order among other spaces in the menu. Lower numbers appear higher.
- Click Save to create the space.
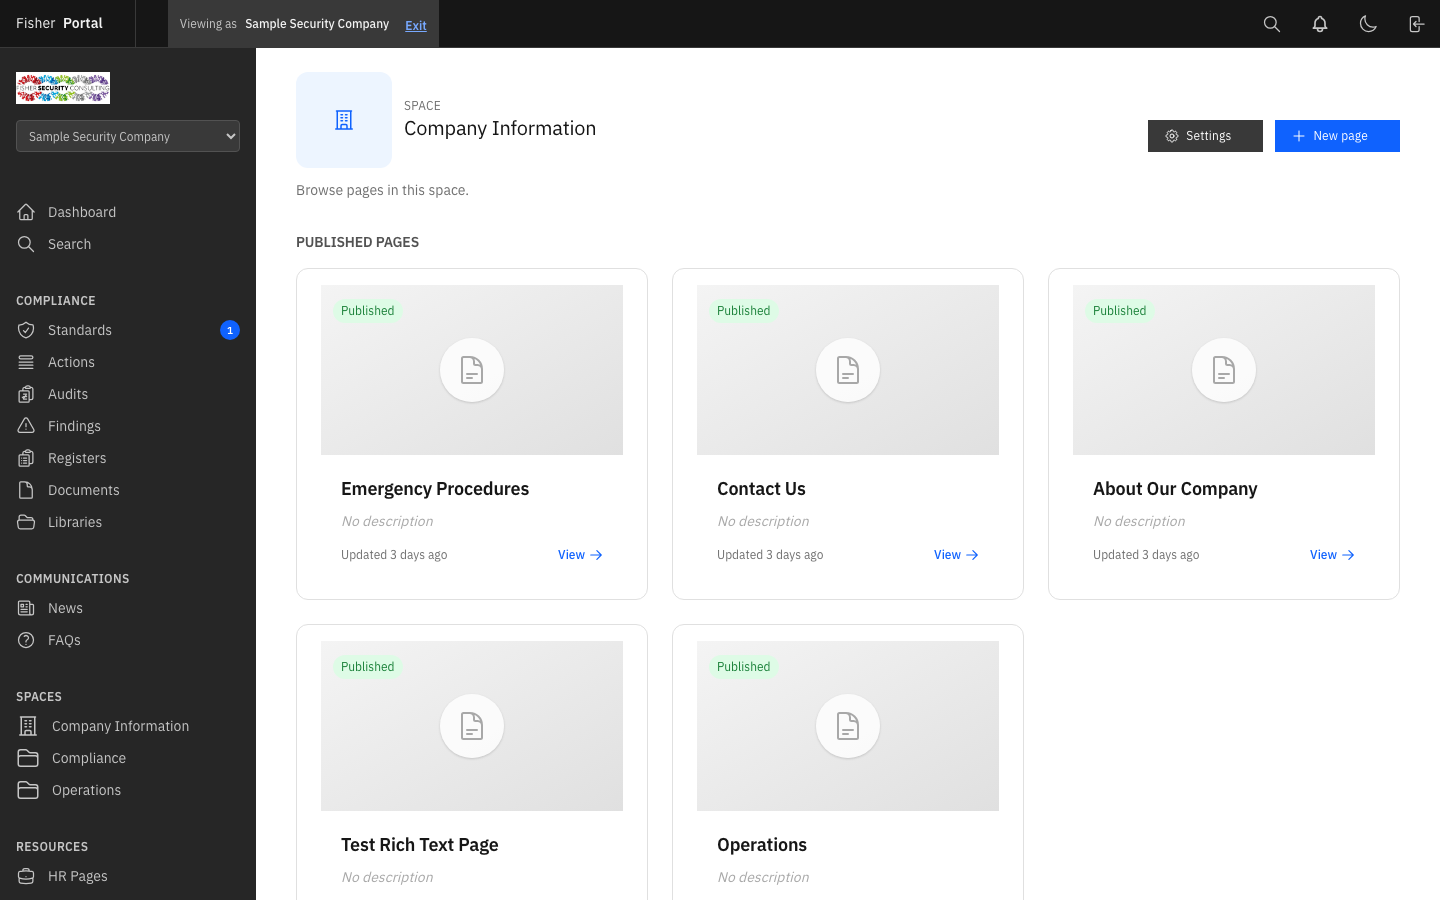
Viewing a Space
Click on any space to see its detail view. This shows:
- The space name and description.
- A list of all pages within the space, ordered by their position.
- Each page’s title, status (draft, published, scheduled), and last update time.
- Options to create new pages, edit the space, or manage existing pages.
Editing and Deleting Spaces
- To edit, click the edit button. Update the name, description, slug, or menu settings and click Save.
- To delete (archive), click the delete button and confirm. This archives the space and all its pages.
Pages
Pages are individual pieces of content within a space. They support rich content, templates, versioning, and publishing workflows.
Creating a Page
- Navigate to the space where you want to add a page.
- Click the New Page button.
- Fill in the page details:
- Title — The page heading.
- Slug — A URL-friendly identifier for the page.
- Description — A brief summary of the page’s content.
- Template — Select a pre-built template to start with, or choose “Blank” to start from scratch.
- Featured Image — Upload a header image for the page.
- Show in Menu — Toggle whether this page appears in the space’s navigation.
- Menu Position — The display order within the space’s menu.
- Menu Icon — An icon for the page in the navigation.
- Required Reading — Mark the page as mandatory reading for staff.
- If you selected a template, the page content will be pre-populated based on that template’s structure.
- Click Save to create the page. You will be taken to the page editor.
Editing Page Content
The page editor allows you to build and arrange content sections. You can:
- Add, remove, and reorder content blocks.
- Edit text, images, and other media within each section.
- Use the rich content editor for formatted text.
- Adjust design settings for the page layout.
- Preview the page before publishing.
Publishing a Page
Pages go through a publication lifecycle:
- Draft — The default state for new pages. Draft pages are only visible to admins.
- Published — Live and visible to all staff. Click the Publish button to make a page live immediately.
- Scheduled — Set to publish automatically at a future date and time. Click the Schedule button and select a publication date.
- Unpublished — A previously published page that has been taken offline. Click the Unpublish button to remove a page from view while keeping its content.
Version History
Every time you save changes to a page, Fisher Portal captures a version:
- View the version history on the page detail screen, which shows the 20 most recent versions.
- Each version records who made the change and when.
- You can restore any previous version to revert the page content to an earlier state.
Page Templates
Page Templates provide pre-built page structures that help maintain consistency across your organisation’s content. Templates save time by providing a starting point with pre-configured content sections and layout.
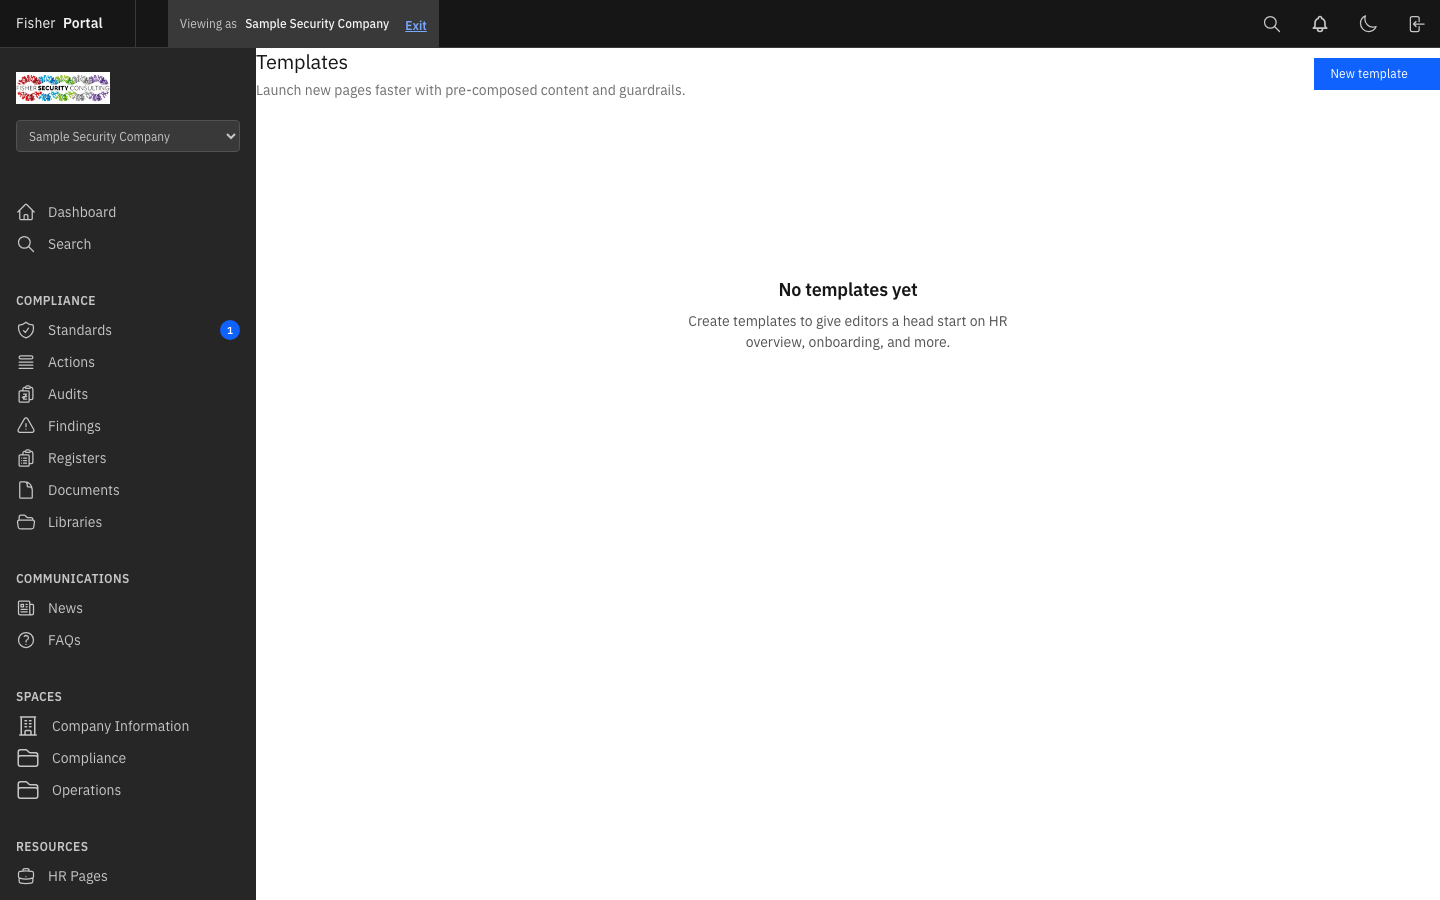
Viewing Templates
Navigate to Page Templates from the sidebar menu. You will see a list of all available templates, including system templates and any custom templates you have created.
Creating a Template
- Click the New Template button.
- Fill in the template details:
- Name — A descriptive name for the template (e.g. “Policy Page”, “Team Profile”, “Procedure Template”).
- Description — What this template is designed for and when to use it.
- Content JSON — The template’s content structure in JSON format. This defines the sections, blocks, and default content that pages created from this template will include.
- Thumbnail Path — An optional thumbnail image for the template.
- System Template — Whether this is a system-level template (available to all organisations).
- Click Save to create the template.
Using Templates
When creating a new page, you can select a template from the dropdown. The page will be pre-populated with the template’s content structure, which you can then customise for your specific needs.
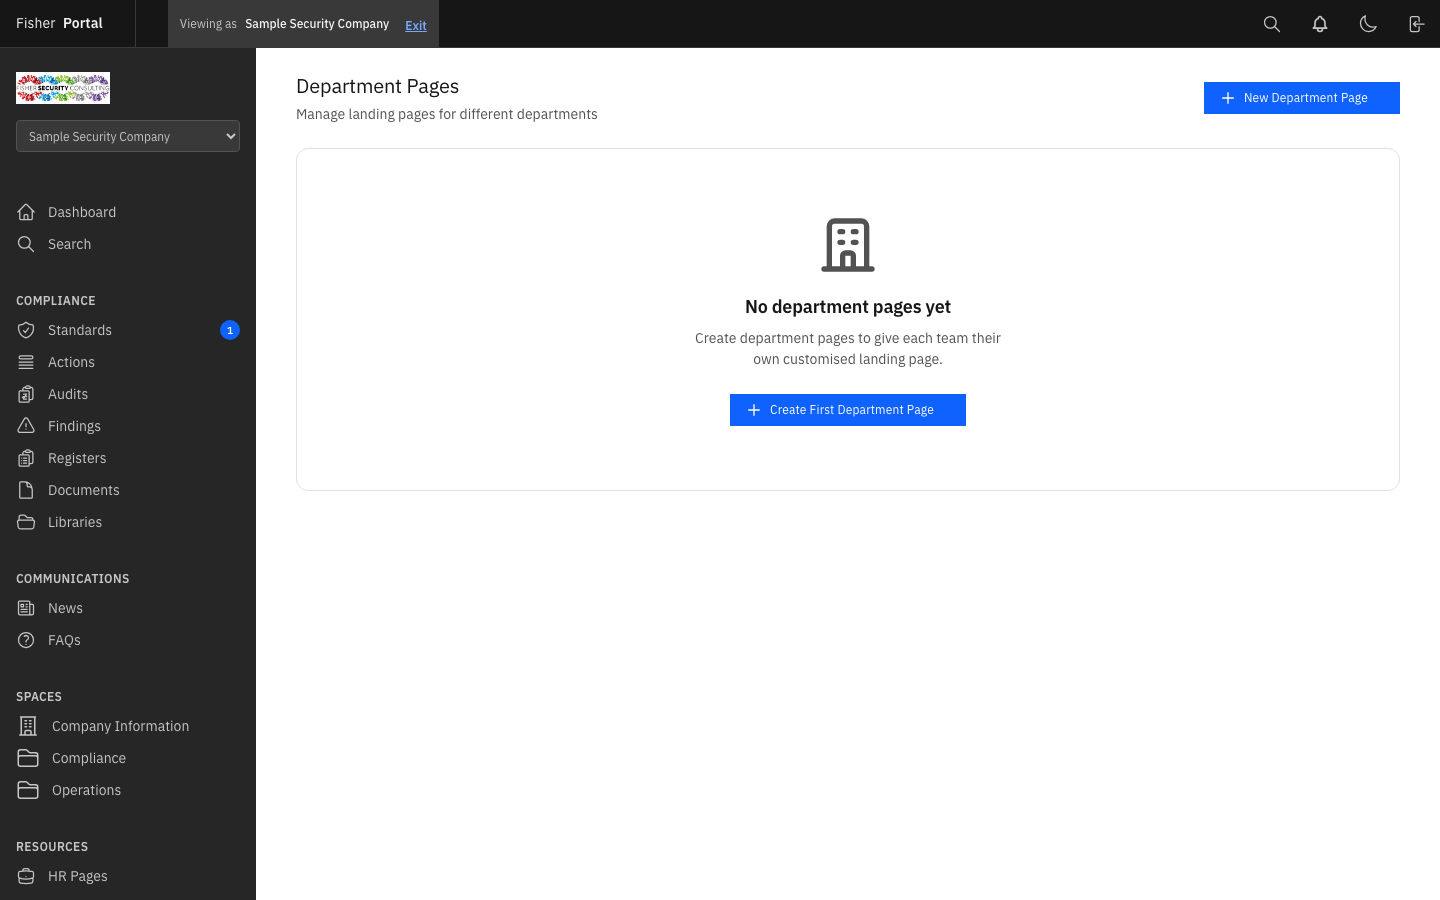
Departments
Departments help you organise pages by team or functional area within your organisation.
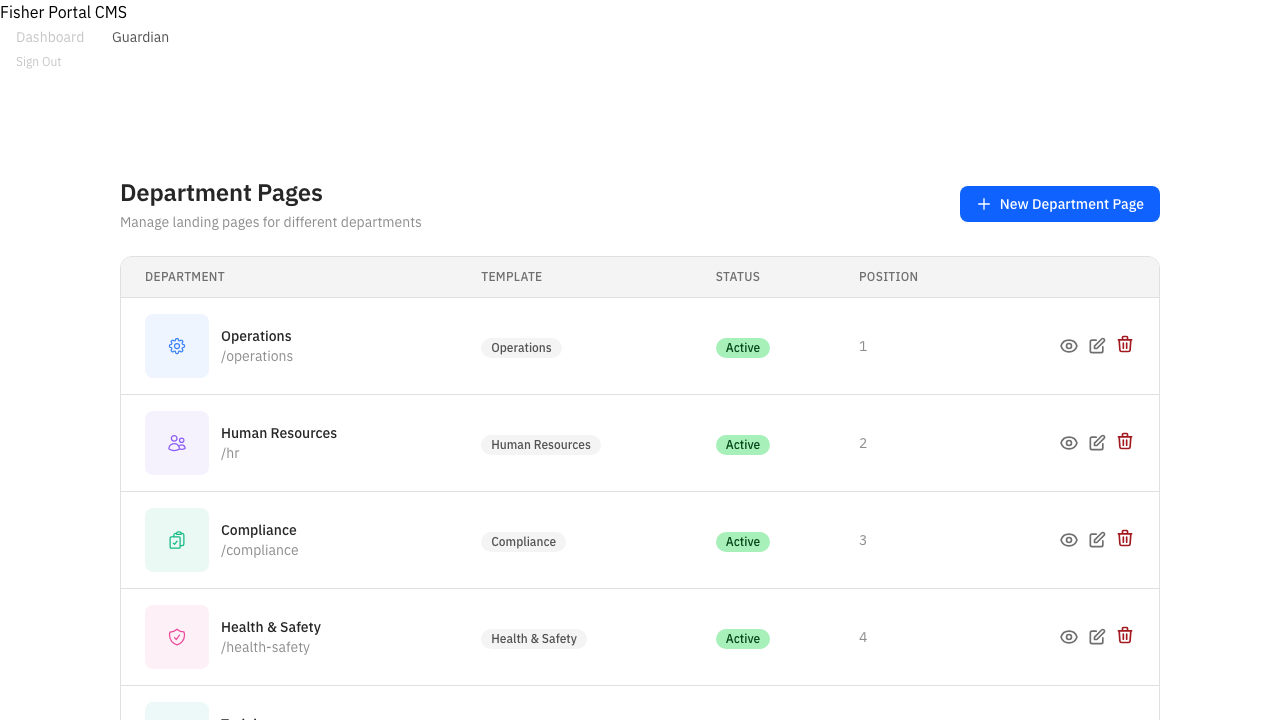
Viewing Departments
Navigate to Departments from the sidebar menu. You will see a list of all departments configured for your organisation.
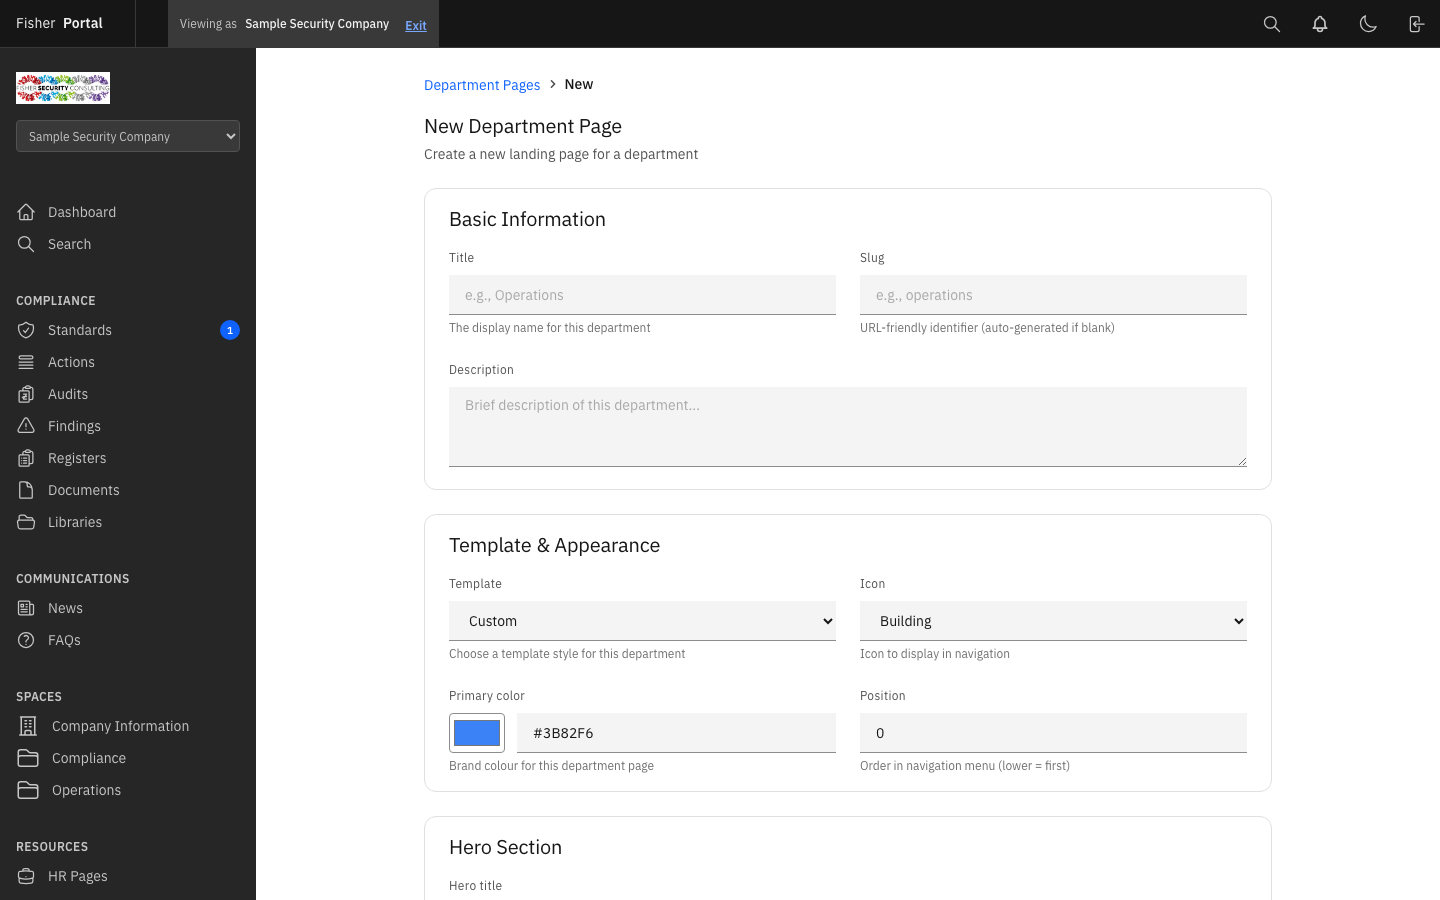
Creating a Department
- Click the New Department button.
- Enter the department details such as name and description.
- Click Save to create the department.
Viewing Department Details
Click on any department to see its details, including associated pages and team information.
Tips
- Plan your space structure first. Before creating pages, decide how you want to organise your content. Common approaches include organising by department, by compliance area, or by audience (e.g. “All Staff”, “Managers”, “New Starters”).
- Use templates for consistency. Create templates for common page types like policies, procedures, and meeting notes. This ensures all pages follow the same format and include required sections.
- Set menu positions thoughtfully. Use the menu position field to control the order of spaces and pages in the navigation. Lower numbers appear first. Leave gaps between positions (e.g. 10, 20, 30) so you can insert new items later without reordering everything.
- Use the “Required Reading” flag. For critical policy pages or compliance updates that all staff must read, enable the required reading flag. This helps track acknowledgement and compliance.
- Preview before publishing. Always use the preview function to check how your page will look to staff before publishing it.
- Version history is your safety net. If you make a mistake while editing, you can always restore a previous version. Do not worry about experimenting with content — your history is preserved.
Troubleshooting
- Page not visible to staff — Check that both the page and its parent space are published and have “Show in Menu” enabled. Draft pages are only visible to admins.
- Template content not appearing — Ensure you selected the template before clicking Save on the new page. If you selected “Blank”, the page will start with default empty content.
- Cannot create pages in a space — You need client admin permissions to create and manage pages. Contact your organisation’s administrator if you lack access.
- Version restore not working — When restoring a version, the page content is replaced with the selected version’s content. The title and status are also restored. Check that you are selecting the correct version from the history list.
- Menu icon not displaying — Ensure the icon name you entered is valid. Icons use a standard icon library — check the available icon names in the icon picker.
- Scheduled page not publishing — Scheduled pages are published automatically when the scheduled time arrives. Ensure the scheduled date and time are in the future and correctly set.