Creating Register Entries
Overview
Register entries are the individual records within a compliance register. As a Client Staff member, you can create new entries, fill in the required fields, and submit them for approval by your administrator. This guide walks you through the full process from creation to submission.
Step-by-Step Guide
Step 1: Open the Register
Navigate to the register where you want to add a new entry. Click Registers in the sidebar, then click on the register name to open it. See Viewing Registers if you need help finding the right register.
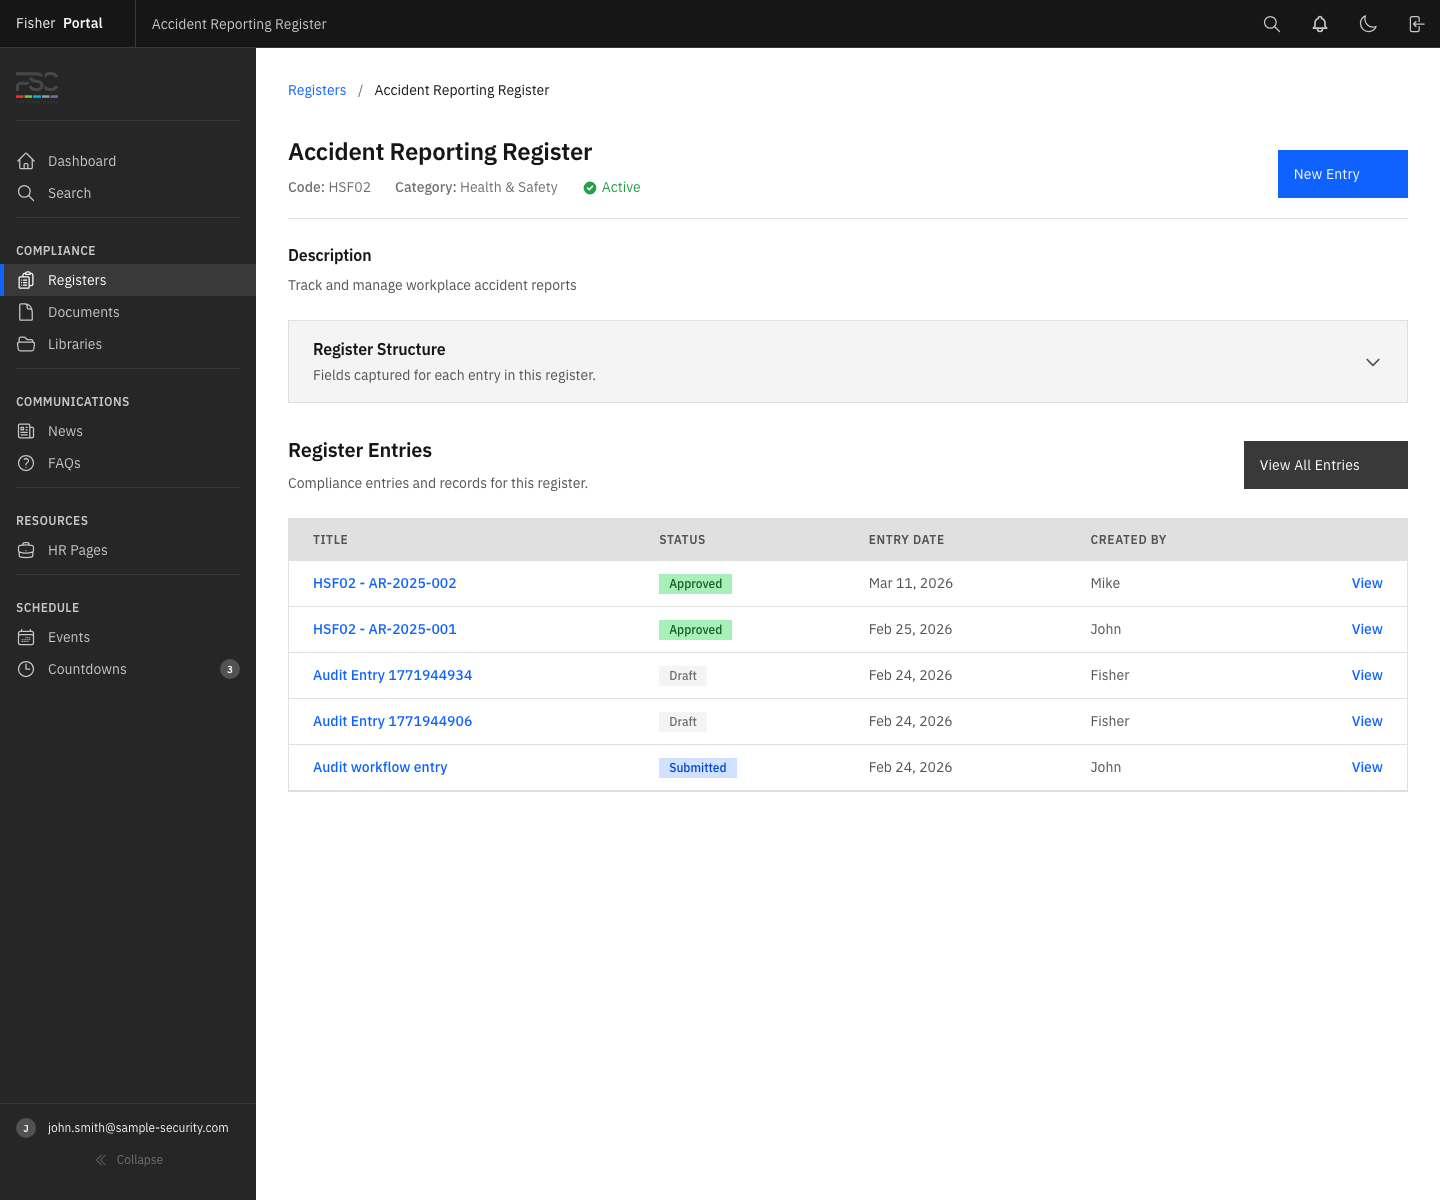
Step 2: Click “New Entry”
On the register detail page, click the “New Entry” button (typically located in the top-right area of the entries section). This opens the entry creation form.
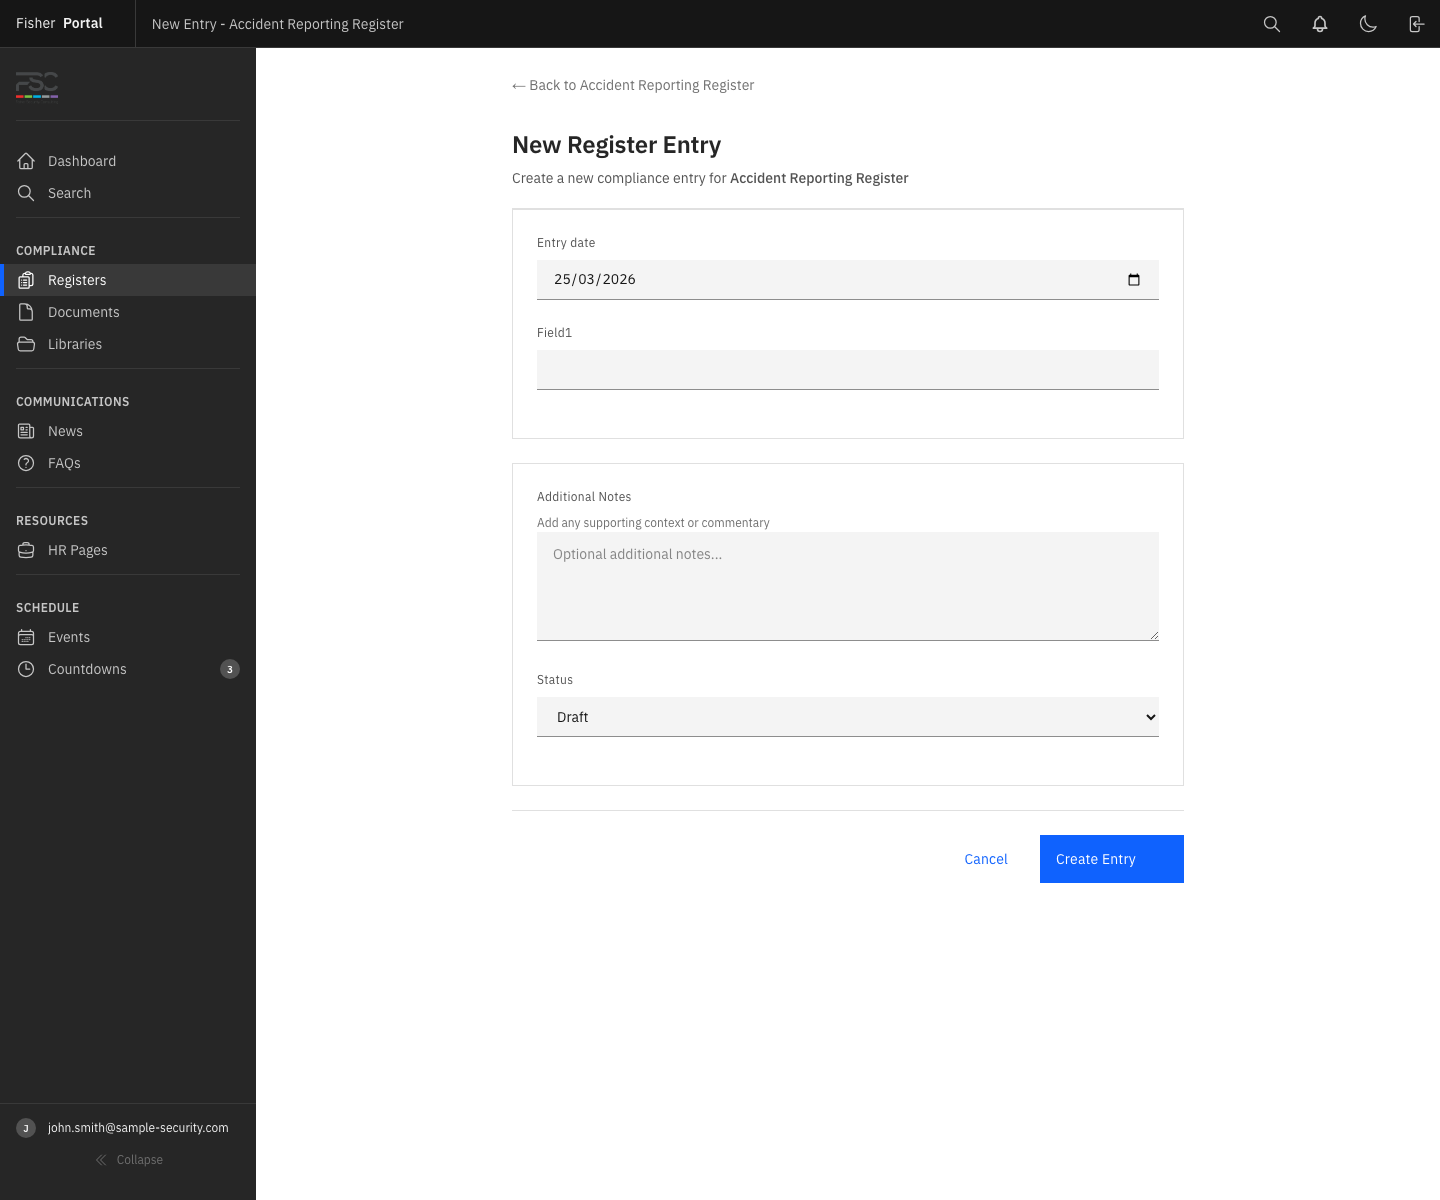
Step 3: Set the Entry Date
The Entry Date field is required for every entry. Select the date that the event, observation, or record relates to. This defaults to today’s date but can be changed to any past or future date as needed.
Step 4: Fill In the Dynamic Fields
The form displays all fields defined for this register. Each field is labelled and may include helper text explaining what to enter.
Filling in different field types:
| Field Type | How to Complete |
|---|---|
| String | Type short text into the input field |
| Text | Type longer text into the text area; this supports multiple lines |
| Integer | Enter a whole number (no decimal points) |
| Decimal / Currency / Percentage | Enter a number; decimal places will be formatted automatically |
| Date | Click the date picker and select a date, or type in DD/MM/YYYY format |
| Boolean | Select Yes or No from the dropdown or tick the checkbox |
| Single select | Choose one option from the dropdown list |
| Multi select | Select one or more options from the list; click each option to toggle it |
Enter a valid email address (e.g. name@company.com) | |
| Phone | Enter a phone number (e.g. +44 7700 900000) |
| URL | Enter a full web address (e.g. https://example.com/report) |
| File | Click “Choose file” and select a file from your computer |
| User | Select a user from the dropdown list of people in your organisation |
Required fields are marked with an asterisk (*). The form will not save if any required fields are left blank.
Step 5: Add a Title (Optional)
The Title field is optional. If left blank, Fisher Portal automatically generates a title from the register code and the value of the first field (the primary field). For example, if the register code is HSF-01 and the primary field value is “Slip on wet floor”, the title becomes HSF-01 - Slip on wet floor.
You can override this by entering your own title.
Step 6: Add a Description (Optional)
Use the Description field to add any additional context or notes that do not fit into the structured fields.
Step 7: Save as Draft
Click Save or Create Entry to save the entry. The entry is created with a Draft status. It is not yet visible to approvers for review.
While in Draft status, you can return to the entry and edit it as many times as needed.
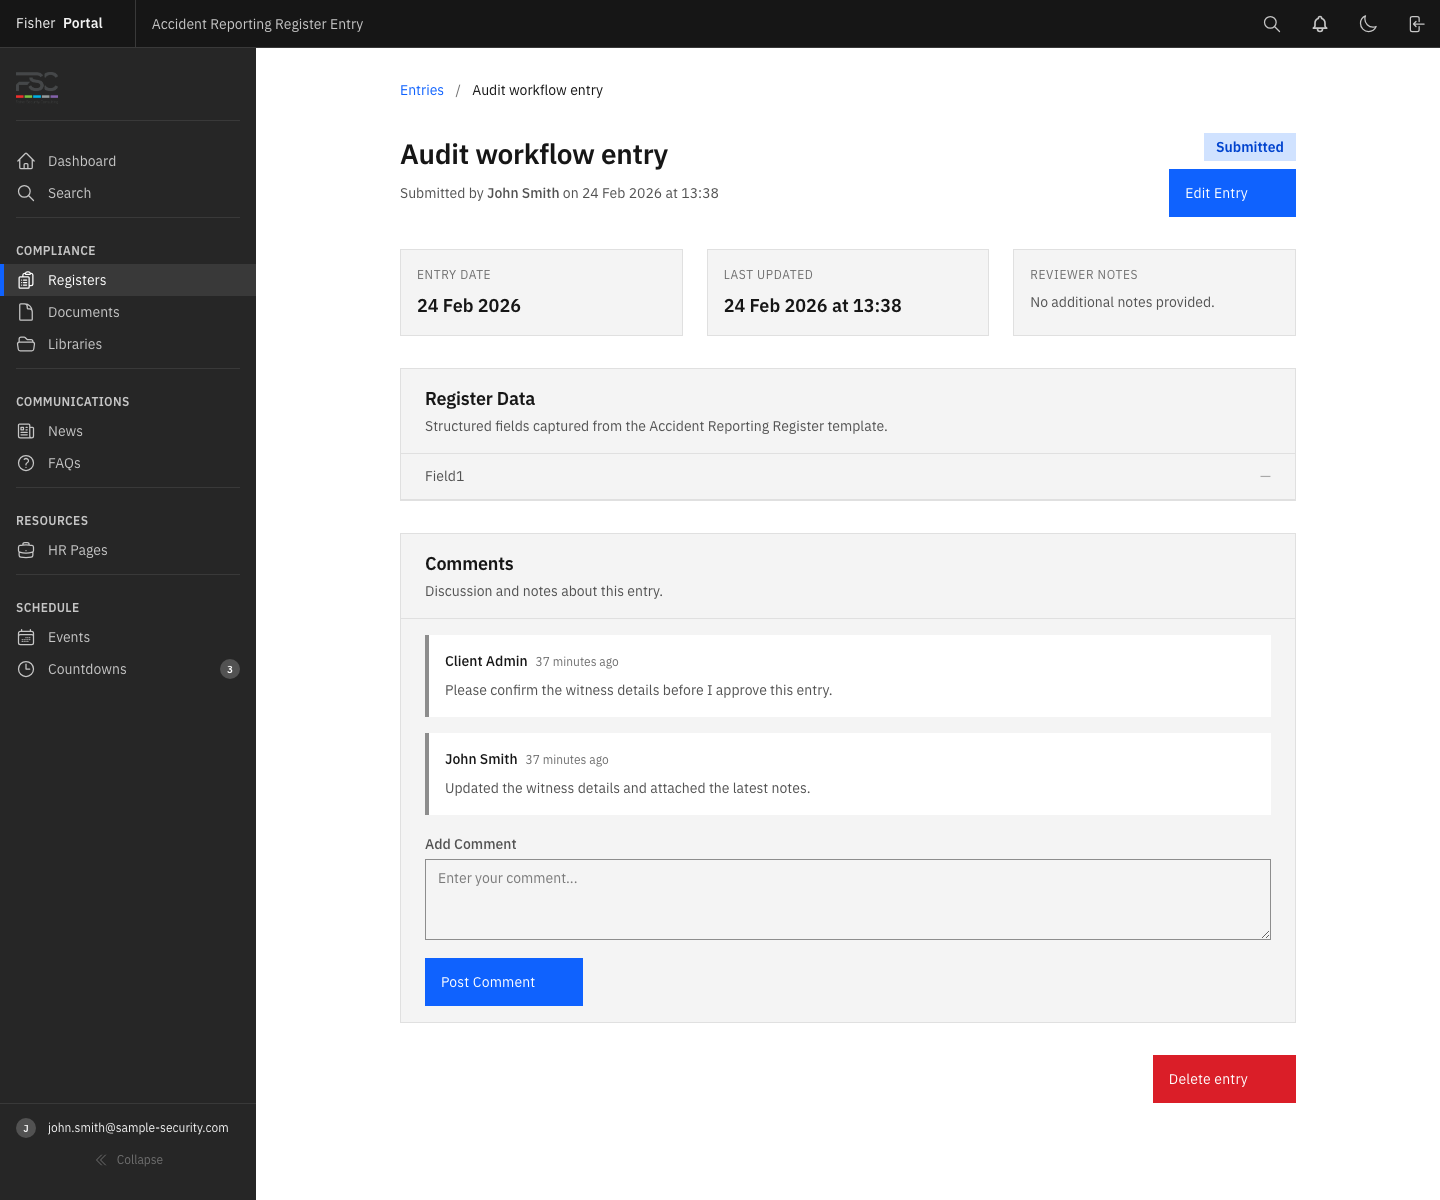
Step 8: Submit for Approval
When you are satisfied that the entry is complete and accurate:
- Open the entry by clicking on it in the register’s entry list.
- Click the Submit button.
- The status changes from Draft to Submitted.
- Your administrator will be notified that an entry is awaiting their review.
Important: Once submitted, you cannot edit the entry unless it is rejected and returned to Draft status.
Step 9: Track Your Entry’s Status
After submission, you can check the entry’s progress at any time:
| Status | What It Means | What You Can Do |
|---|---|---|
| Draft | Not yet submitted | Edit the entry, then submit |
| Submitted | Awaiting administrator review | Wait for approval or rejection |
| Approved | Reviewed and accepted | No further action required |
| Rejected | Returned for corrections | Edit and resubmit |
Handling a Rejected Entry
If your entry is rejected:
- Open the entry to see any comments from the reviewer explaining what needs to be corrected.
- The entry returns to Draft status automatically.
- Make the requested corrections.
- Click Submit again to resubmit for approval.
Tips
- Save early, save often: Create the entry as a Draft first, then come back to add details. You can edit a Draft entry as many times as you like before submitting.
- Check required fields: Look for asterisks (*) next to field labels. All required fields must be completed before saving.
- Use the description field: If you need to provide context that does not fit into the structured fields, the description field is a good place for it.
- One entry per event: As a general rule, create one register entry per distinct event, incident, or record. This makes entries easier to find and report on.
- Entry dates matter: Use the actual date of the event, not the date you are entering it into the system. This ensures accurate reporting and audit trails.
Troubleshooting
| Problem | Solution |
|---|---|
| ”can’t be blank” error | A required field has been left empty. Check all fields marked with an asterisk (*) and fill in the missing values. |
| ”must be a valid email address” error | The email field contains an invalid email. Ensure it follows the format name@domain.com. |
| ”must be a number” error | A numeric field contains non-numeric characters. Remove any letters or symbols and enter only numbers. |
| ”must be one of the available options” error | A select field has an invalid value. Choose one of the options from the dropdown list. |
| Cannot edit an entry | The entry has been submitted or approved. Only Draft and Rejected entries can be edited. If you need to make changes to a submitted entry, contact your administrator. |
| Submit button not visible | Only the user who created the entry can submit it, and only while it is in Draft status. |
| Cannot find my entry | Check that you are in the correct register. Use the search bar or filter by Draft status to find your unsubmitted entries. |