Notifications
Overview
Notifications keep you informed about important activity within Fisher Portal. You will receive notifications when register entries are submitted, approved, or rejected; when documents are uploaded; when your account is modified; and for system-wide announcements. This guide covers how to view, filter, and manage your notifications.
Accessing Notifications
There are two ways to access your notifications:
- Notification bell: Click the bell icon in the header bar at the top-right of the screen. If you have unread notifications, a red badge shows the count (up to “9+”).
- Sidebar: On some pages, notifications may also be accessible via a direct link.

Step-by-Step Guide
Step 1: Open the Notifications Page
Click the notification bell icon in the header bar. This takes you to the Notifications page showing all your notifications.
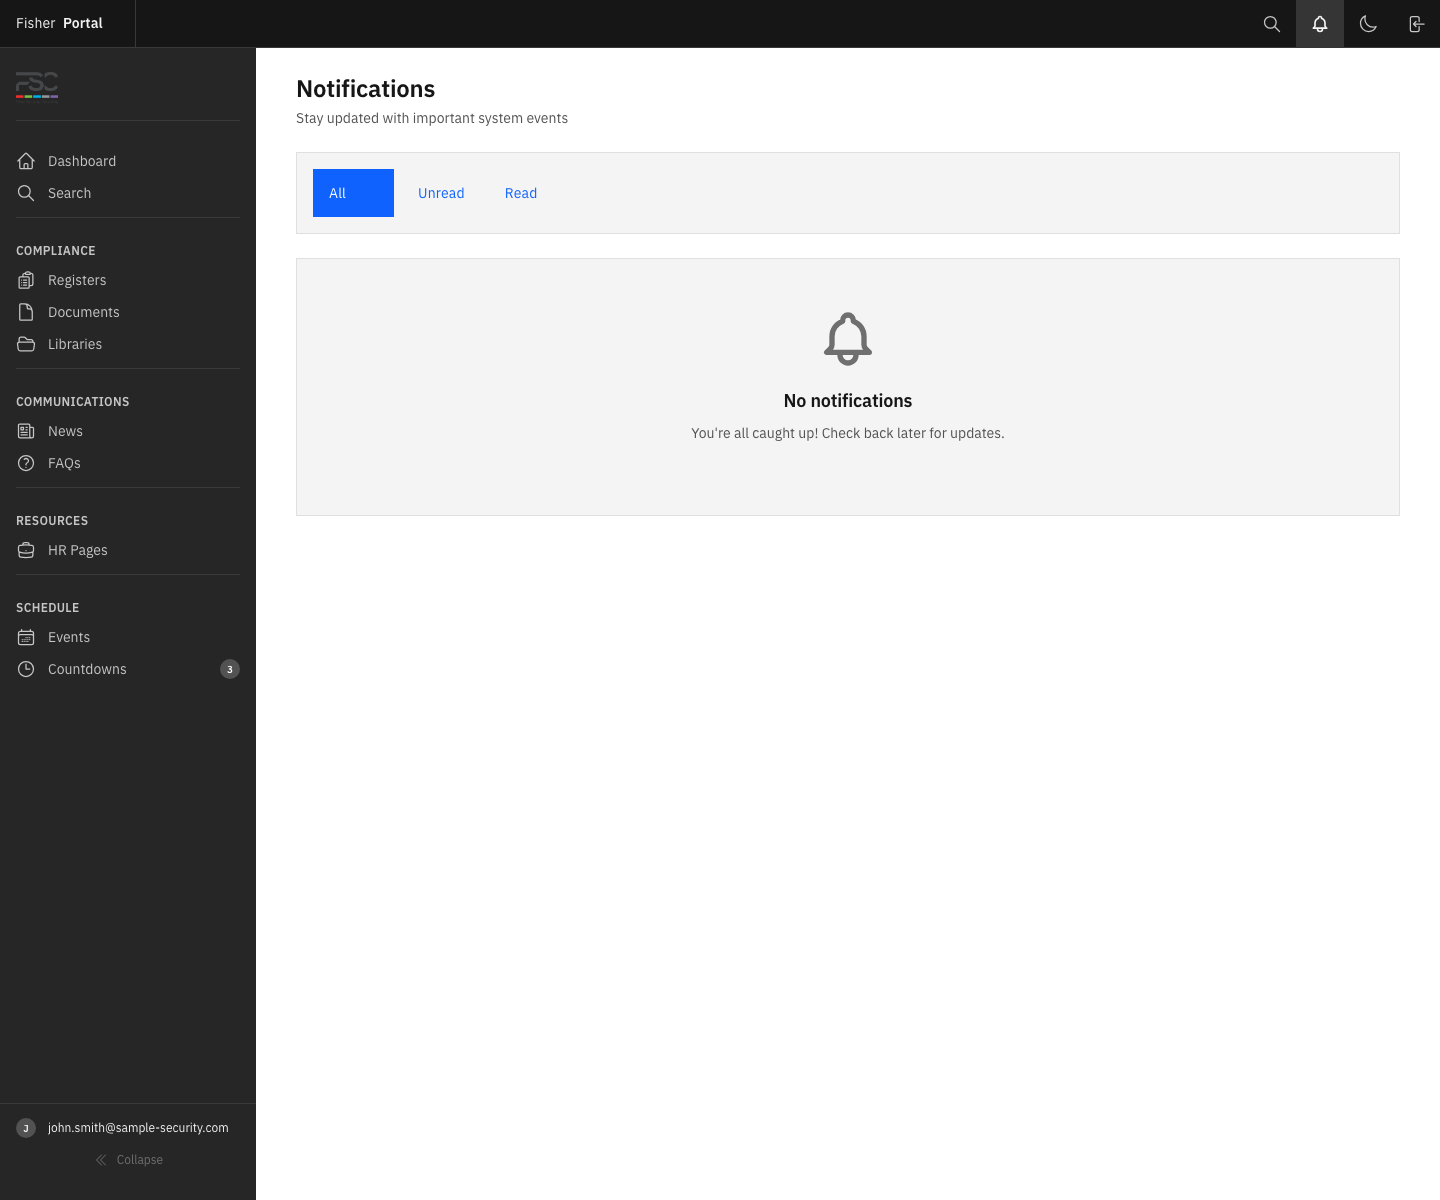
The page heading reads “Notifications” with the subtitle “Stay updated with important system events”.


Step 2: Browse Your Notifications
Notifications are displayed as a list, with the most recent at the top. Each notification shows:
| Element | Description |
|---|---|
| Icon | A coloured icon indicating the notification type (blue for info, green for success, amber for warning, red for error) |
| Title | A brief summary of what happened (clickable if it links to a related page) |
| Message | Additional detail about the notification |
| Time | How long ago the notification was created (e.g. “3 minutes ago”) |
| Client | Which client organisation the notification relates to (if applicable) |
Unread notifications have a blue left border to make them stand out. Read notifications have a grey background.
Step 3: Filter Notifications
At the top of the notification list, use the filter tabs to narrow down what you see:
| Filter | What It Shows |
|---|---|
| All | Every notification, both read and unread |
| Unread | Only notifications you have not yet read (shows a red count badge) |
| Read | Only notifications you have already read |
Click a filter tab to apply it. The active filter is highlighted with a blue button.
The screenshot above is useful as a reference point when explaining the unread highlight, action buttons, and filter area to staff during onboarding.
Step 4: Mark a Notification as Read
To mark a single notification as read, click the “Mark as read” button on the right-hand side of the notification. The notification moves to the “Read” category and the unread count in the header bell decreases.
Step 5: Mark All Notifications as Read
If you have multiple unread notifications, click the “Mark All as Read” button in the top-right corner of the page. This marks every unread notification as read in one action.
Step 6: Delete a Notification
To remove a notification permanently, click the red “Delete” text on the right-hand side of the notification. You will be asked to confirm before it is deleted.
Step 7: Clear All Read Notifications
To tidy up your notification list, click the “Clear Read” button in the top-right corner. This deletes all read notifications in one action. You will be asked to confirm before they are removed.
Note: The “Clear Read” button only appears when you have read notifications to clear.
Notification Types
Fisher Portal generates notifications for the following events:
| Type | Description |
|---|---|
| Register entry submitted | A register entry has been submitted for approval |
| Register entry approved | Your register entry has been approved |
| Register entry rejected | Your register entry has been rejected and returned for corrections |
| Document uploaded | A new document has been uploaded to the library |
| User added | A new user has been added to your organisation |
| User removed | A user has been removed from your organisation |
| Template deployed | New templates have been deployed to your organisation |
| System announcement | A platform-wide announcement from Fisher Security Consulting |
| Info | General informational notification |
| Success | Confirmation of a successful action |
| Warning | A warning that may require your attention |
| Error | An error notification requiring investigation |
Tips
- Check the bell regularly: The red badge on the notification bell is the quickest way to know if something needs your attention.
- Use filters to focus: If you have many notifications, use the “Unread” filter to see only what is new.
- Click notification titles: Many notifications link directly to the relevant page (e.g. clicking an “entry approved” notification takes you to the approved entry).
- Keep your list tidy: Use “Clear Read” periodically to remove old notifications and keep the list manageable.
- Notifications are personal: You only see notifications relevant to you and your organisation. Other users cannot see your notifications.
Troubleshooting
| Problem | Solution |
|---|---|
| No notifications showing | If you see the “No notifications” empty state with “You’re all caught up!”, this simply means there are no notifications to display. |
| Notification count does not match | The bell badge shows the total unread count. If you have filtered the list (e.g. by type), the displayed list may show fewer items than the badge count. Refresh the page to sync. |
| Cannot delete a notification | Click the red “Delete” text and confirm the deletion in the popup dialogue. Ensure JavaScript is enabled in your browser. |
| Notifications not appearing for events | Notifications are generated by the system when specific events occur. If you expect a notification but have not received one, contact your administrator. |
| ”Mark as read” not working | Try refreshing the page and clicking the button again. If the issue persists, clear your browser cache. |