Client Management for Compliance
Overview
As an FSC consultant, you manage compliance across multiple client organisations. Fisher Portal uses a client-scoped model, meaning that all compliance data — standards, clause statuses, audits, findings, actions, and evidence — is isolated per client. You must select a client before accessing any compliance features.
This guide covers how to navigate between clients, access their compliance dashboards, and work efficiently across your client portfolio.
Step-by-Step Guide
Step 1: View All Clients
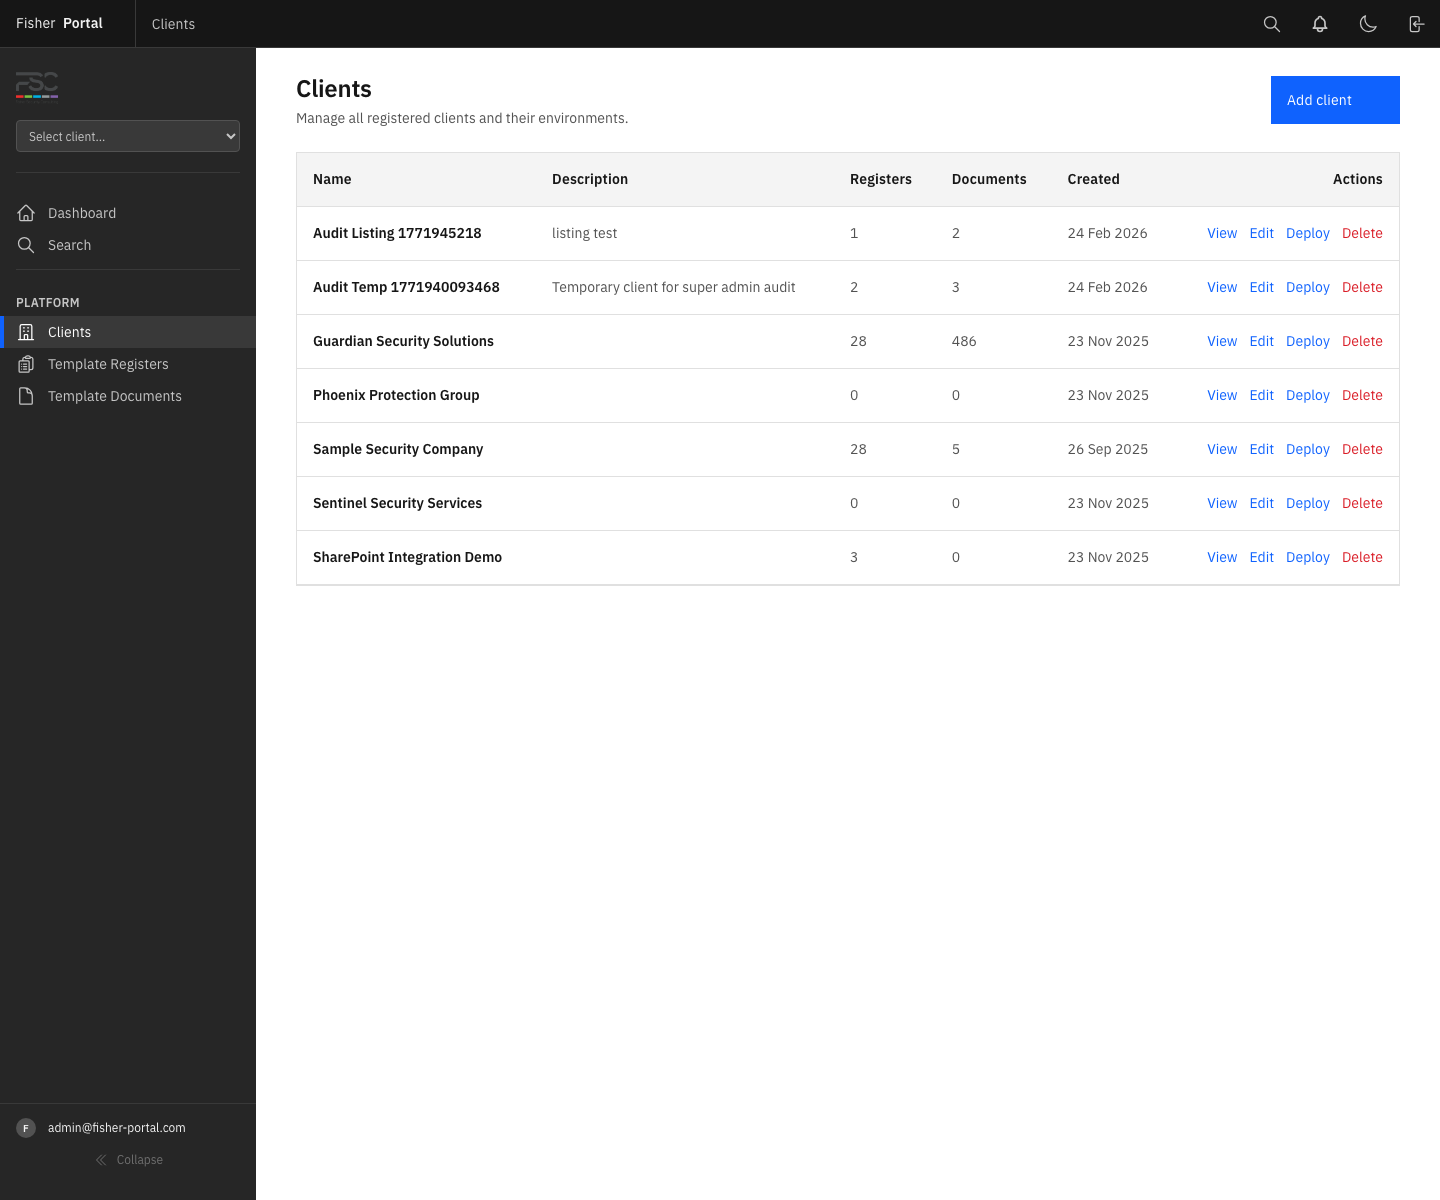
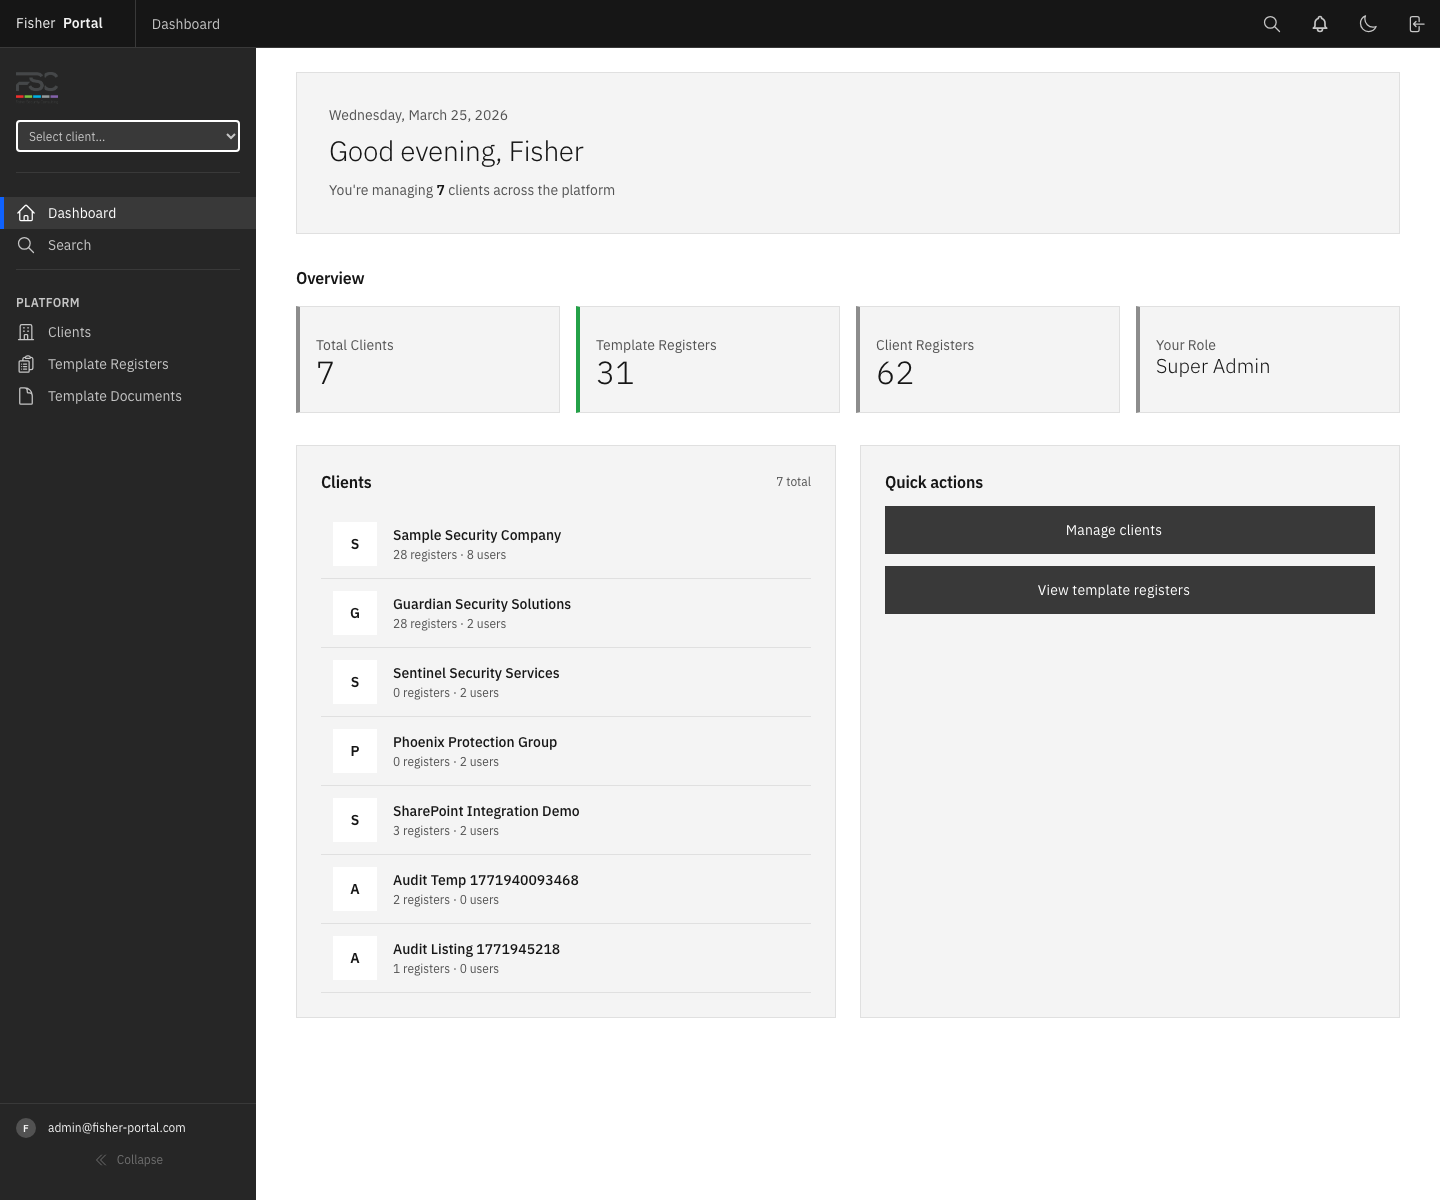
From the main navigation, go to Clients. You will see a list of all client organisations you have access to, sorted alphabetically by name.
As an FSC staff member (super admin, admin, or Fisher admin), you can see all active clients in the system. Each client entry shows the organisation name and key details.
Step 2: Open a Client Profile
Click on a client name to open their profile page. The client profile shows:
- Client details — organisation name, contact information, and branding
- Registers — compliance registers configured for the client
- Documents — document libraries and uploaded files
From the client profile, you can navigate to all client-specific features.
Step 3: Access Client Compliance Features
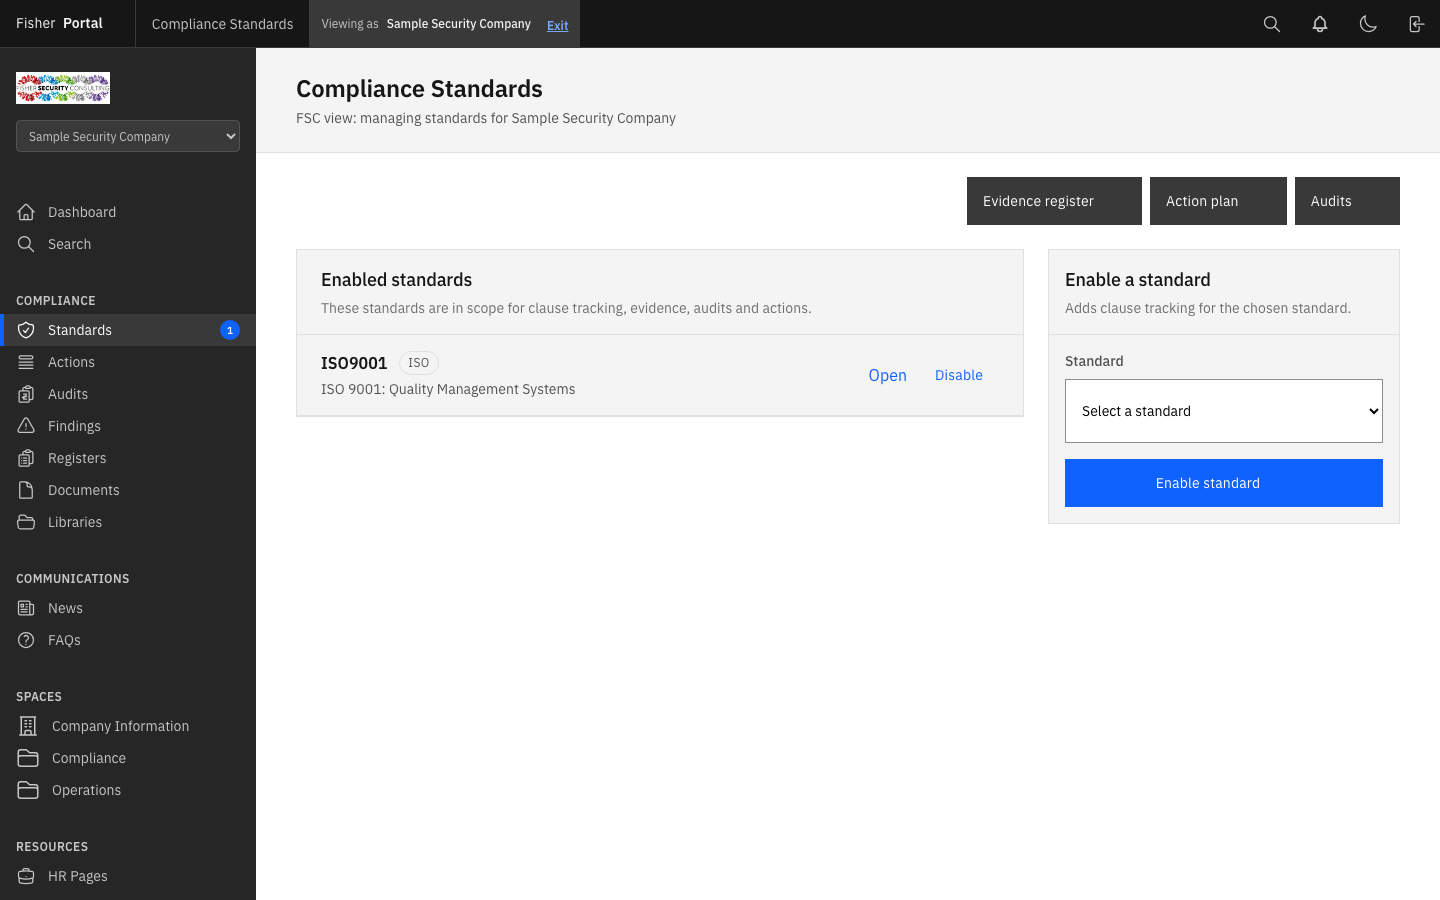
To access a client’s compliance module, navigate to their compliance standards page. The URL follows this pattern:
/clients/{client_id}/compliance/standardsThis is the hub of all compliance work for a client. From here, you can navigate to:
| Feature | Navigation | What It Shows |
|---|---|---|
| Standards | Compliance Standards page | Enabled standards, clause tracking |
| Evidence register | Link from standards page | Evidence mapped to clauses |
| Action plan | Link from standards page | Corrective and preventive actions |
| Audits | Link from standards page | Audit programme and findings |
| Findings | Link from audits page | Cross-audit findings register |
Step 4: Switch Between Clients
To work with a different client, navigate back to the Clients list and select the new client. Each client’s compliance data is completely separate — changes to one client do not affect another.
Super admin context switching: If you are a super admin, you also have access to a client context switcher. This allows you to view the portal as if you were logged in as a specific client, which is useful for support and testing purposes. To use it:
- Use the client context switch feature to select a client.
- While in client context, the portal will behave as if you are viewing as that client.
- Exit the client context to return to your super admin view.
Step 5: Review Client Compliance Status
For each client, the compliance standards page gives you a high-level view of their compliance posture:
- Enabled standards — which standards are active for this client
- Clause status — click “Open” on any standard to see clause-by-clause implementation status and RAG ratings
- Evidence count — the clause tracker shows the number of evidence links per clause
- Next review dates — scheduled review dates for each clause
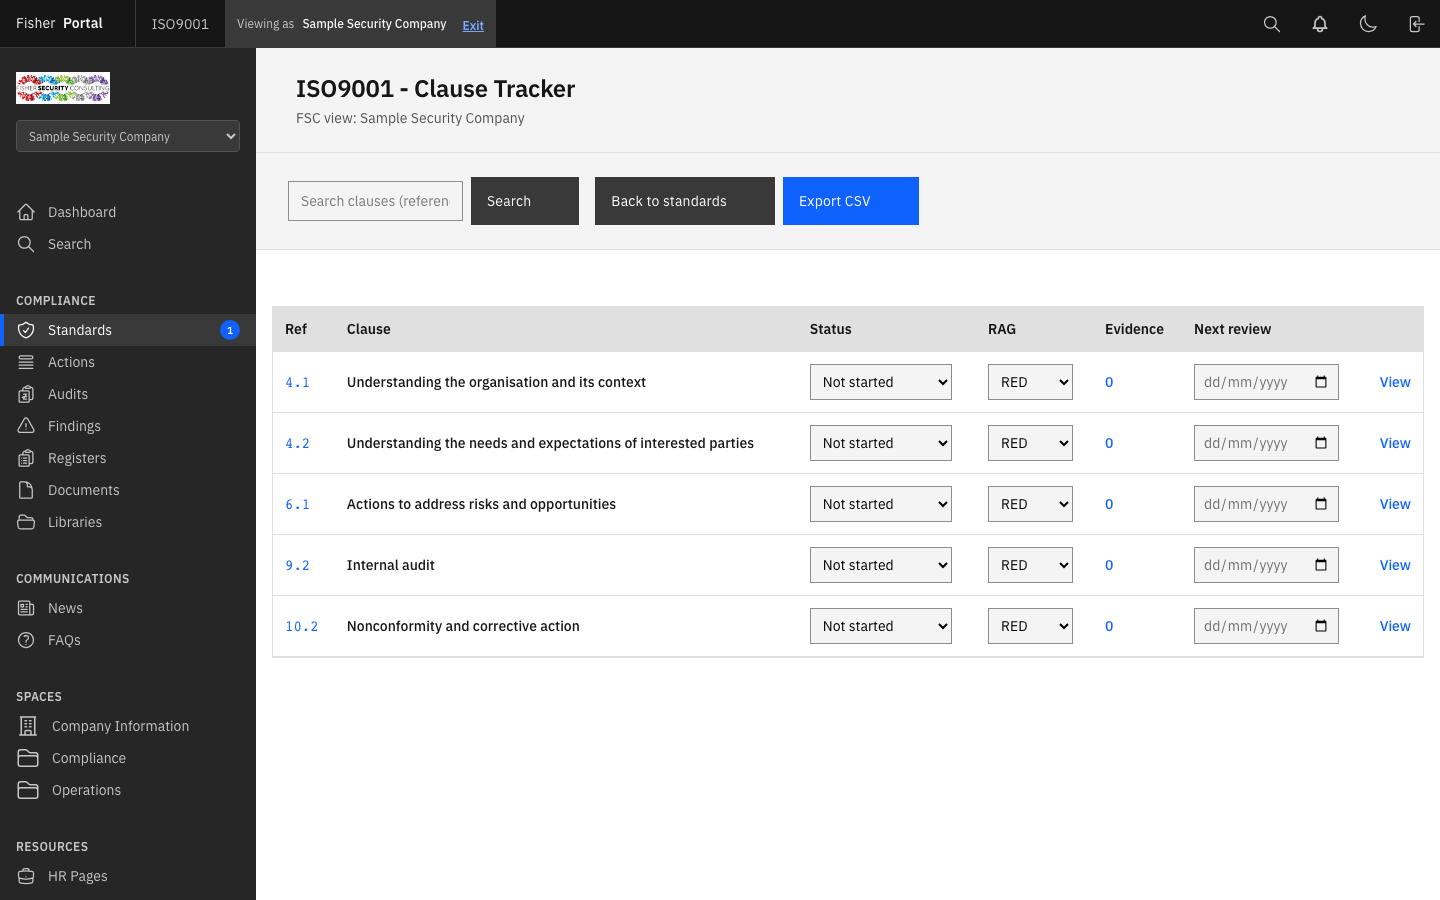
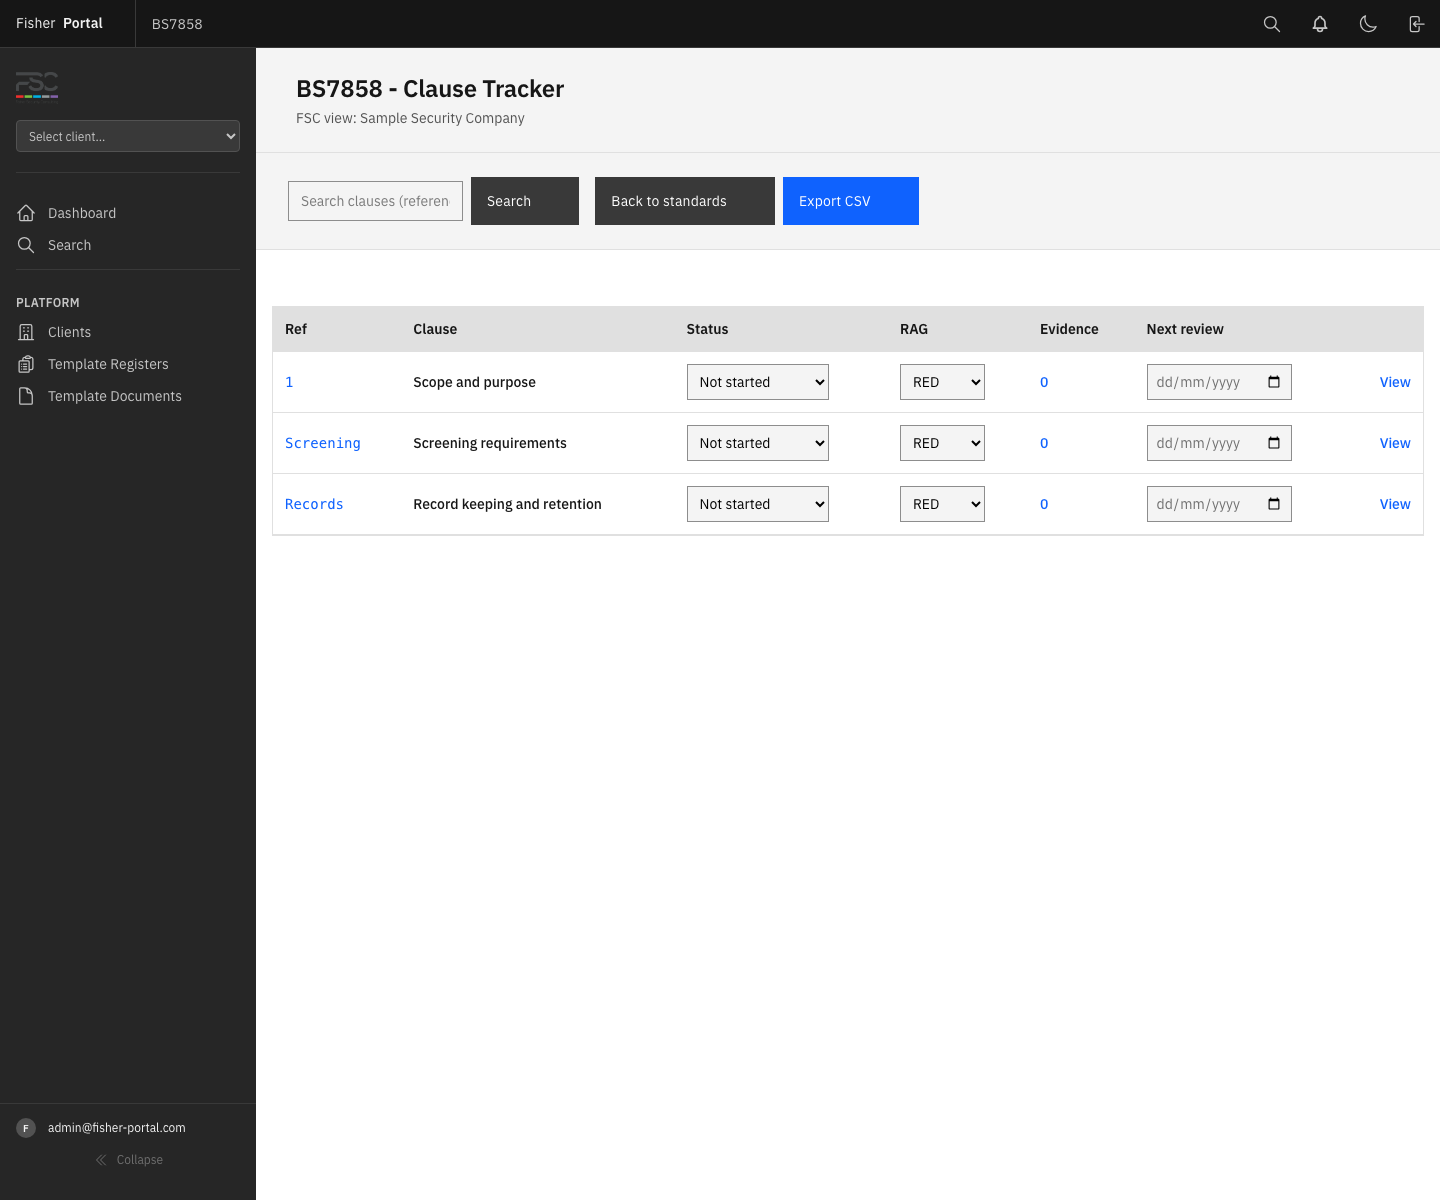
Step 6: Drill Into a Specific Standard
Click Open next to any enabled standard to view the clause tracker. This page shows:
- Every clause in the standard with its implementation status and RAG rating
- Evidence counts per clause
- Next review dates
- A search function to find specific clauses
You can update clause statuses and RAG ratings directly from this page using the inline dropdowns (changes save automatically).
Step 7: Export Compliance Reports
From the clause tracker (standard detail page), click Export CSV to download a compliance status report. The CSV includes:
| Column | Description |
|---|---|
| Clause Reference | The clause number (e.g. 4.1, 7.5) |
| Clause Title | The clause name |
| Implementation Status | Not Started, Partially In Place, or In Place |
| RAG | Red, Amber, or Green |
| Last Reviewed | Date of the last review |
| Next Review Due | Scheduled next review date |
| Reviewed By | Name of the person who last reviewed |
| Comments | Any comments on the clause status |
This report is valuable for client review meetings, management reviews, and audit preparation.
Working Across Multiple Clients
Planning Your Work
When managing multiple clients, consider this workflow:
- Start with the most urgent client — check for overdue actions, upcoming audit dates, or expiring certifications.
- Work through one client’s compliance areas completely before switching to another. Context switching between clients frequently can lead to errors.
- Use the action plan filters (Overdue, Due Soon) to prioritise your work within each client.
- Export reports before client meetings so you have the latest data to discuss.
Keeping Track
- Audit dates — use the Planned date on audits to build an audit schedule across your portfolio.
- Action due dates — filter by “Overdue” and “Due soon” to stay on top of deadlines.
- Evidence verification — filter by “Overdue” verification to identify evidence that needs refreshing.
- Next review dates — set these on clause statuses to create a rolling review calendar.
Enabling and Disabling Standards for a Client
Enable a Standard
- Navigate to the client’s Compliance Standards page.
- In the “Enable a standard” panel on the right, select the standard from the dropdown.
- Click Enable standard.
- The standard will appear in the “Enabled standards” list, and clause tracking will be created automatically for all clauses in that standard.
Disable a Standard
- From the Compliance Standards page, find the standard in the “Enabled standards” list.
- Click Disable next to the standard.
- Confirm the action when prompted.
Warning: Disabling a standard removes the clause tracking data for that client. Evidence links and actions linked to that standard will remain, but clause statuses will be lost.
Tips
- Bookmark client compliance pages for your most active clients to save navigation time.
- Use CSV exports as the basis for client progress reports and management review inputs.
- Set next review dates on clause statuses to create a natural review cadence (quarterly, semi-annually, or annually depending on the clause).
- Check the evidence verification status across all clients periodically. Evidence that has not been verified in over 12 months may no longer be valid.
- Use the inline clause status dropdowns on the clause tracker to update statuses during client calls — changes save automatically without needing to open a separate form.
- Work systematically through clauses rather than jumping around. This ensures complete coverage and reduces the risk of missing a requirement.
Troubleshooting
- Cannot see any clients — Ensure you are logged in as an FSC staff member. Client admin accounts only see their own organisation.
- “Access denied” when opening a client — Your user account may not have the correct permissions. Contact a super admin to verify your role and membership.
- Standards page shows “No standards enabled yet” — You need to enable standards for this client using the panel on the right side of the page.
- Client context switch not available — The context switcher is only available to super admin users. If you need this functionality, ask a super admin for assistance.
- CSV export is empty — Ensure the standard has clauses loaded. If the clause list is empty, the standard data may not have been seeded correctly.
- Clause status changes not saving — The inline dropdowns use auto-submit. Check your internet connection and try refreshing the page. If the issue persists, try updating the clause status from the clause detail page instead.