Managing Audits
Overview
The Audits module allows FSC staff to plan, conduct, and record compliance audits for each client organisation. Audits are a fundamental part of any ISO management system — they provide objective evidence of conformity (or non-conformity) and drive continual improvement.
Fisher Portal supports three types of audits:
| Audit Type | Description |
|---|---|
| Internal | Audits conducted by the organisation itself (or by FSC on their behalf) to verify internal compliance |
| External | Audits conducted by third-party certification bodies |
| Supplier | Audits of the client’s supply chain partners |
Each audit can be linked to a specific standard and progresses through four statuses: Planned, In Progress, Completed, and Cancelled.
Step-by-Step Guide
Step 1: View the Audits List
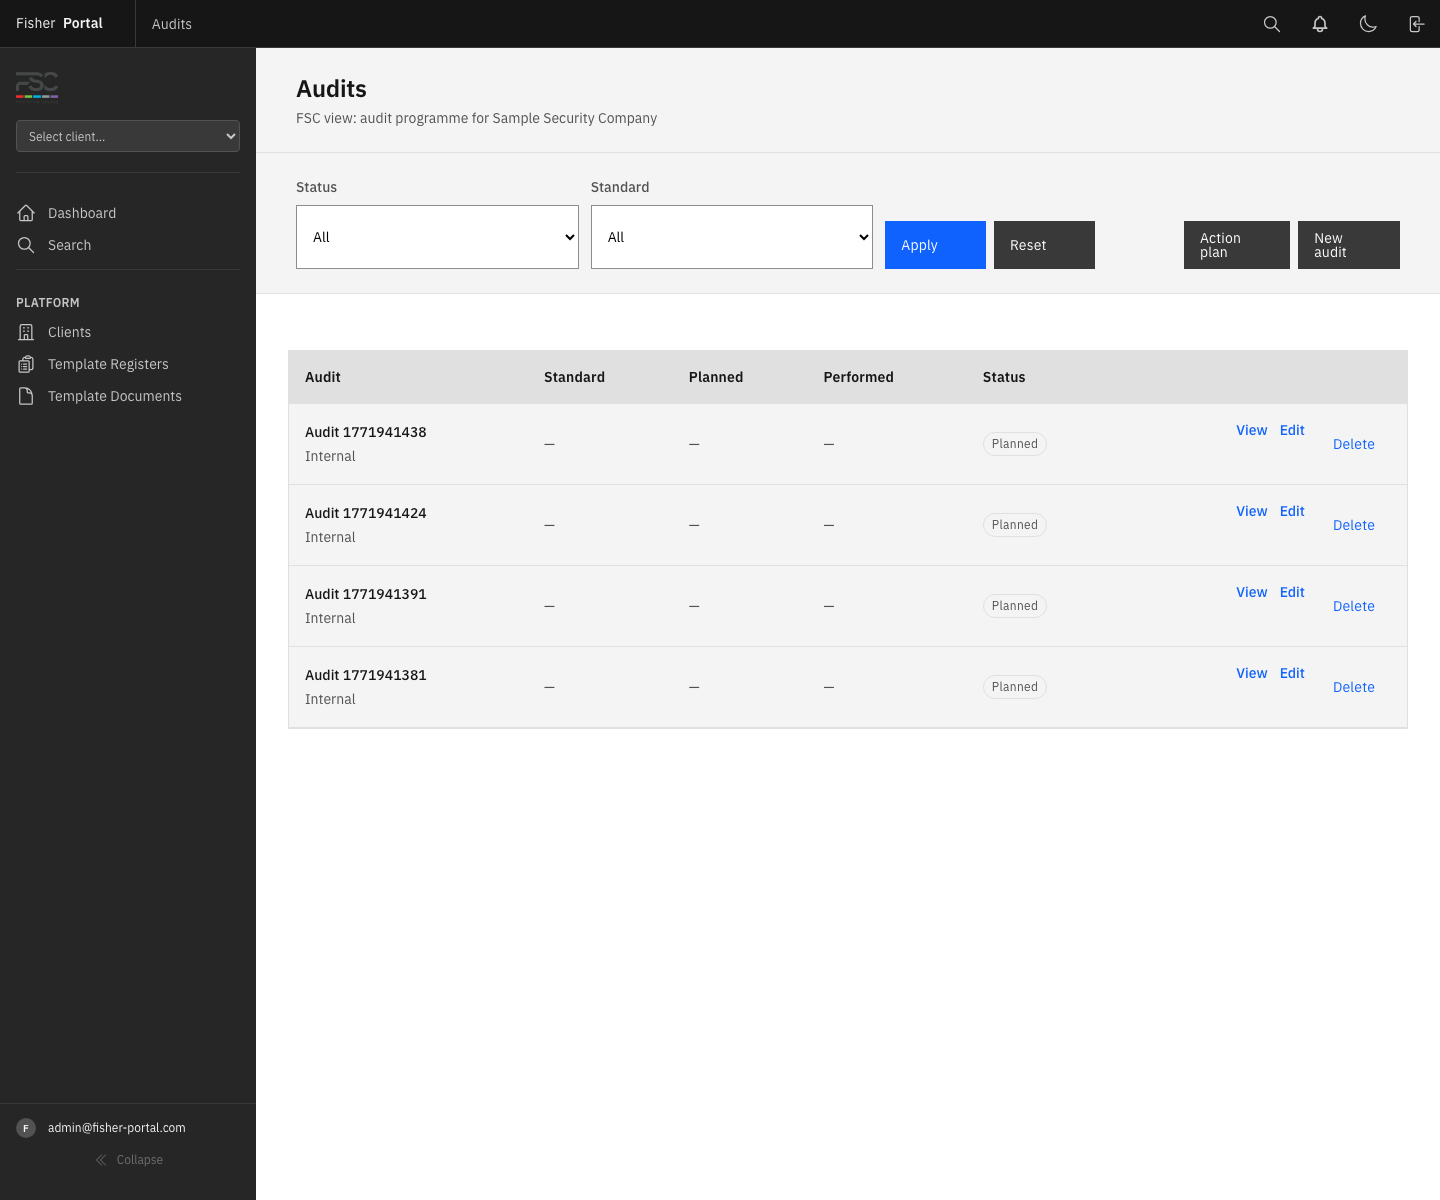
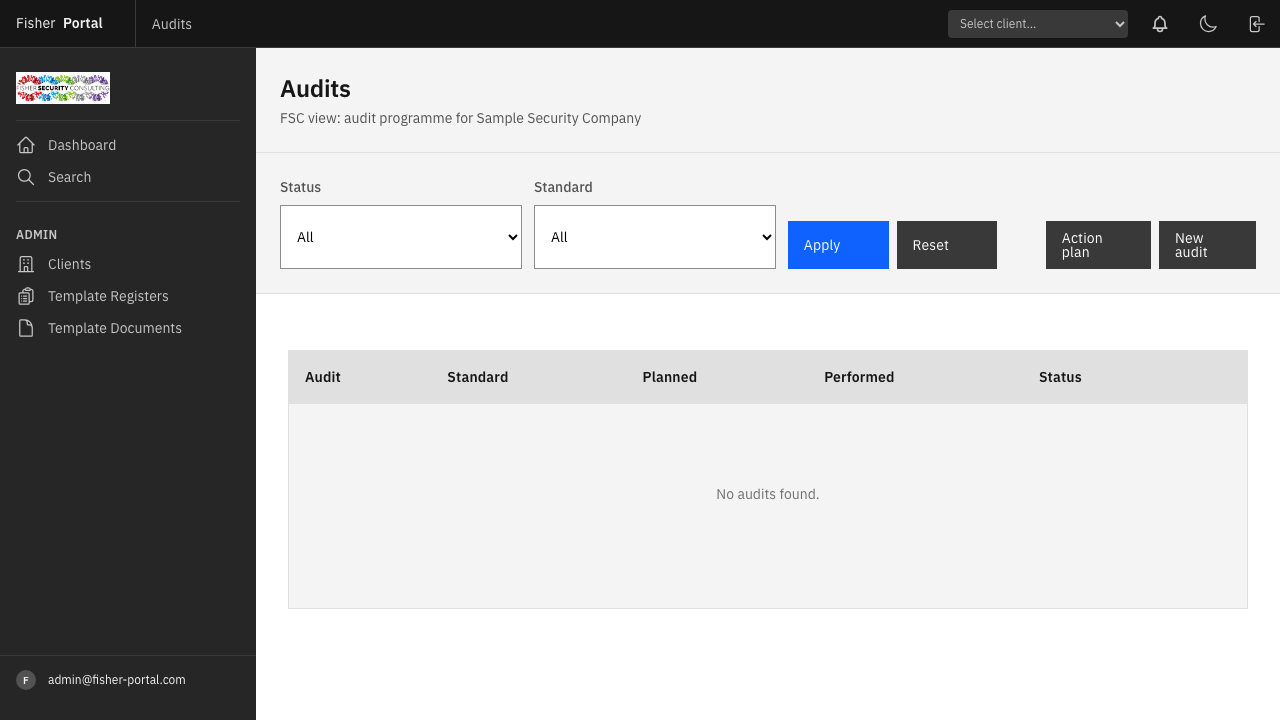
Navigate to your client’s compliance area, then select Audits from the navigation links. You will see a table listing all audits for that client, showing the audit title, standard, planned date, performed date, and current status.
You can filter the list by:
- Status — show only planned, in progress, completed, or cancelled audits
- Standard — filter to audits against a specific standard (e.g. ISO 9001)
Use the Apply button to activate your filters, or Reset to clear them.
Step 2: Create a New Audit
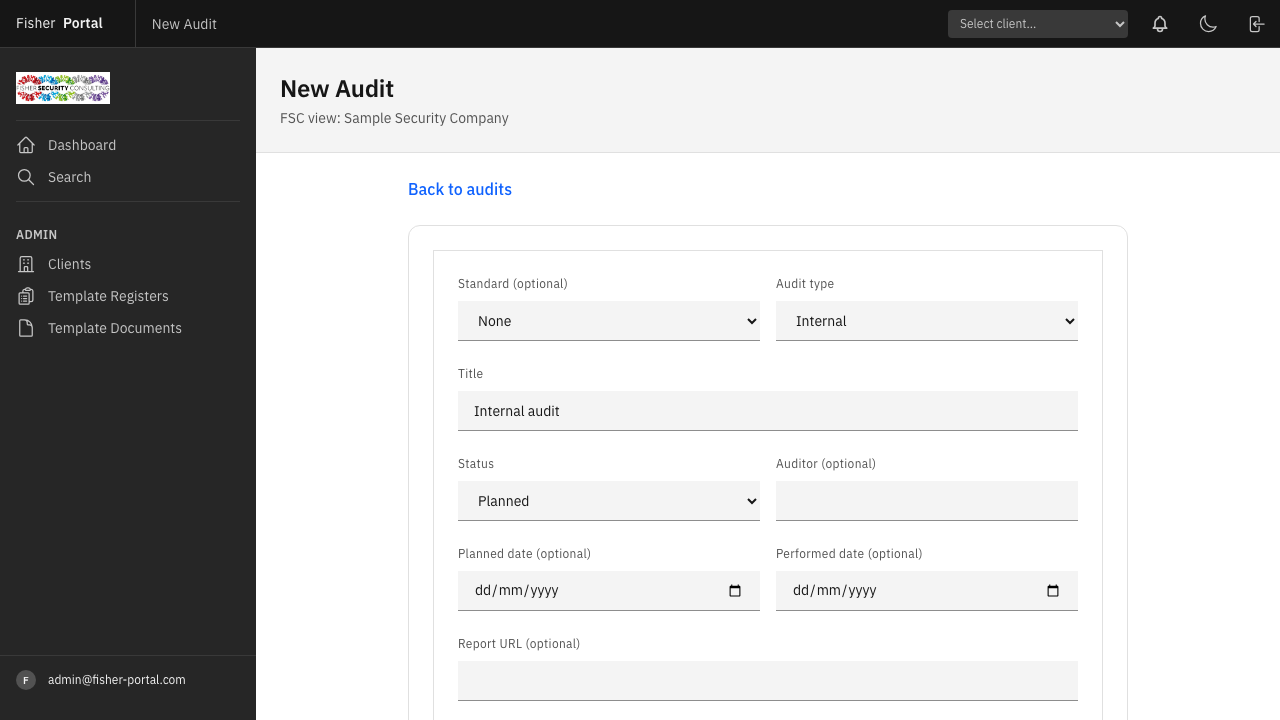
- From the audits list, click the New audit button in the top-right area.
- The new audit form will appear with the following fields:
| Field | Required | Description |
|---|---|---|
| Standard | No | The ISO standard this audit relates to (e.g. ISO 9001). Leave blank for general audits. |
| Audit type | Yes | Select Internal, External, or Supplier. |
| Title | Yes | A descriptive name for the audit (defaults to “Internal audit”). |
| Status | Yes | The current status: Planned, In Progress, Completed, or Cancelled. |
| Auditor | No | The name of the person conducting the audit. |
| Planned date | No | When the audit is scheduled to take place. |
| Performed date | No | When the audit was actually carried out. |
| Report URL | No | A link to the audit report (e.g. a SharePoint document). |
| Scope | No | A description of what the audit covers. |
| Notes | No | Any additional notes or context. |
- Fill in the required fields and any relevant optional fields.
- Click Create audit to save.
You will be redirected to the audit detail page where you can begin recording findings.
Step 3: View Audit Details
Click View on any audit in the list to open the audit detail page. This page shows:
- Audit details — a structured summary of all audit information (type, status, standard, dates, auditor, report link, scope, and notes)
- Findings — a list of all findings recorded against this audit, with the ability to add new findings directly
- Quick links — shortcuts to the evidence register and clause tracker for the relevant standard
Step 4: Record Findings During an Audit
From the audit detail page, use the Add finding form at the top of the Findings section:
-
Type — select the finding type:
- Major NC — a major non-conformity: a significant failure to meet a requirement
- Minor NC — a minor non-conformity: a less significant gap
- OFI — an opportunity for improvement: a suggestion, not a failure
- Conformity — a positive finding confirming compliance
-
Clause (optional) — select the specific clause this finding relates to. The dropdown shows clauses from the audit’s standard.
-
Description (required) — provide a clear, factual description of the finding.
-
Notes (optional) — add any supporting detail, context, or references.
-
Click Add finding to save.
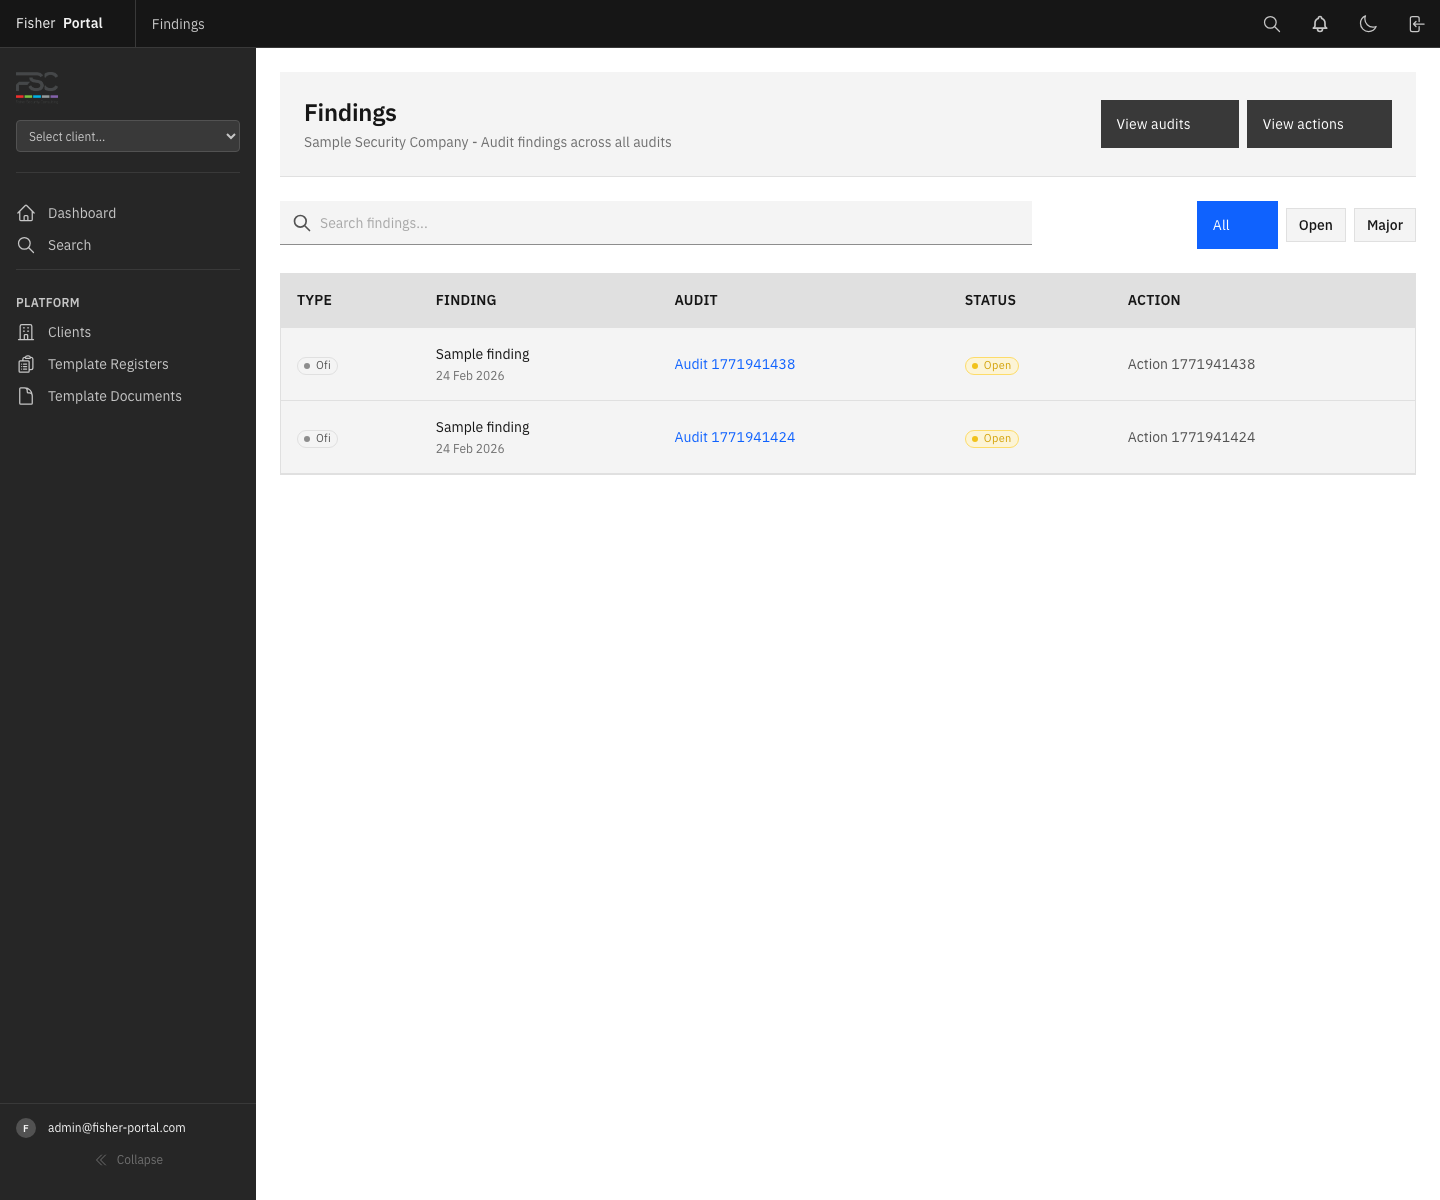
The finding will appear in the findings table below the form. For each finding, you can:
- Create action — raise a corrective/preventive action directly from the finding (the action will be pre-populated with the standard, clause, and finding type)
- View linked action — if an action has already been created, click its title to edit it
- Remove — delete the finding (with confirmation)
Step 5: Edit an Audit
From the audit detail page or the audits list, click Edit to update any audit details. Common reasons to edit:
- Changing status from “Planned” to “In Progress” when the audit begins
- Updating the “Performed date” when the audit is complete
- Adding the report URL after the audit report is finalised
- Changing status to “Completed” when all findings are recorded
Step 6: Delete an Audit
From the audits list, click Delete next to the audit you wish to remove. You will be asked to confirm before deletion.
Note: Deleting an audit also removes all findings associated with it. Consider changing the status to “Cancelled” instead if you want to preserve the record.
Tips
- Plan audits in advance by creating them with a “Planned” status and setting the planned date. This builds your audit programme.
- Always link audits to a standard where possible. This enables clause-level tracking of findings and makes the clause tracker more useful.
- Record findings during the audit rather than afterwards. The in-page form makes it quick to capture observations as you go.
- Create actions from findings immediately using the “Create action” link. This ensures nothing gets lost between the audit and follow-up.
- Use the Scope field to document exactly what was covered — this is an ISO requirement for audit records.
- Add the Report URL to link to the full audit report in SharePoint or another document store. This keeps everything connected.
- From the audit detail page, use the Action plan link to jump directly to the full action plan for the client.
Troubleshooting
- “Audit type” or “Status” showing validation errors — Both fields are required. Ensure you have selected a valid option from the dropdown.
- Cannot see clauses in the finding form — The clause dropdown only populates if the audit is linked to a standard. Edit the audit to set a standard first.
- Finding not saving — The description field is required. Ensure you have entered text before clicking “Add finding”.
- Cannot create an action from a finding — You will be redirected to the new action form. If you see an error, check that you have the required FSC staff permissions.
- Audit dates not showing in the list — If neither planned nor performed dates are set, the column will display a dash. Add dates to the audit for better tracking.