
Register Entries and Workflow
This guide covers the full register-entry workflow for Client Admins. Client Staff use the same register and entry screens, but can normally change only their own records and cannot make approval decisions.
For register structure and field setup, see Managing Registers.
Entry Statuses
| Status | Meaning | Normal next step |
|---|---|---|
| Draft | The record is still being prepared | Complete the required fields and submit it |
| Submitted | The record is waiting for review | An authorised reviewer checks and decides it |
| Approved | The record has passed review | Keep it as the accepted compliance record |
| Rejected | The reviewer has returned the record | Read the reason, correct it and resubmit where appropriate |
Step 1: Open the Entry List
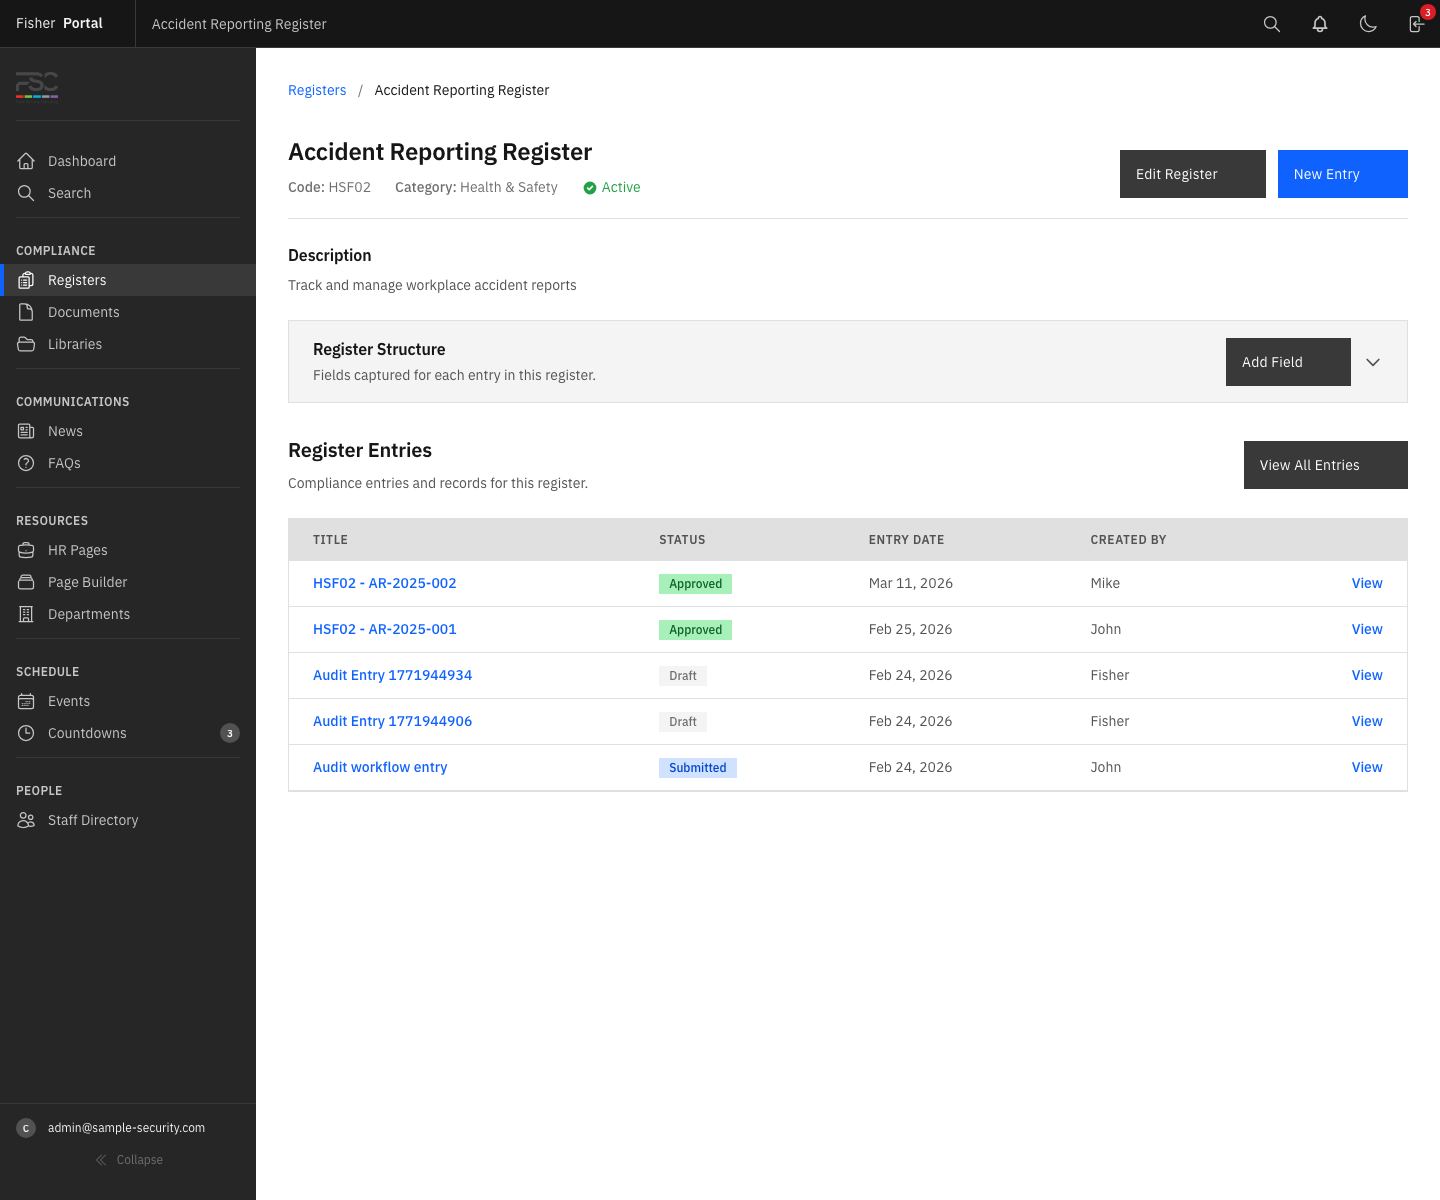
- Select Registers.
- Open the required register.
- Select View All Entries.
- Confirm the register name and code.
- Review the visible status, date, creator and configured register fields.
Step 2: Search and Filter Entries
Use the search field for a title or value held in the register record. Use status links to limit the list to Draft, Submitted, Approved or Rejected.
For more precise filtering:
- Open the filter builder.
- Choose a register field.
- Choose the comparison, such as equals, contains, before or after.
- Enter the value.
- Add another condition when needed.
- Apply the filters and check the visible results.
Keep the filter simple enough that another user can understand why a record appears.
Step 3: Create and Save a View
Saved views keep useful register filters and layouts together.
- Select New View.
- Enter a short name that explains the purpose.
- Add the required filter conditions.
- Choose whether every condition or any condition must match.
- Share the view if colleagues should be able to use it.
- Save the view.
Examples include Submitted this month, Open high risks and Training expiring soon.
From the view selector you can:
- switch back to All Entries;
- open one of your views;
- open a shared view;
- edit or delete a view you own;
- duplicate a useful view;
- set your preferred view as the default.
Always check the active-filter summary before approving or exporting records from a saved view.
Step 4: Add an Entry
- Select New Entry.
- Confirm the entry date.
- Complete each register field.
- Follow the help text below a field when it is present.
- Complete every required field.
- Save the record.
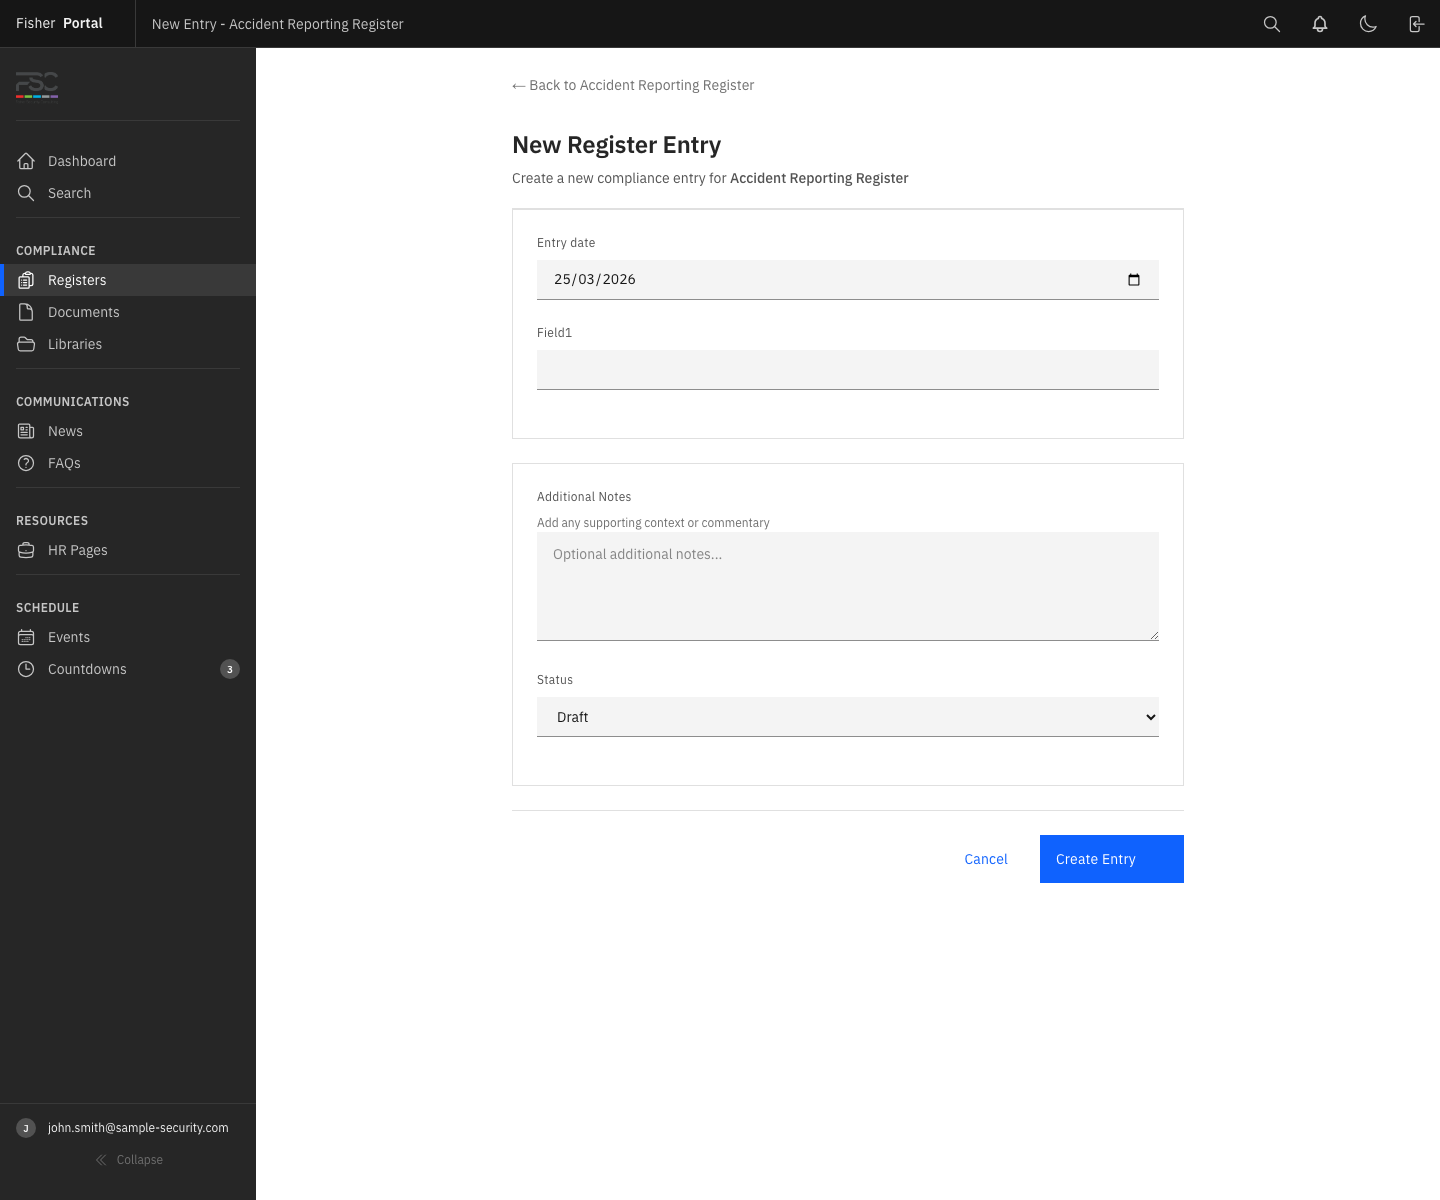
The title may be generated from the first register field or the entry date when a separate title is not supplied.
Step 5: Use Quick Entry
Where a quick-entry row is shown at the bottom of the table:
- Select the first editable field.
- Enter the values across the row.
- Use Tab to move between fields.
- Save the new row.
- Open the saved record if you need to add more detail or submit it.
Quick entry is best for simple, repeat records. Use the full form when the record needs files, long notes or careful checking.
Step 6: Edit a Record
Open the entry and select Edit Entry when the action is available.
- Client Admins can manage entries in their organisation.
- Client Staff can normally edit their own draft or returned entries.
- Approved records should be treated as controlled records. Add a new record or use the agreed correction process rather than silently changing historical evidence.
Step 7: Inline Edit a Field
When inline editing is available in the table:
- Select the editable cell.
- Enter or choose the new value.
- Confirm the change.
- Wait for the success message.
- Open the record if the change needs a comment or fuller explanation.
Use inline editing for small corrections. Use the full entry page for sensitive or significant changes.
Step 8: Submit for Approval
- Open a draft entry.
- Check the date and all required information.
- Add any useful comment.
- Select Submit for Approval.
- Confirm that the status changes to Submitted.
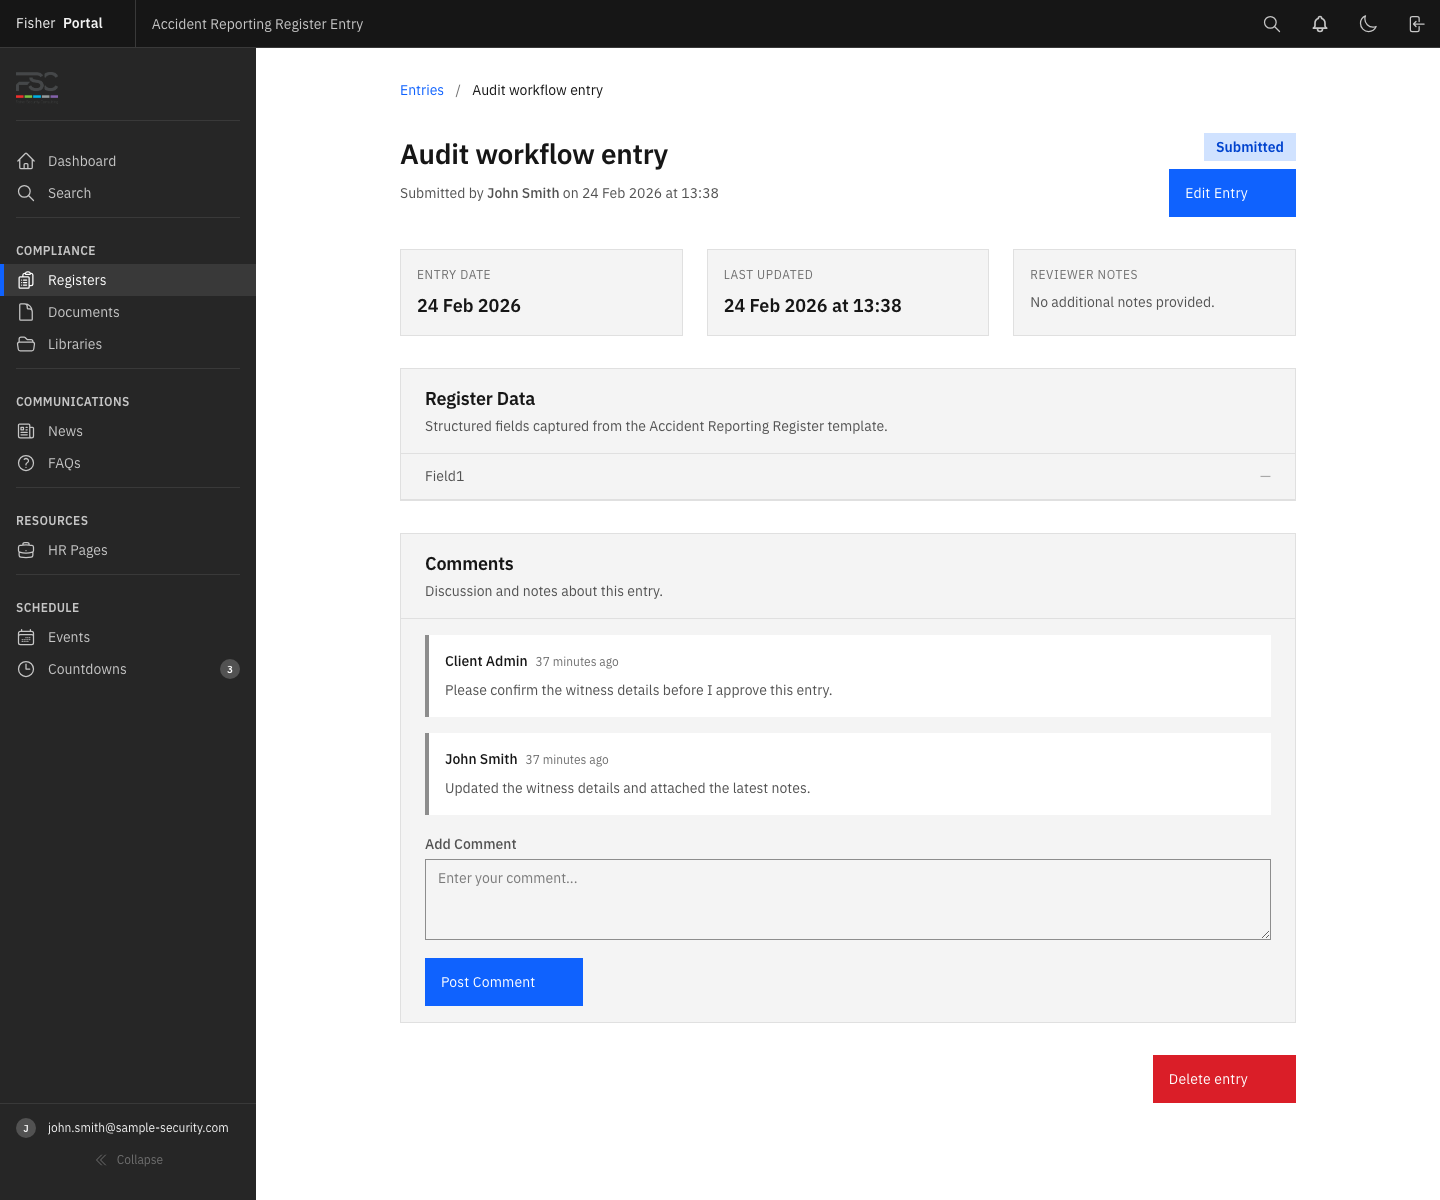
Once submitted, the record becomes part of the review queue.
Step 9: Review a Submitted Entry
- Filter the entry list to Submitted.
- Open the oldest or highest-priority record.
- Check each field and any attachment.
- Review the creator, entry date and comments.
- Add a comment if clarification is needed.
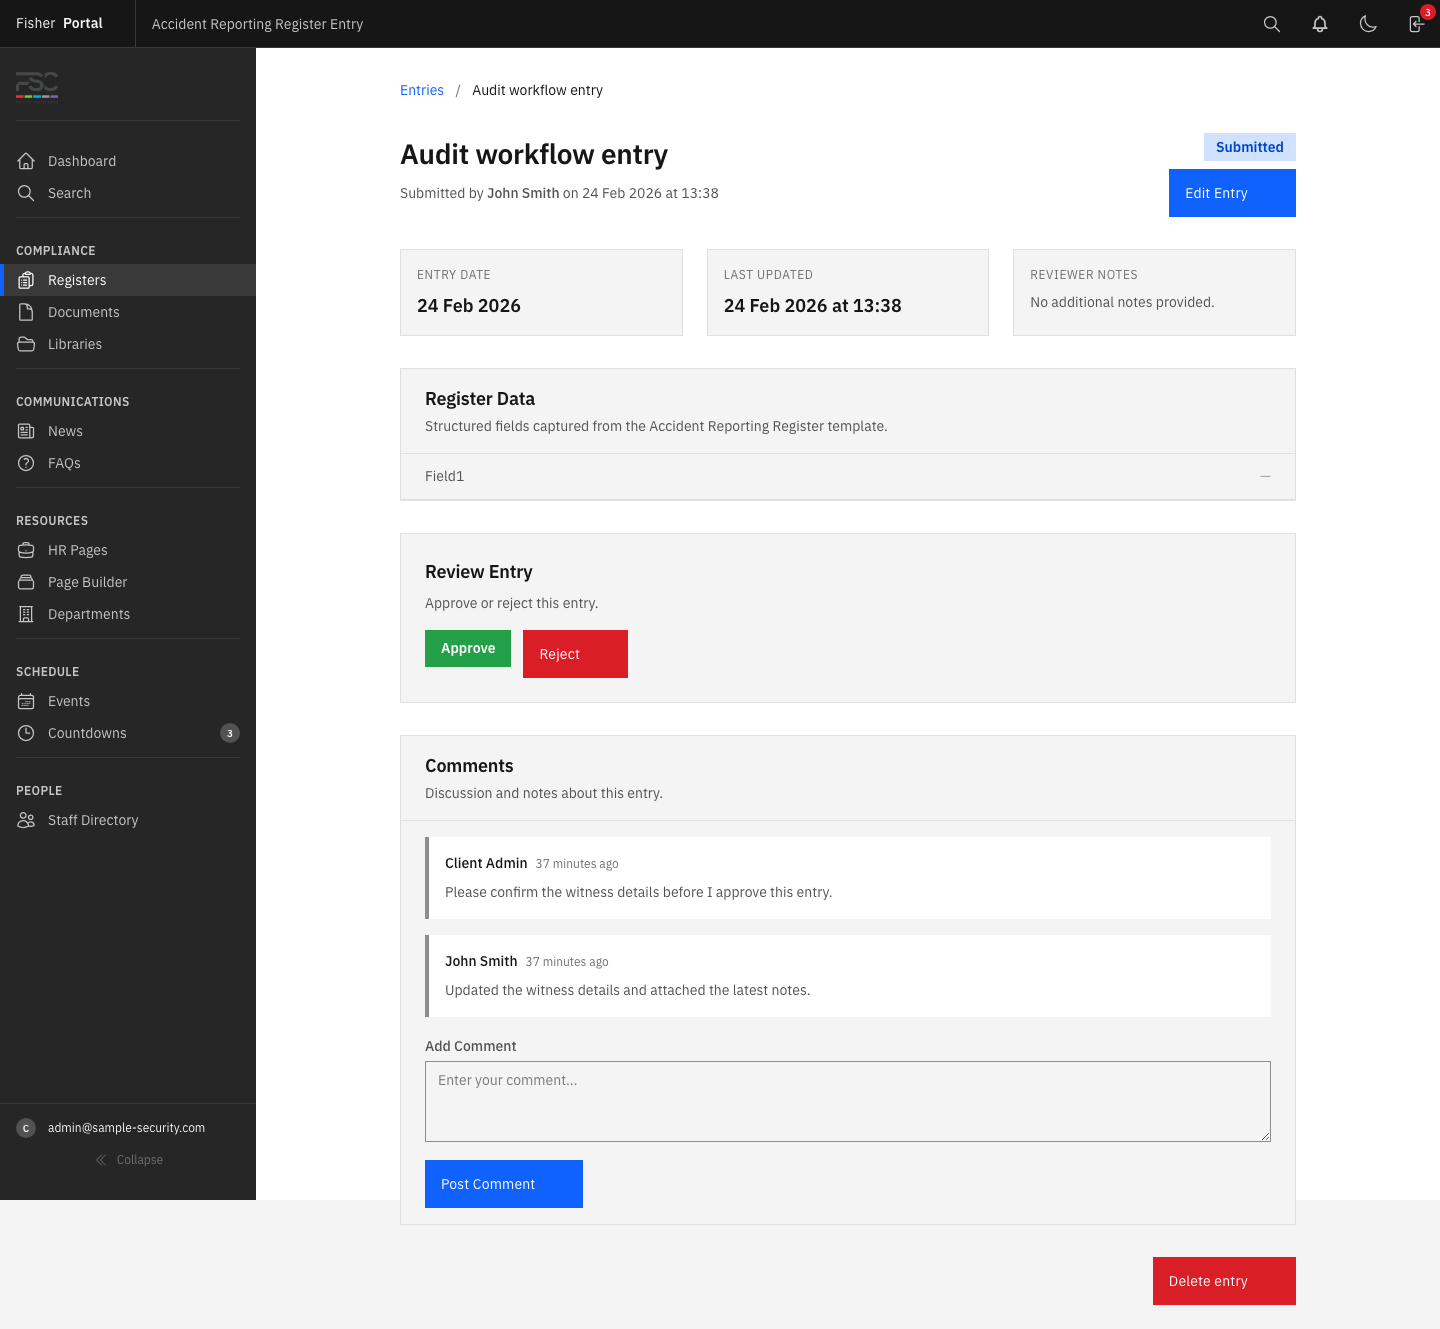
- Decide whether to approve or reject.
Step 10: Approve or Reject
To approve, select Approve and confirm that the status changes to Approved.
To reject:
- Select Reject.
- Enter a clear reason when prompted.
- Confirm the rejection.
- Check that the status changes to Rejected.
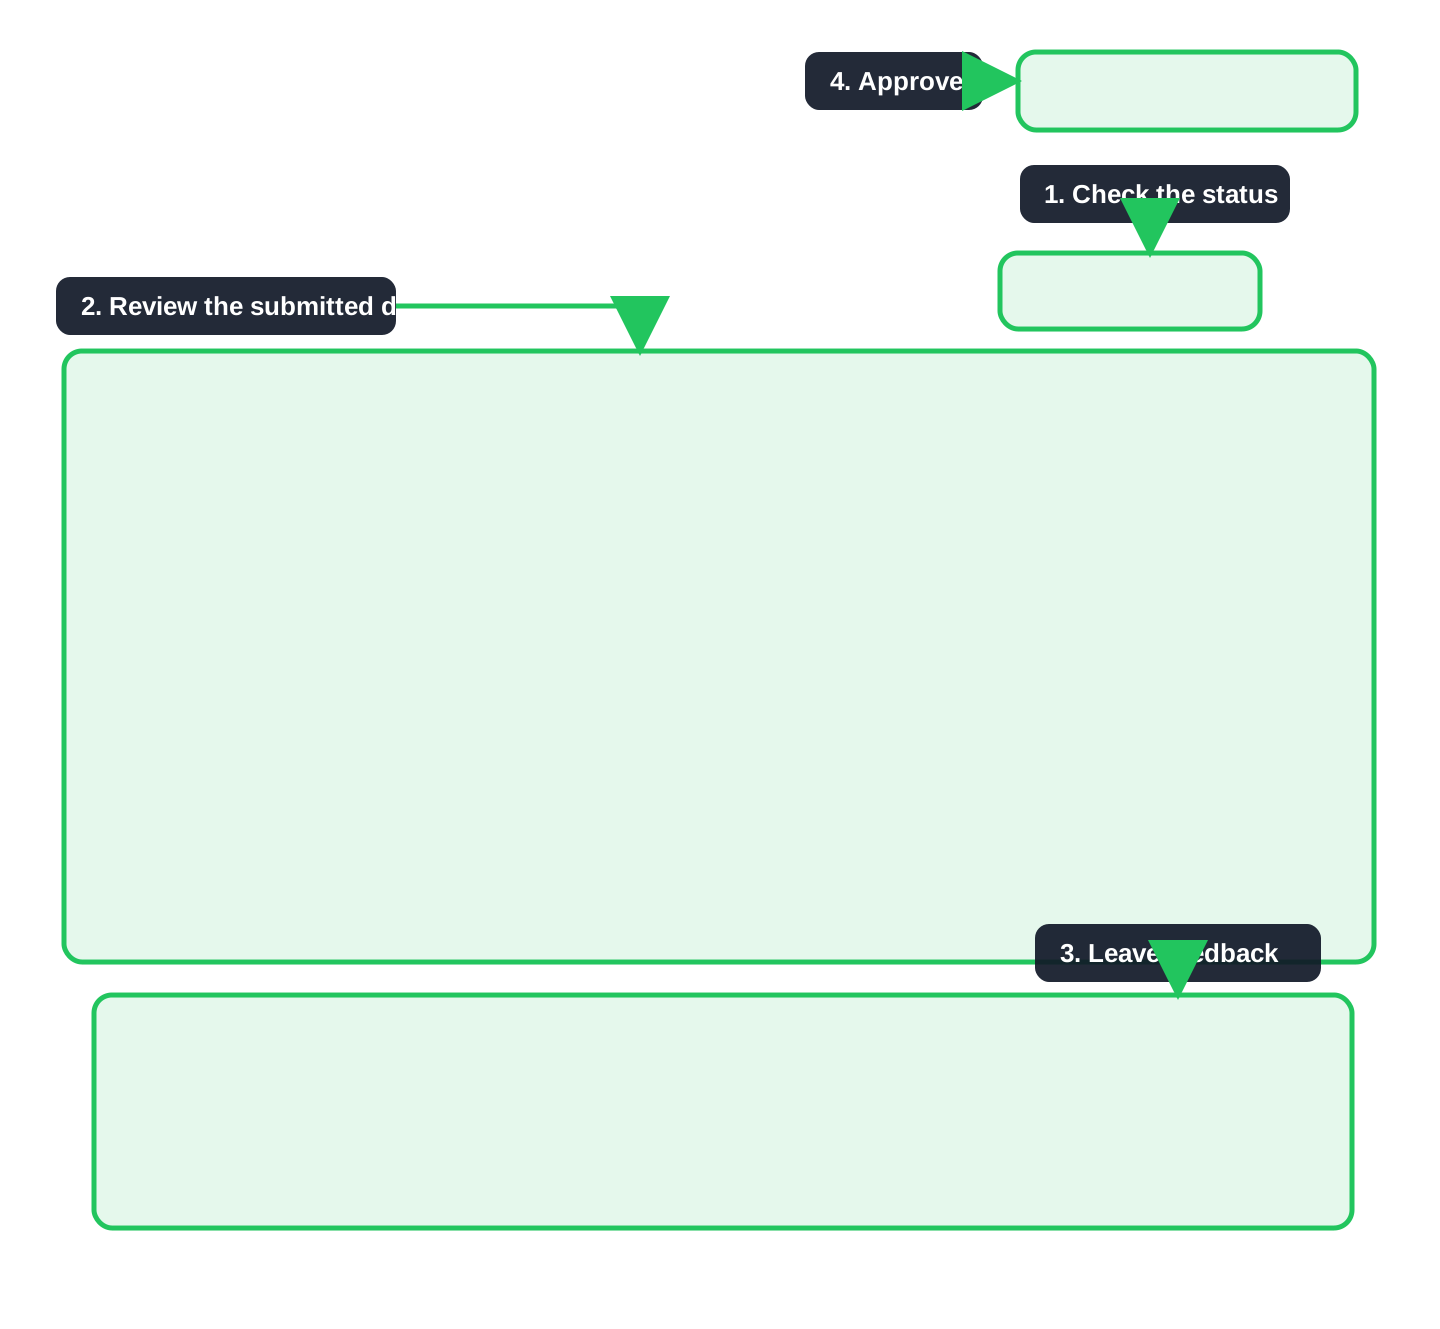
A useful rejection reason says what is missing and what must happen next. For example: Please add the witness name and attach the signed report before resubmitting.
See the focused approval guide →
Step 11: Use Comments
- Open the entry.
- Read the existing discussion.
- Enter a concise comment.
- Select Post Comment.
- Confirm that your name, comment and time are shown.
Use comments for review questions and decisions. Do not put passwords, access keys or unrelated personal information in them.
Step 12: Bulk Update Records
Bulk actions are for Client Admins and other authorised reviewers.
- Select the checkbox beside each required entry, or use the select-all control for the visible list.
- Check the selected count.
- Choose the bulk action:
- Edit Selected to update a field across the selected records;
- Approve Selected for submitted entries that have been reviewed;
- Reject Selected for submitted entries that must be returned;
- Delete Selected to archive unwanted records.
- Read the confirmation carefully.
- Run the action.
- Check the result message and review the updated rows.
Step 13: Export Entries
- Open the required register entry list.
- Apply the search, status or saved view needed for the report.
- Select Export CSV for spreadsheet analysis or Export PDF for a fixed report when that option is available.
- Open the downloaded file.
- Check the register name, filters and date before sharing it.
The export reflects the current list. Clear filters first when a complete register extract is required.
Step 14: Delete an Entry
Use delete only when the record should be removed from normal use and you are authorised to do so.
- Open the entry.
- Check that it is the correct record.
- Select Delete entry.
- Read and confirm the warning.
- Return to the list and confirm that the entry is no longer shown.
For an approved or historically important record, use the organisation’s correction process instead of deleting it.
Recommended Weekly Review
- Open the readiness dashboard.
- Review overdue entries.
- Review submitted entries waiting for approval.
- Check rejected entries that have not been corrected.
- Review shared views for high-risk or expiring records.
- Export a report only after checking the active filters.
Troubleshooting
| Problem | What to do |
|---|---|
| A required field error appears | Return to the form and complete every field marked as required. |
| A saved view is empty | Review its conditions and switch to All Entries to confirm the records still exist. |
| Approval buttons are missing | Check that the entry is Submitted and that your account is allowed to approve it. |
| A staff member cannot edit an entry | Confirm that they created it and that its current status allows editing. |
| Bulk action count is wrong | Clear the selection, review the current filter and select the records again. |
| Export is incomplete | Clear the search, status filter or saved view before exporting. |