
Client Walkthrough
This walkthrough is designed to be sent with a new Fisher Portal login. Follow it in order during your first session, then use the linked module guides whenever you need more detail.
Before You Begin
Have these details ready:
- Your Fisher Portal web address.
- Your email address and temporary or existing password.
- The name of your organisation.
- Your role: Client Admin or Client Staff.
- The name of the person to contact if your access does not look right.
If you are unsure about your role, read Understanding Roles before continuing.
Part 1: Sign In and Check Your Access
Step 1: Sign in
- Open the portal link supplied by Fisher Security Consulting.
- Enter your email address and password.
- Select Sign in.
- If you have forgotten your password, use Forgot your password? and follow the email instructions.
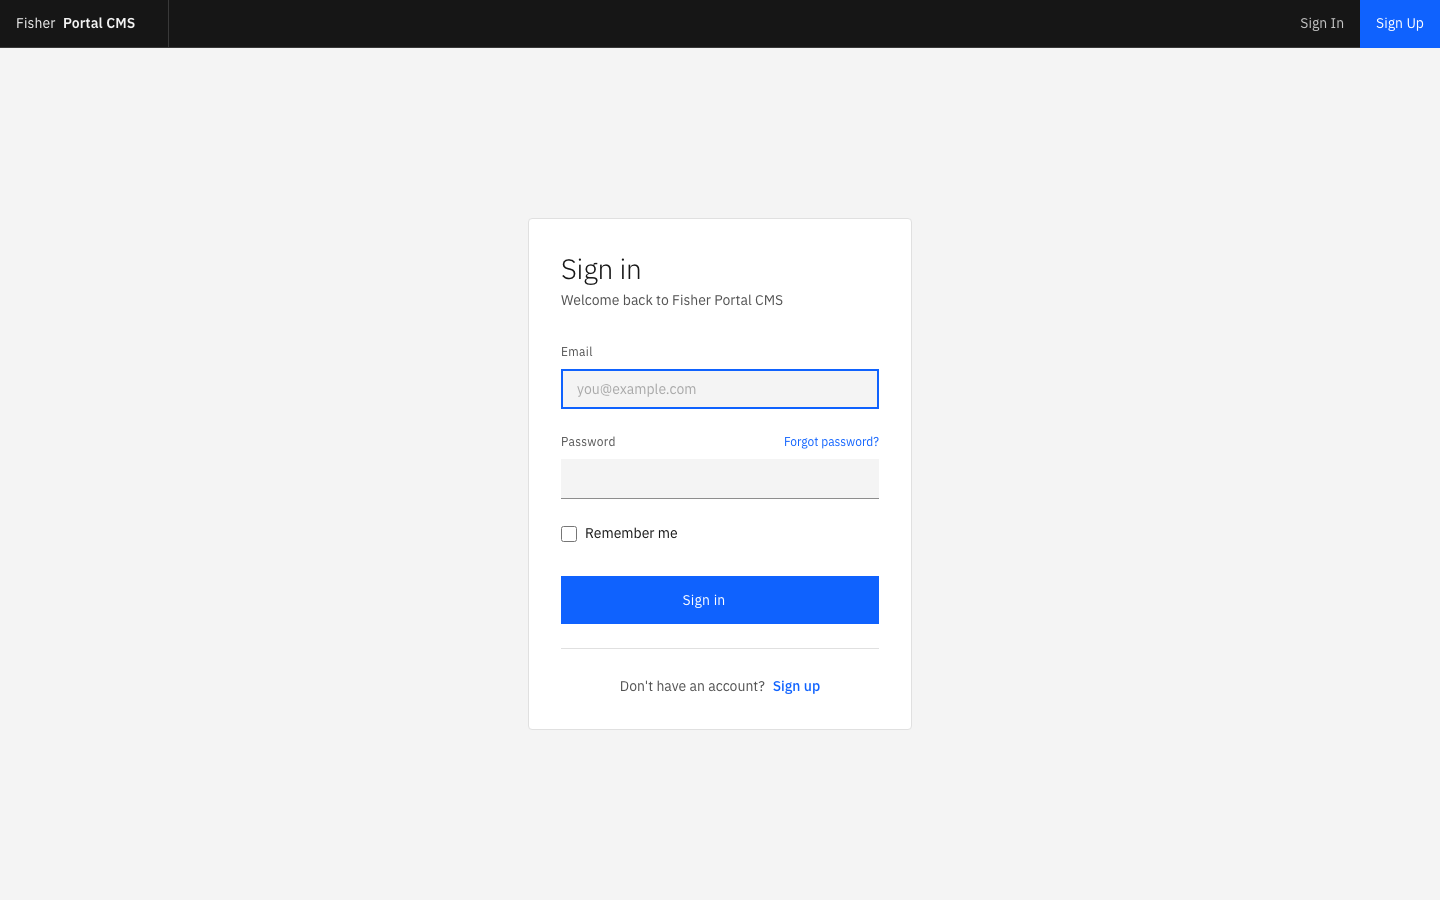
See the full account access guide →
Step 2: Confirm the organisation and role
After signing in, check the organisation name, the available sidebar sections and the account shown at the bottom of the navigation.
- A Client Admin should normally see management controls for organisation registers, documents, content and staff.
- Client Staff should see the information and data-entry tools needed for day-to-day work, without organisation-wide setup controls.
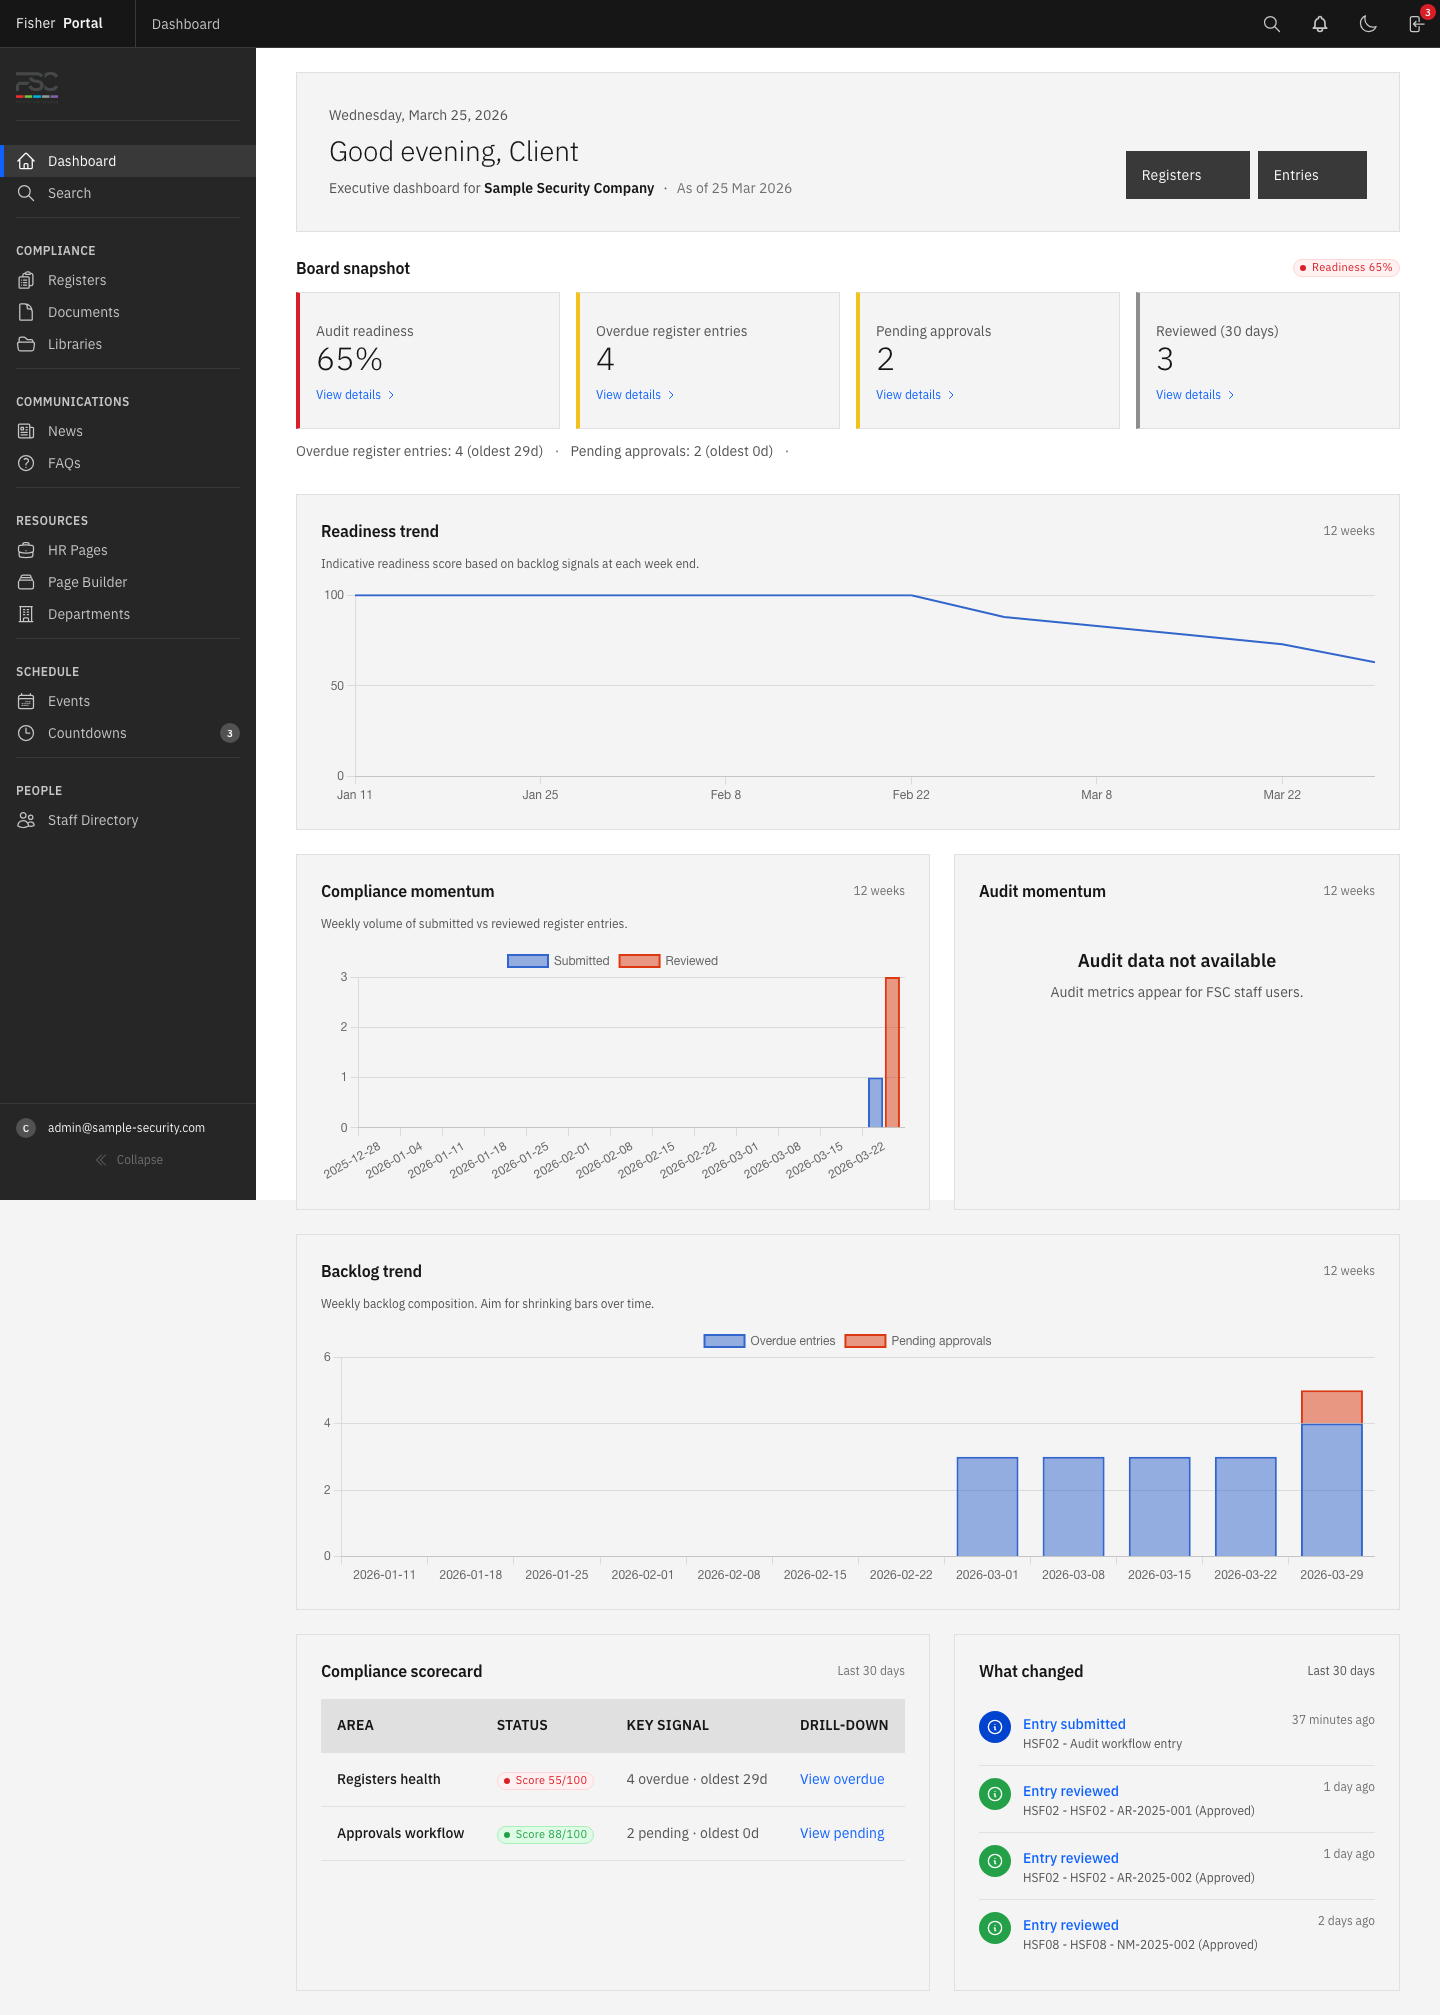
If the organisation or navigation is wrong, stop and contact the person who issued the login. Do not add records until the correct client workspace is confirmed.
Step 3: Learn the navigation
- Use the sidebar to move between modules.
- Use the search icon in the top bar to find a record or document quickly.
- Use the bell to open notifications.
- Use the theme control to switch between light and dark mode.
- On a smaller screen, open the mobile navigation before choosing a module.
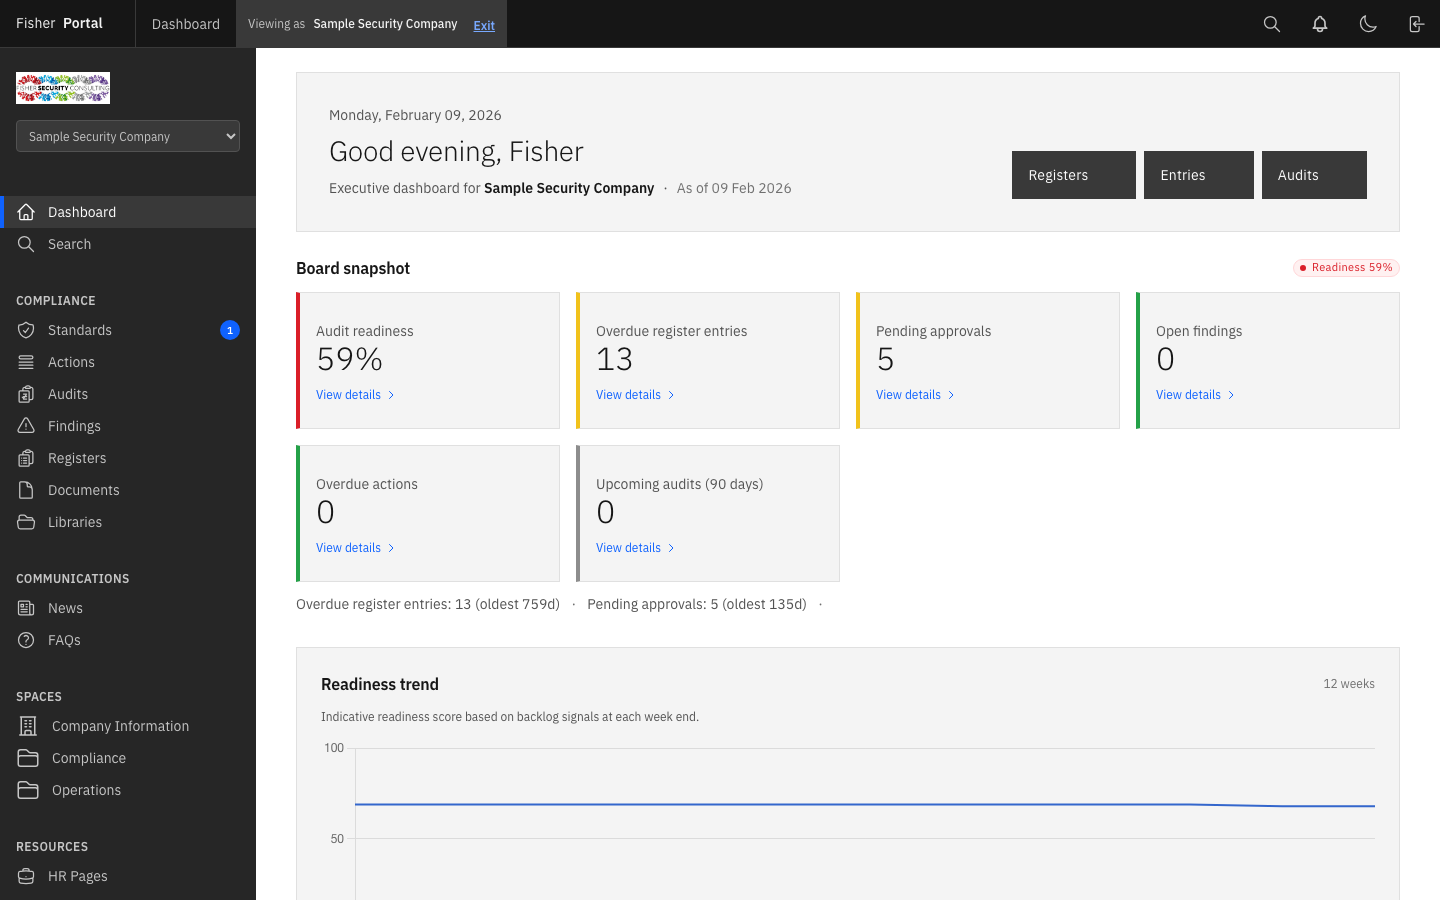
See the complete navigation guide →
Part 2: Review the Dashboard
Step 4: Read the summary
The dashboard is the starting point for the day’s work. Review:
- the organisation and reporting date;
- the current readiness score and colour;
- overdue register entries;
- entries waiting for approval;
- open findings or overdue actions, when these compliance tools are available to your role;
- recent activity and quick links.
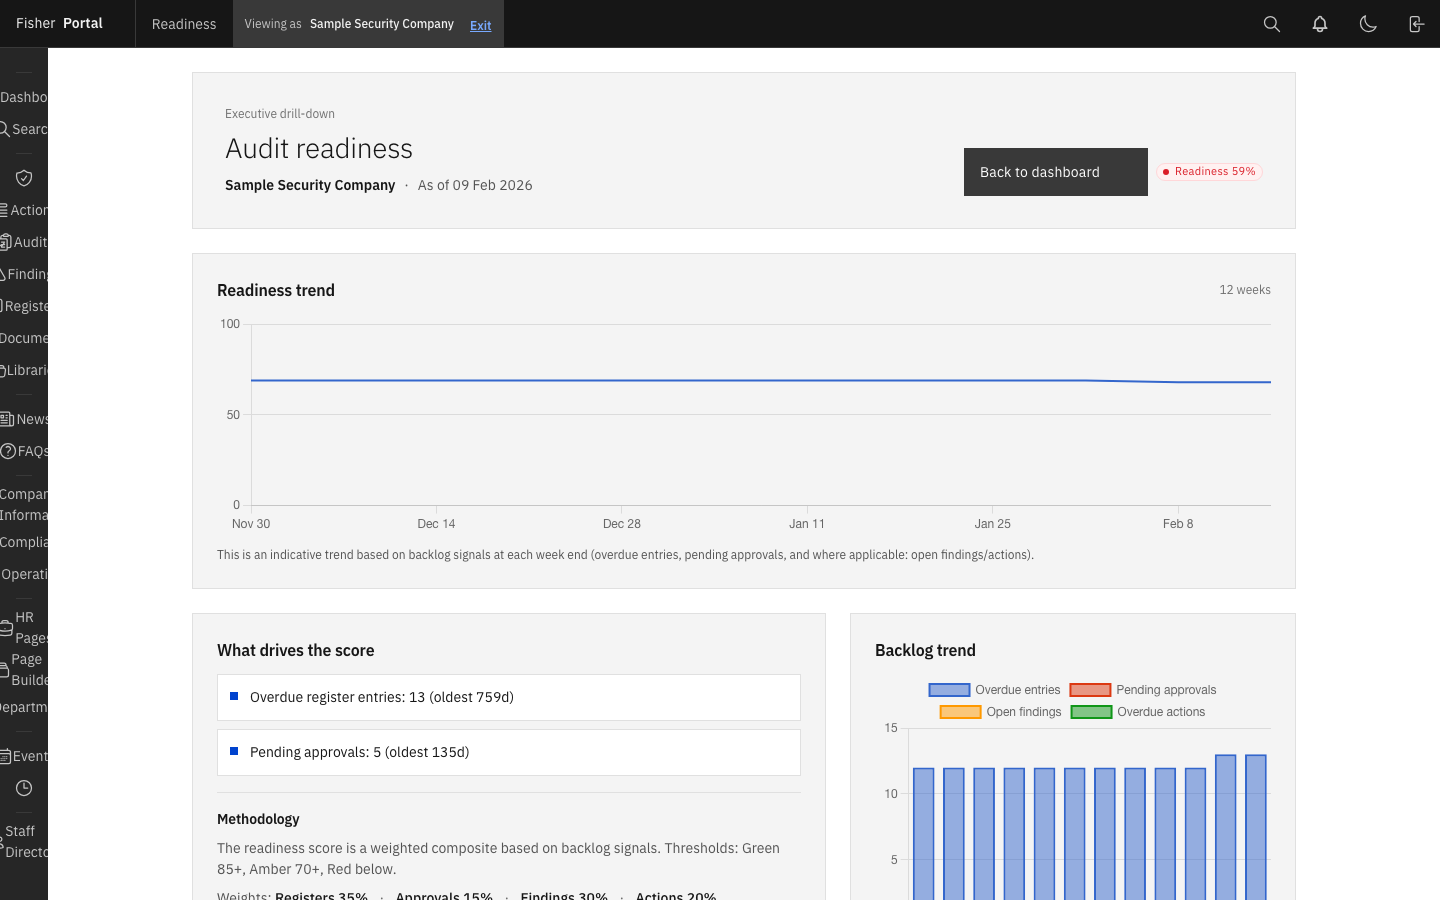
Step 5: Open readiness details
Select the readiness score or View readiness to see what is affecting the position. Work through the oldest items first. The drill-down separates overdue entries, pending approvals, findings, actions and planned reviews.
See how the readiness score works →
Part 3: Learn the Day-to-Day Workflow
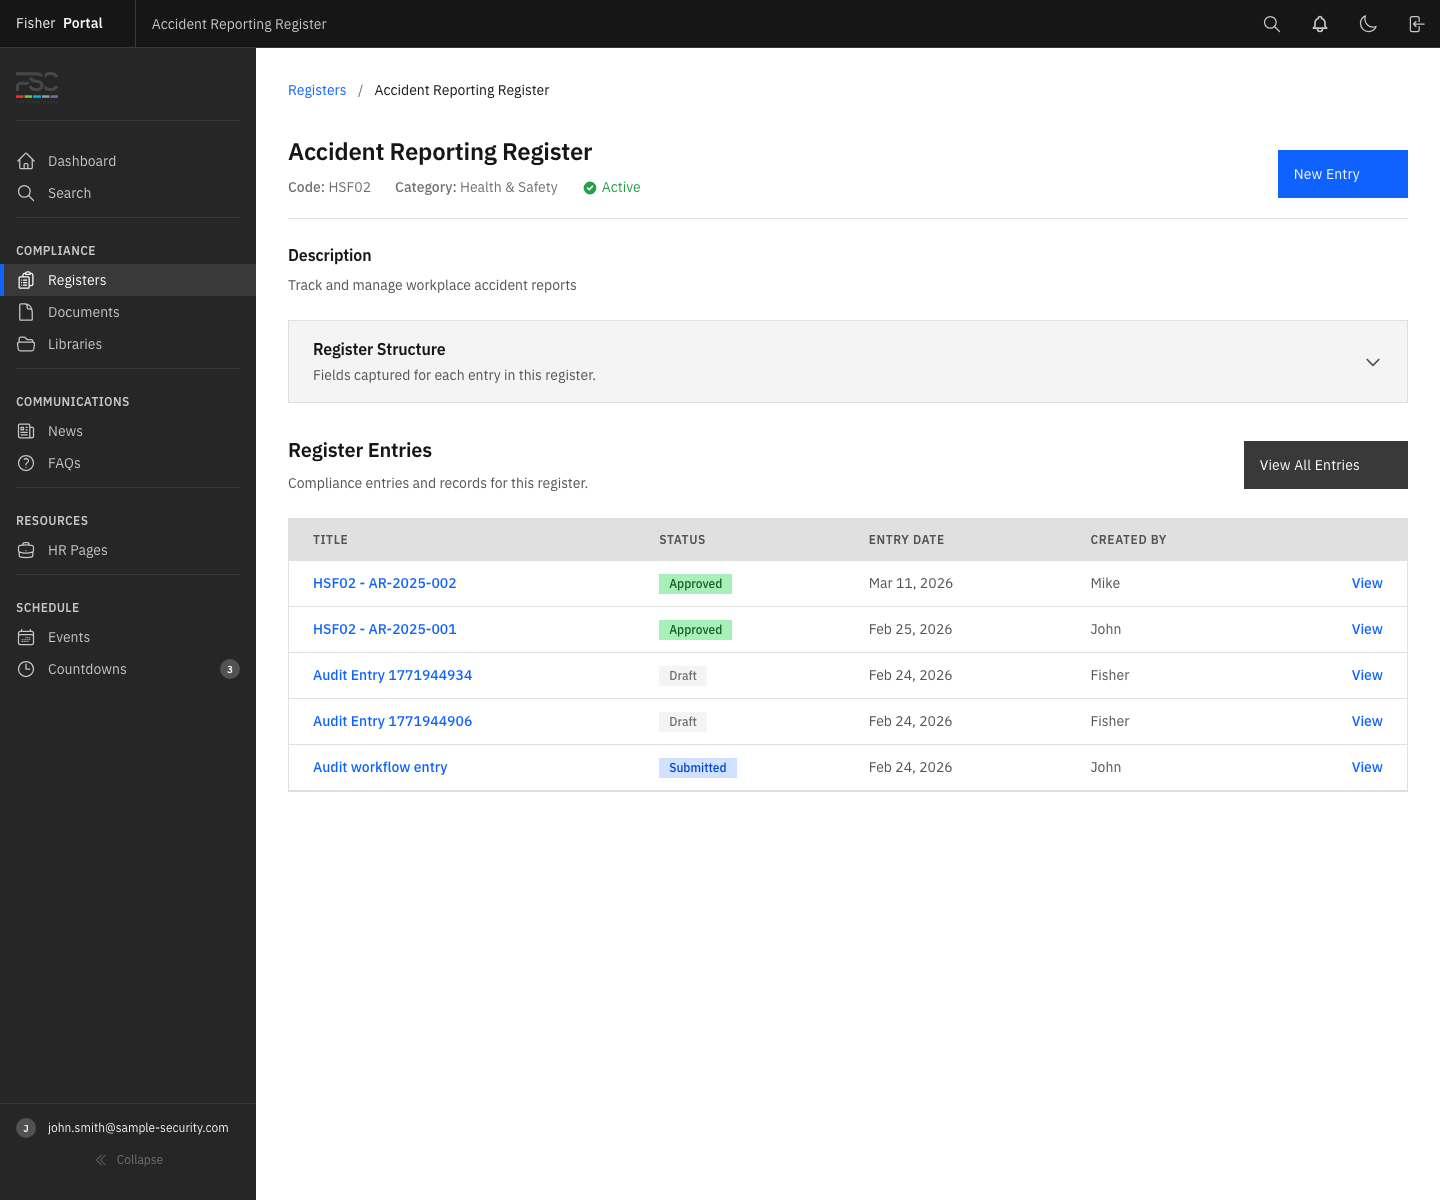
Step 6: Open a register
- Select Registers.
- Open a register relevant to your work.
- Review its description and recent entries.
- Open one existing entry to understand the information being recorded.
Step 7: Create a practice entry
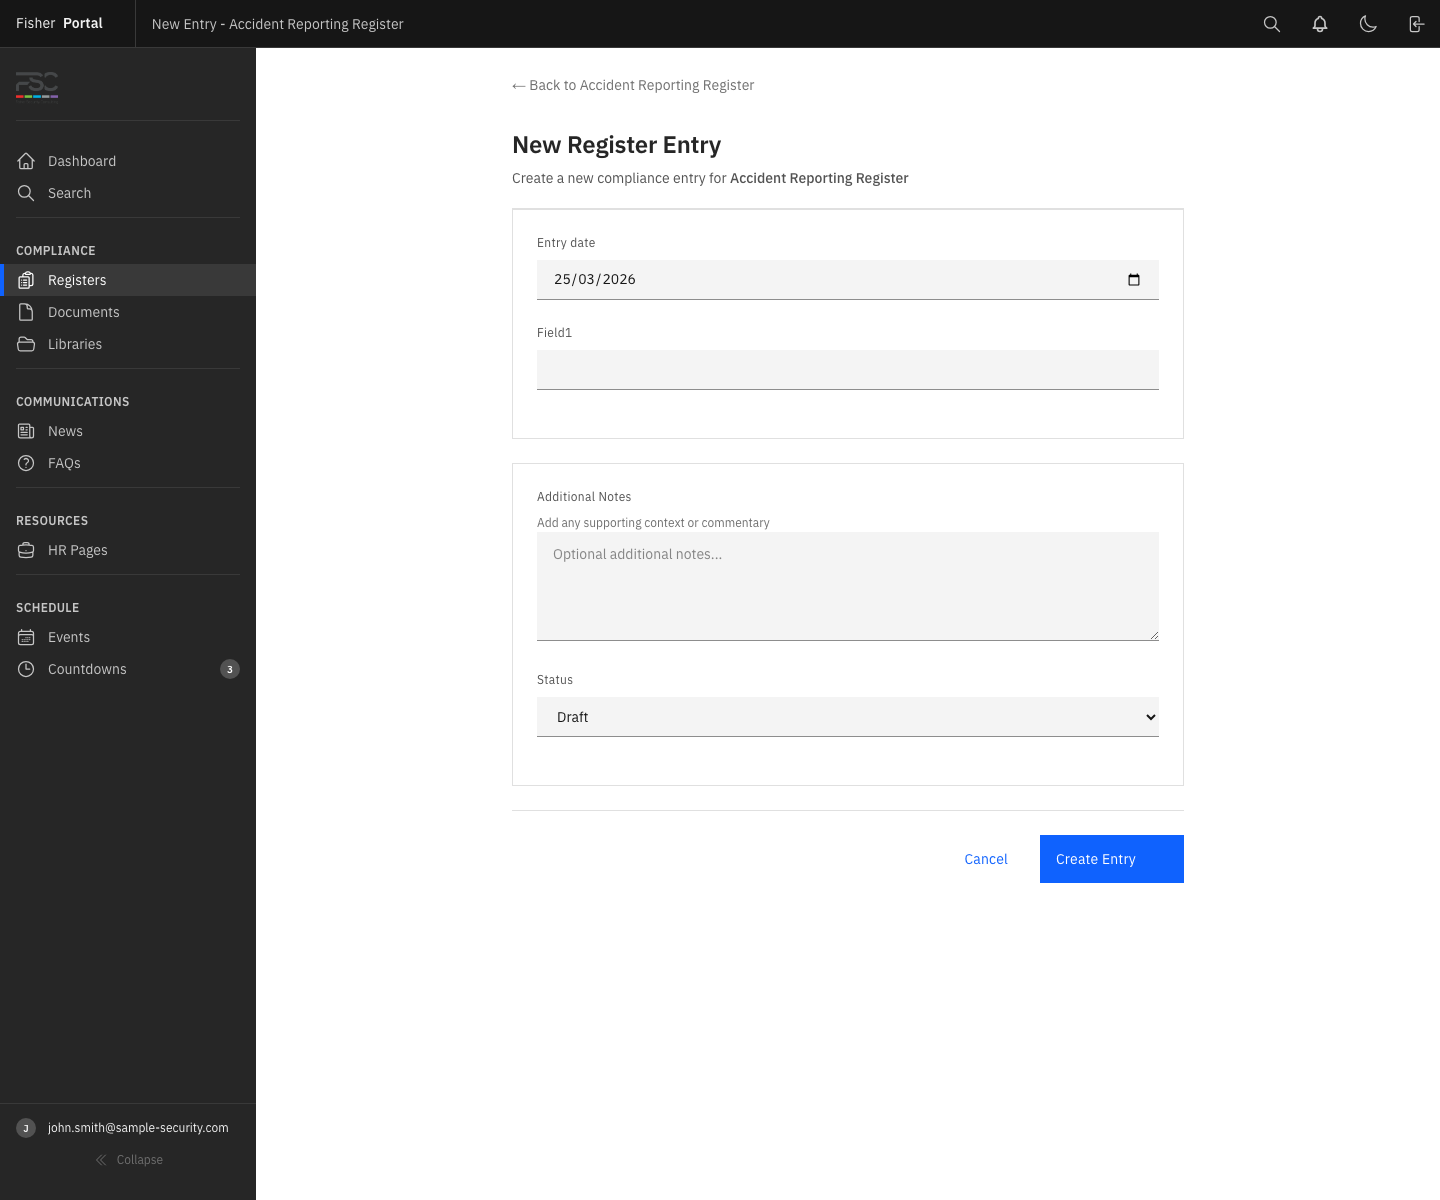
Only create a practice record if your administrator has told you which register to use.
- Select New Entry.
- Complete each required field.
- Save the record as a draft.
- Reopen it and check the saved information.
- Submit it for approval when it is ready.
See the complete entry guide →
Step 8: Review the approval route
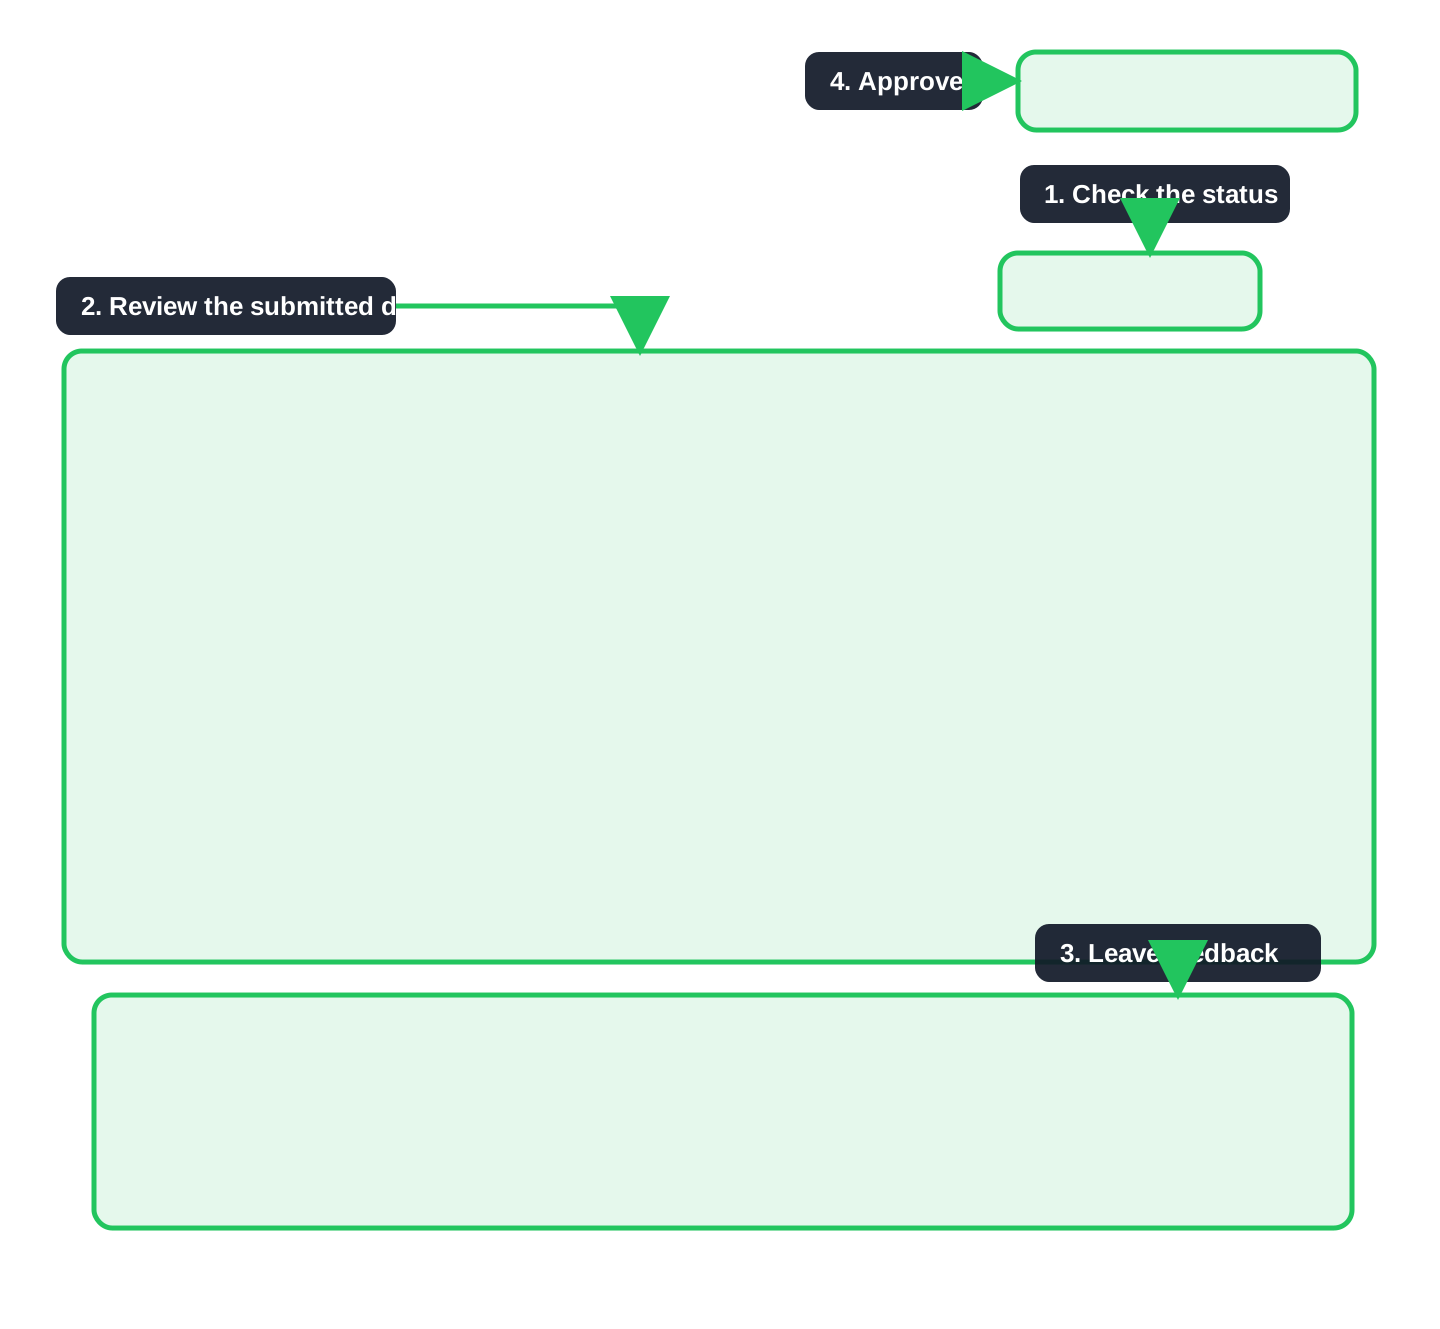
Client Admins should also learn how to review submitted entries:
- Open the organisation’s register entries.
- Filter to Submitted.
- Open an entry and check the supporting information.
- Add a comment if clarification is needed.
- Approve or reject the entry.
Part 4: Find Controlled Information
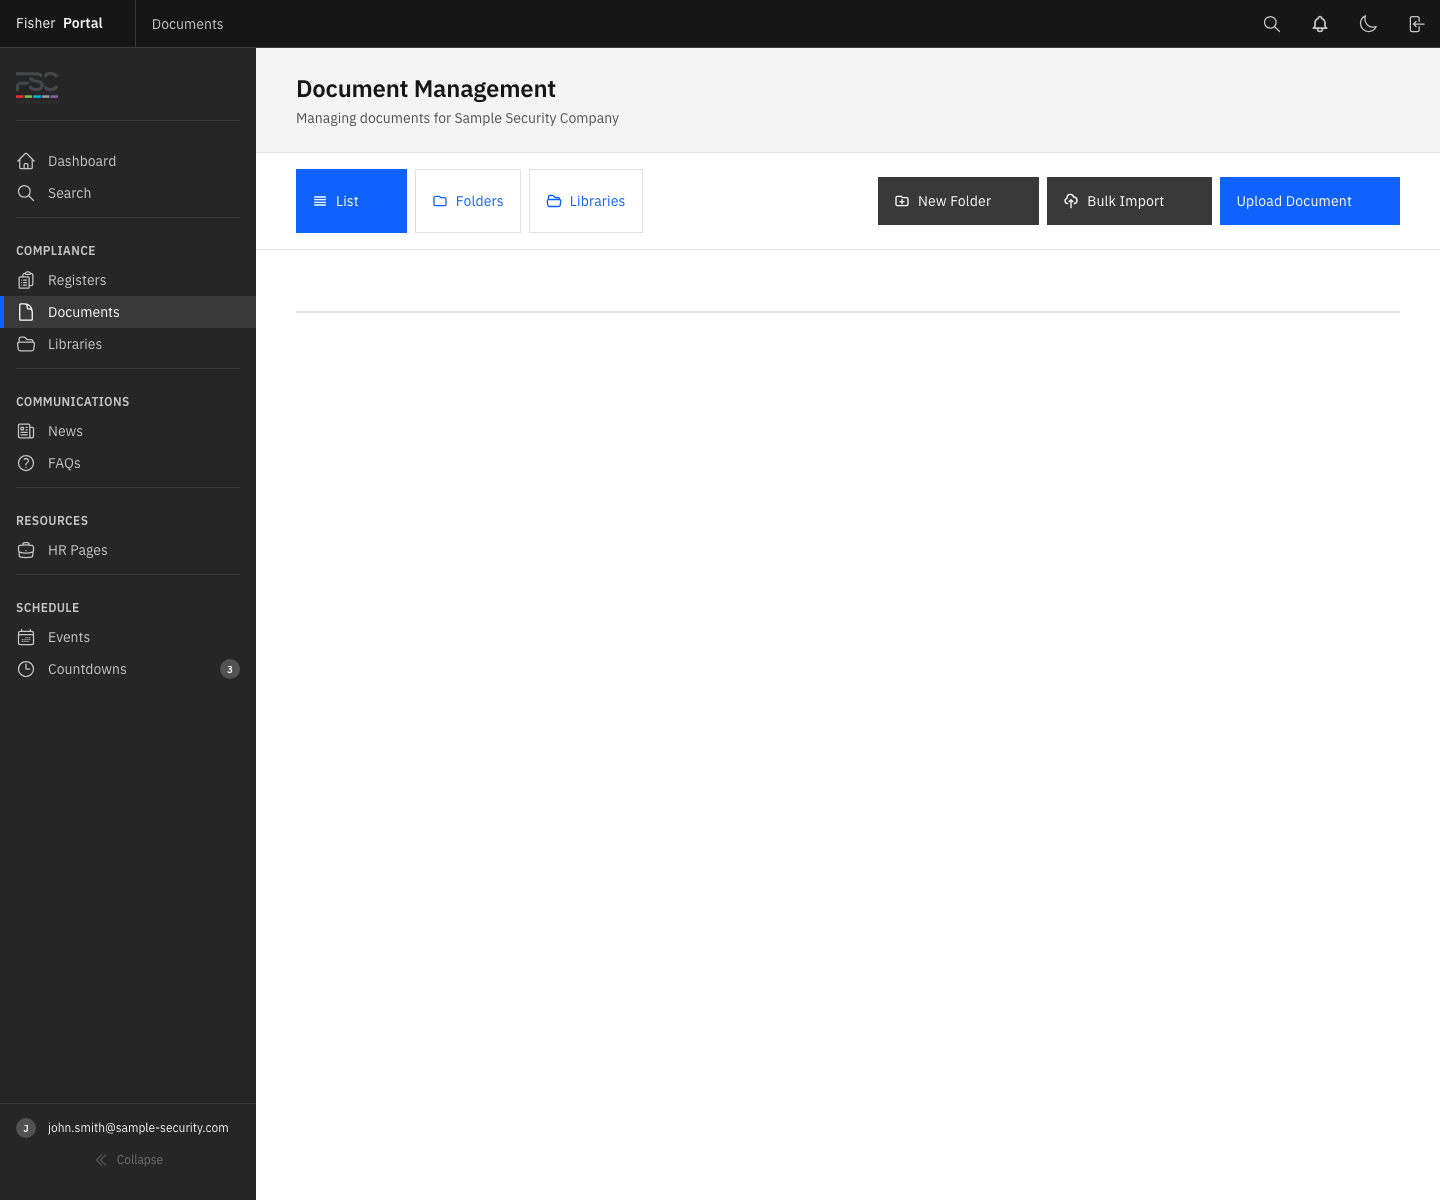
Step 9: Browse documents
- Select Documents to open portal-managed files and folders.
- Follow the folder structure or use breadcrumbs to move back up.
- Open the required file and download the current copy if needed.
- If your organisation uses connected sources, select Libraries to browse SharePoint content.
Step 10: Review staff content
Open the areas that your organisation uses:
- News for published updates.
- FAQs for common questions.
- HR Pages for people guidance and resources.
- Events for planned dates.
- Countdowns for important deadlines.
- Page Builder or published spaces for internal pages and department hubs.
See the portal content guide →
Part 5: Use Search and Notifications
Step 11: Run a search
- Select Search.
- Enter a useful word, reference or document code.
- Open Advanced Filters if you need to limit the type, status or date.
- Save the search if it is something you will use often.
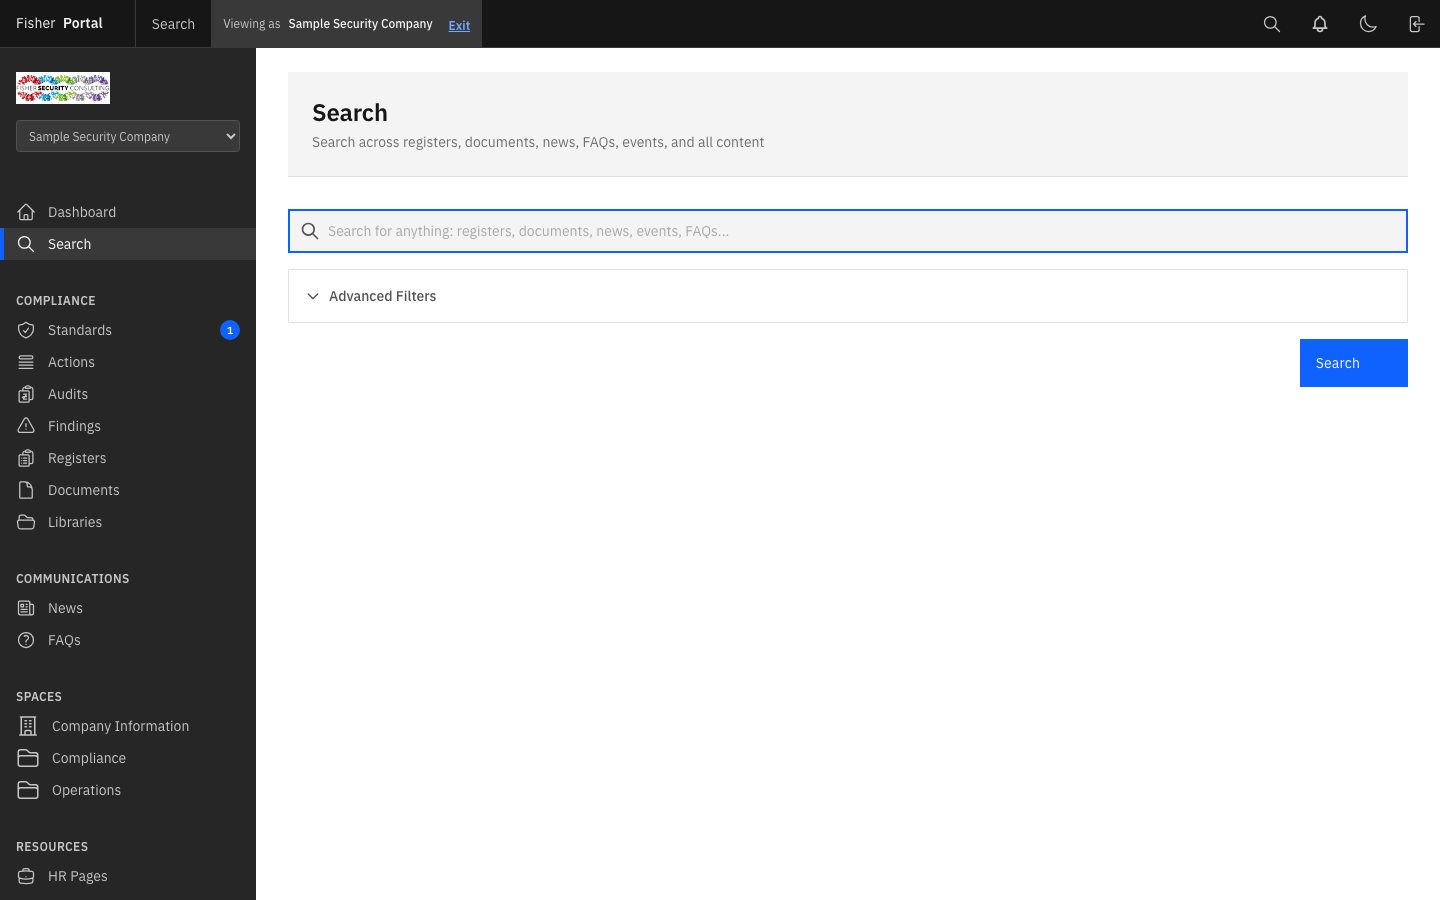
See search and saved searches →
Step 12: Clear a notification
- Select the bell in the header.
- Open an unread notification.
- Follow its link to the related record.
- Mark it as read when the work has been handled.
Extra Setup for Client Admins
Complete these guides when your organisation is first configured:
- Manage staff accounts and roles.
- Review or create registers and fields.
- Organise controlled documents.
- Connect SharePoint libraries, if used.
- Publish news, FAQs, events, countdowns and HR content.
- Build spaces, pages and department hubs.
- Review the organisation’s branding.
First-Session Checklist
- I can sign in and reset my password.
- The correct organisation and role are shown.
- I can navigate between the dashboard, registers and documents.
- I understand how register entries move from draft to approval.
- I can find a policy or procedure.
- I can find news, FAQs, events and HR resources.
- I can search the portal and open a result.
- I know where notifications appear.
- I know who to contact if my access is incorrect.
When all items are complete, use the Platform Features page as the ongoing contents list for every module.